How to Replace a Car Window Glass Yourself
Learn how to replace a car window glass with our practical DIY guide. Get expert insights on tools, techniques, and common mistakes to avoid for a pro finish.
Nov 11, 2025
generated
how to replace a car window glass, diy auto glass, car window replacement, automotive repair, car maintenance

Dealing with a shattered car window is one of those instant headaches. One minute everything's fine, and the next, your car is full of glass, exposed to the elements, and your day is completely thrown off track. It could be a rock kicked up on the highway, a clumsy accident in the driveway, or a break-in—the cause doesn't matter as much as the mess and the sudden, unexpected bill.
Most people’s first instinct is to call a professional, and that's understandable. But replacing the side glass on your car is a surprisingly doable DIY project. With a few hours and the right guidance, you can handle it yourself, saving a good chunk of money and learning a lot about your car in the process.
This whole job usually takes about 2-4 hours, and honestly, the sense of accomplishment you get from doing it right is a huge bonus.
Why Bother Doing It Yourself?
Let's be real, the main reason most of us consider DIY repairs is to save money. But when it comes to replacing a car window, the benefits go a bit deeper than just your wallet.
The Real Perks of a DIY Window Swap
Sure, saving a few hundred bucks is a big motivator, but there’s more to it than that. Here’s what you really gain by tackling this yourself:
Major Cost Savings: This is the big one. A pro might charge you anywhere from $200 to $500 for parts and labor. You can often find the replacement glass for under $100 and pocket the difference.
You Learn How Your Car Works: You'll get hands-on experience with how your door is put together. This kind of practical knowledge is invaluable and builds the confidence to take on other repairs down the road.
You Control the Quality: You get to pick the replacement glass—whether you want to spring for an OEM part or go with a quality aftermarket option. Plus, you can be as meticulous as you want, making sure every screw and clip is perfectly in place.
This isn't some rare, obscure repair. The global automotive glass replacement market is enormous, projected to hit around $28.87 billion by 2025. That number just goes to show how many people face this exact problem, driven by the sheer volume of cars on the road today. You can read more about the automotive glass market trends to see how common it is.
Taking this project into your own hands turns a frustrating setback into a productive, rewarding experience. A little patience and the right tools are all you need to get your car secure and looking good again.
Getting Your Gear and Glass in Order
Before you even pop the first clip on a door panel, you need to get organized. The difference between a smooth, professional-looking window replacement and a day full of frustration comes down to preparation. Trust me, trying to improvise halfway through the job because you're missing a specific tool is a headache you want to avoid.
Most of what you’ll need is standard garage fare. However, a couple of specialized items will make this job ten times easier and prevent you from breaking something else in the process.
The Essential Toolkit
Let’s walk through what you should have laid out and ready to go.
Safety Gear: This is non-negotiable. Grab a pair of thick work gloves to save your hands from sharp edges and safety glasses to protect your eyes. Broken glass has a nasty habit of flying where you least expect it.
The Basics: Make sure you have a solid socket and ratchet set, a variety of Phillips head and flathead screwdrivers, and a reliable pair of pliers.
The Job-Specific Stuff: A trim removal tool kit is your best friend here. These inexpensive plastic pry bars are designed to get behind interior panels and pop clips without scratching your paint or snapping plastic. I also highly recommend a pair of heavy-duty suction cups; they give you a firm, safe grip on the new glass when you're maneuvering it into place.
For Cleanup: You'll need a shop vacuum. I’m not talking about a little handheld one—you need something with real power to suck every last shard of glass out of the deep, dark corners of the door cavity. A roll of duct tape is also handy for taping up a cracked window to hold it together during removal.
Finding the Perfect Replacement Glass
Once your tools are ready, it's time to source the new window. This is a crucial step, and you have two main options: go with OEM glass or choose an aftermarket version.
So, what's the real difference? Original Equipment Manufacturer (OEM) glass is identical to what the factory installed in your car, made by the same supplier. Aftermarket glass is produced by a third-party company to fit your vehicle's specifications.
Choosing between them is usually a balancing act of budget, quality, and how perfect you need the fit to be. OEM glass is a guaranteed match for tint, curvature, and thickness, but you’ll pay for that peace of mind. Aftermarket glass is much easier on the wallet, and the quality is often excellent, though you occasionally run into slight variations.
If you're weighing your options, our guide on professional auto glass replacement offers a deeper dive that can help you decide.
OEM vs Aftermarket Replacement Glass Comparison
To help you choose the right option for your car window replacement, here's a quick comparison of Original Equipment Manufacturer (OEM) and aftermarket glass.
Feature | OEM Glass | Aftermarket Glass |
|---|---|---|
Fit & Finish | Guaranteed to match factory specifications perfectly. | Generally a good fit, but minor imperfections are possible. |
Cost | Typically 30-50% more expensive than aftermarket options. | Significantly more affordable, offering substantial savings. |
Availability | May require ordering from a dealership, sometimes with delays. | Widely available from auto parts stores and online retailers. |
Ultimately, the choice is yours. To make sure you order the right part, use your car's VIN. You can also look for the manufacturer's markings on your other windows to get an exact match for tint and any special features. Getting the right piece of glass from the start is half the battle.
Getting the Old Window and Door Panel Out
Alright, with your tools laid out and the new glass on standby, it's time to roll up your sleeves. This is where patience really pays off. We're going to carefully take apart the door, clear out every last shard of the old window, and prep the area for the new glass—all without scratching the panel or messing up any of the electronics inside.
First thing's first: safety. Always disconnect the negative terminal on your car battery. It’s a small step, but it completely prevents any chance of short-circuiting the electronics when you start unplugging connectors for the power windows, speakers, or locks. Trust me, it’s a precaution that can save you from a much bigger, more expensive problem.
Getting Inside the Door
To reach the window, that interior door panel has to come off. It’s typically held in place by a mix of hidden screws and plastic clips. Carmakers love to hide these screws, so be sure to check in all the usual spots: behind the door handle, deep inside the armrest pull cup, and sometimes along the very bottom edge of the panel itself.
Once the screws are out, grab your trim removal tool. Don't even think about using a metal screwdriver here—you'll gouge the plastic or scratch the paint for sure. Start at a bottom corner and gently work the tool between the door panel and the metal frame. Pry with steady pressure until you hear that first clip pop. From there, just work your way around the edge of the panel, popping each clip as you go.
When the panel feels loose, don't just pull it off. It's still connected by wires and the door handle cable. You'll need to support the panel's weight while you carefully disconnect everything. Most of these connectors have a little tab you have to press to release the plug.
Peeling Back the Vapor Barrier
Tucked behind the panel, you’ll see a sheet of plastic or foam sealed to the door with a goopy, black adhesive. That's the vapor barrier. It’s crucial for keeping moisture and road noise out of the cabin.
You'll need to move it out of the way, but the goal is to do it without ripping the barrier itself. I find it’s best to use a utility knife to slice right through the adhesive while gently pulling the barrier away. If you can, try leaving it attached at the top; it makes it much easier to stick back on later and get a good seal.
The infographic below breaks down the steps you should have already taken to find the right replacement glass before even starting this disassembly.
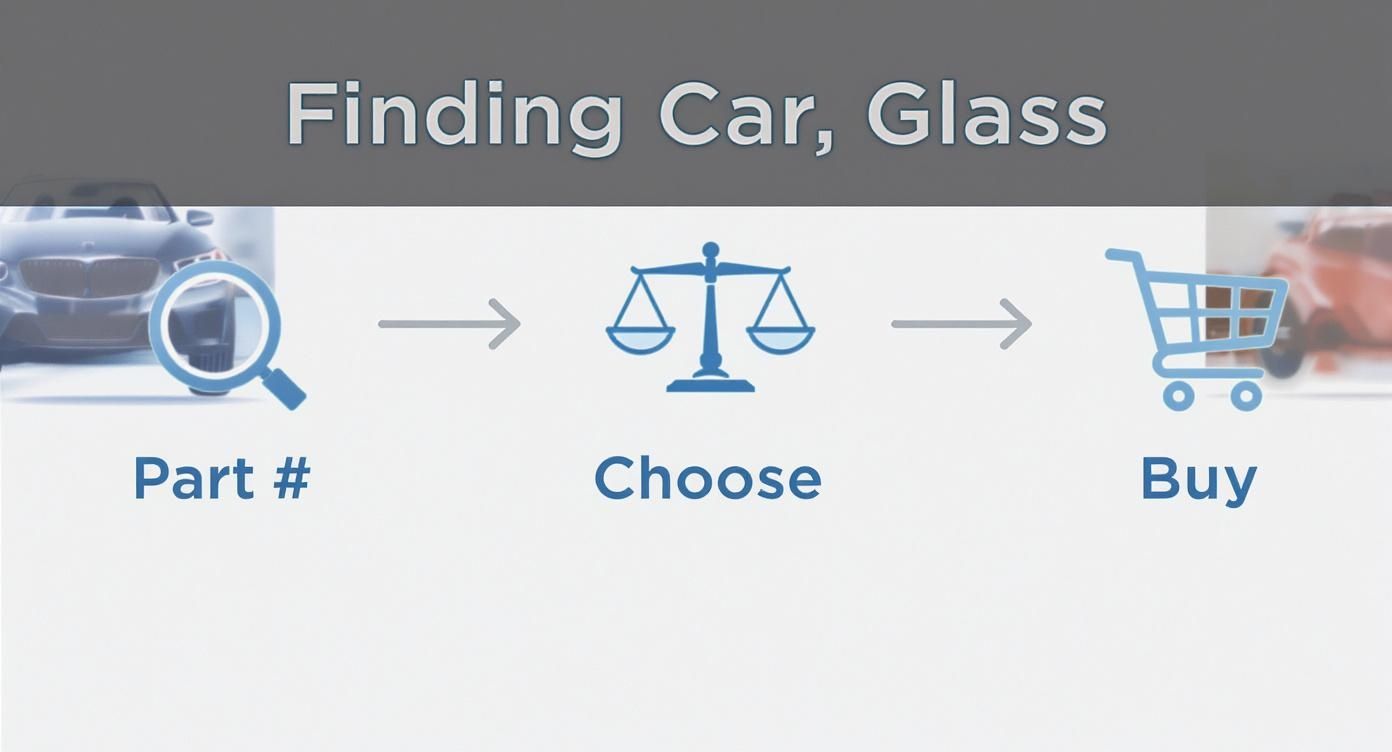
This just reinforces the importance of a methodical process: getting the right part number, checking your options, and then making the purchase.
The Cleanup You Can't Skip
Now you’ve got a clear view inside the door, and it's probably a disaster zone of shattered glass. This is, without a doubt, the most critical cleanup job of the entire process. If you leave even a few tiny pieces behind, you're asking for trouble—they can cause rattling noises, scratch your brand-new window, or even jam up the whole regulator mechanism.
Pro Tip: Grab a shop vac with a crevice tool and go to town. Suck up every single piece of glass you can find, paying extra attention to the bottom of the door and the felt-lined channels the window slides in. Once you think you’ve got it all, wrap some duct tape around your hand (sticky-side-out) and dab it all over the inside to pick up the tiny slivers the vacuum missed.
While you're in there, take a good look at the window regulator—that's the mechanism that moves the glass up and down. If it looks bent or damaged, now is the time to deal with it. For help with that specific job, check out our guide on power window repair, which walks you through replacing the motor and regulator.
With all the broken glass gone, you’re finally ready to get that new window in.
Installing the New Window Glass with Precision
Alright, the door cavity is cleaned out and prepped. This is the part of the job that feels the most satisfying—where your car starts looking like a car again. Putting the new glass in isn't about brute force. It's more of a finesse game, all about angles, patience, and getting the alignment just right.
Before you even think about sliding the glass in, give the new pane a good once-over. Make sure it’s the right piece for your car and check for any scratches or defects from shipping. It’s a lot easier to deal with a problem now than when the glass is already bolted into the door.
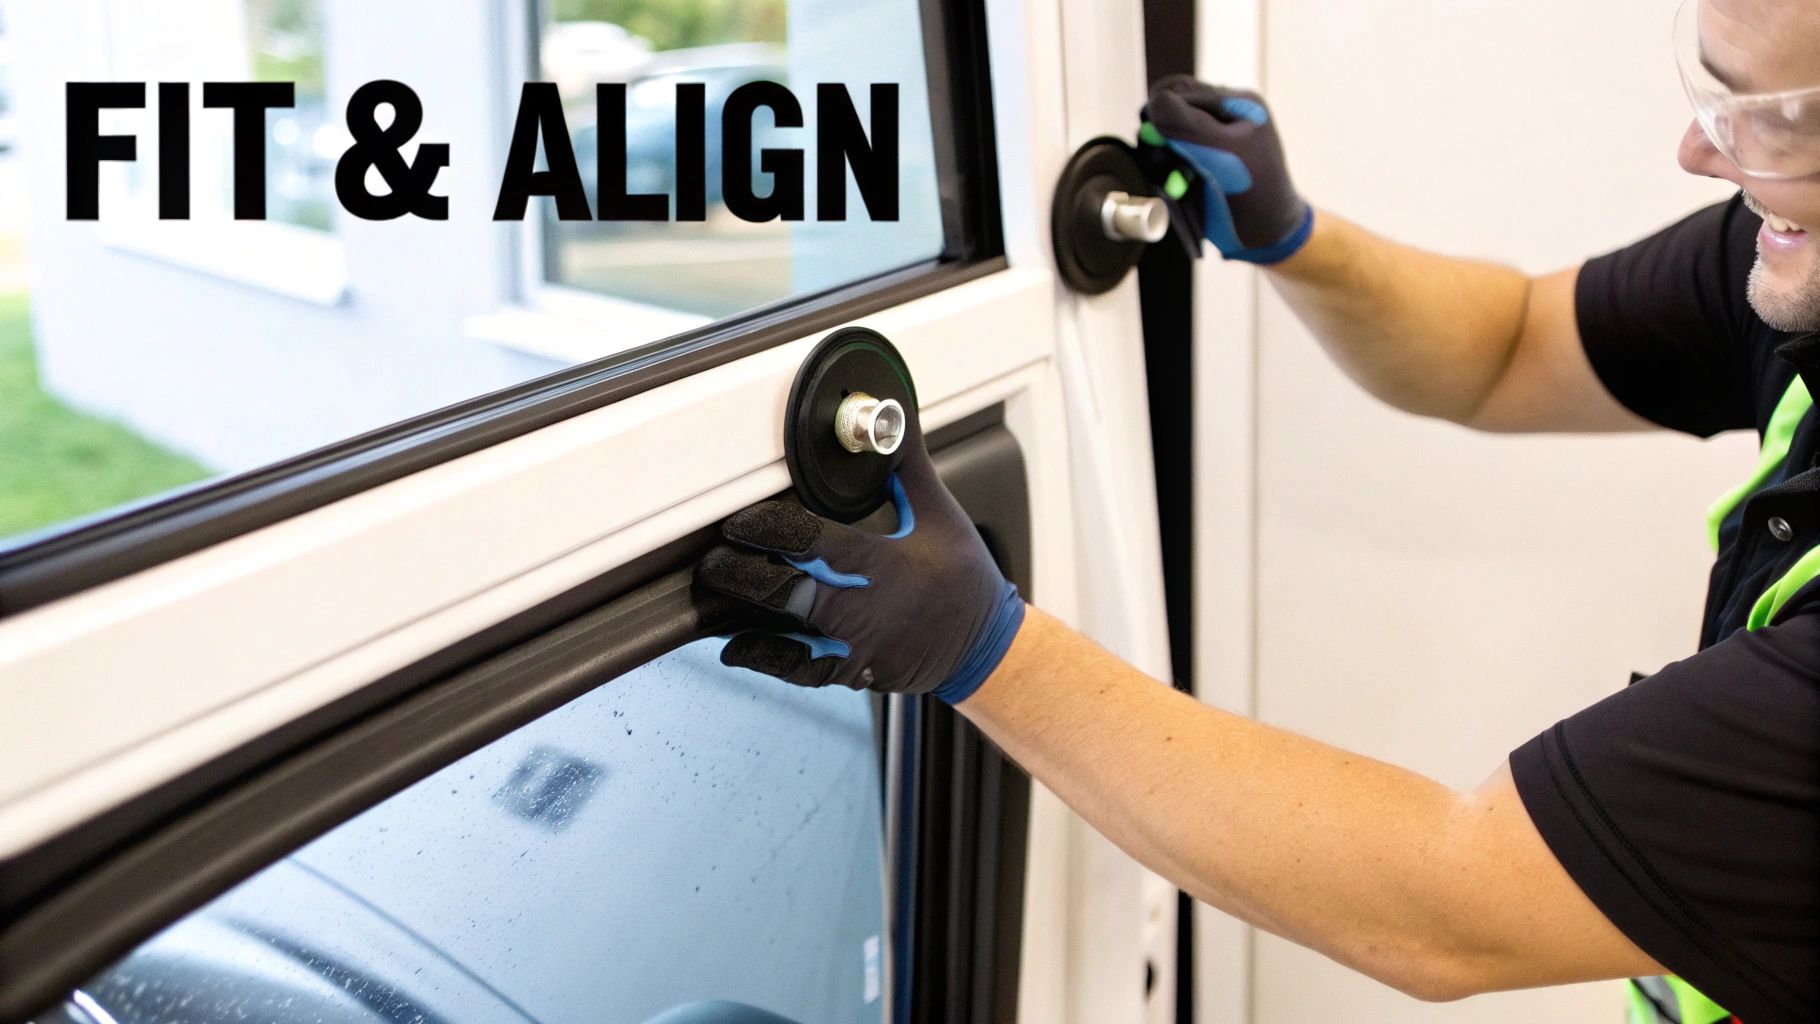
Guiding the New Glass into Place
You’ll want a steady hand for this. If you have suction cups, now’s the time to use them. Stick them on the outside of the glass; they give you a much better handle on things than trying to grip the slick edges, even with gloves on.
Start by angling the new glass and carefully feeding the front edge down into the door through the top opening. You're aiming to slot it between the inner and outer door panels. Pay close attention to the felt-lined run channels—those are the tracks the glass slides in, and it needs to sit squarely inside them.
It can feel a little like solving a puzzle. You’ll probably have to tilt the glass forward and back to maneuver it around the mechanisms inside the door. The trick is to go slow. Never force it. If it gets stuck, just pull it back up a little and try a different angle.
Securing the Glass to the Regulator
Once the glass is all the way down in the door frame, it’s time to connect it to the window regulator. That’s the lift mechanism, and it’ll have a couple of clamps or mounting points ready for the glass. You might need to temporarily reconnect the battery and window switch to jog the regulator up or down so you can reach it through the access holes.
Carefully lower the glass until the holes in its base line up perfectly with the holes on the regulator clamps. This alignment is critical.
Take your time getting the glass seated perfectly in the regulator clamps. If it’s even slightly off, you’ll end up with wind noise on the highway, annoying air leaks, or even stress cracks down the road. An extra five minutes here will save you a huge headache later.
With the holes lined up, pop in the bolts or clips that hold the glass. Don't crank them down just yet. Get them snug, but leave just enough play for some final, minor adjustments. This little bit of wiggle room is key for getting it perfectly level.
Testing and Final Adjustments
This is the step that makes the difference between a decent DIY job and a professional one. Before you even think about reinstalling the door panel, you have to test the window’s full range of motion.
If you disconnected it, hook the window switch back up. Now, slowly run the window all the way up and all the way down a few times. Watch it like a hawk.
Is the movement smooth, or does it catch or bind anywhere?
Does it seal tight and even against the weather stripping at the top?
Do you hear any weird grinding, popping, or scraping sounds?
If the coast is clear, raise the window about halfway up and then fully tighten those regulator bolts. Then, run the test one last time to make sure nothing shifted. This final check is your insurance policy against having to take this whole thing apart again next week.
Putting It All Back Together and Dodging Common DIY Mistakes
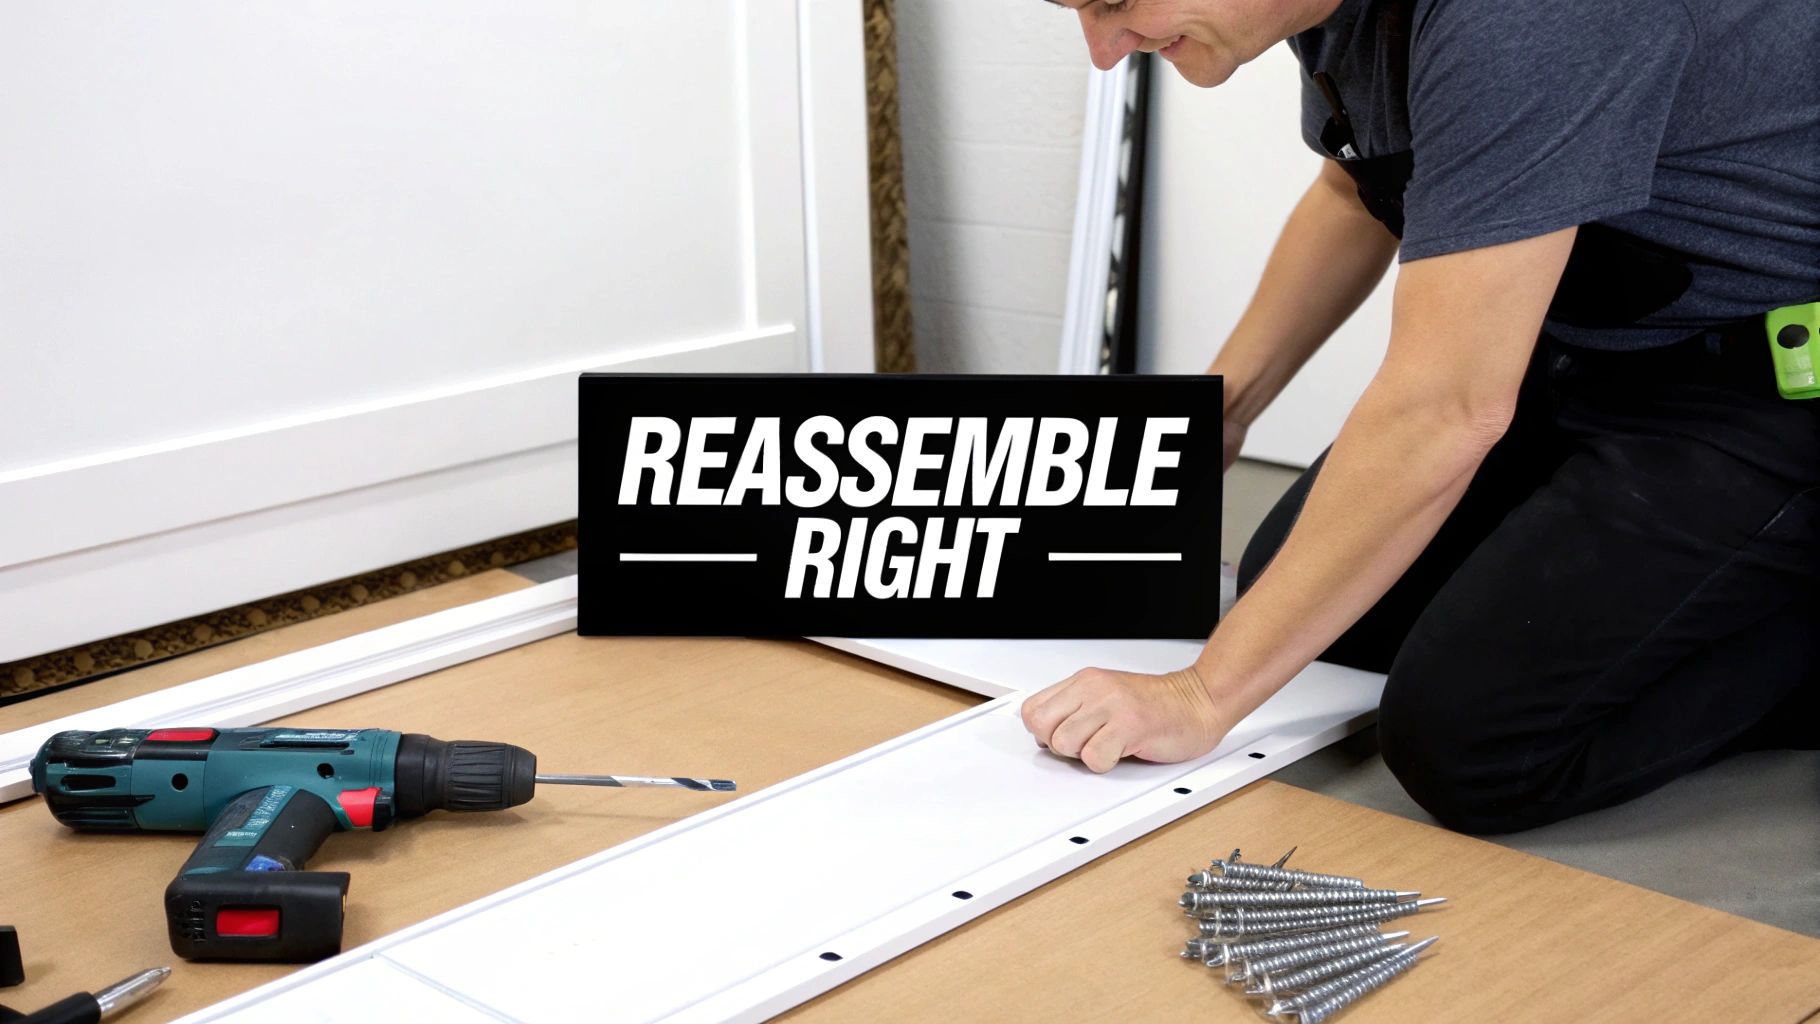
Alright, the new glass is in and working. You’re in the home stretch, but don't let your guard down just yet. This final stage of reassembly is where a good job can turn into a great one—or a frustrating one if you rush. Getting this right means no annoying rattles, weird gaps, or electrical gremlins haunting you later.
Your first move is to reattach the vapor barrier. Make sure you get a tight, continuous seal all the way around; this is your door's best defense against moisture. After that, it's time to reconnect all those electrical plugs for the windows, speakers, and locks. I always give each one a gentle tug after it clicks to be sure it's seated properly. Trust me, it's a common mistake to leave one loose, and you don’t want to pull this panel off a second time.
Sidestepping the Usual DIY Headaches
I’ve seen a lot of first-timers make the same few mistakes during reassembly. If you know what they are ahead of time, you can save yourself a world of hurt.
Go Easy on the Bolts: When you’re securing the door panel, tighten the screws until they’re just snug. It’s tempting to really crank down on them, but you’ll likely strip the plastic threads or, even worse, crack the panel itself.
Check the Door Handle—Twice: Before you snap that panel all the way back on, make absolutely sure the door handle cable is connected and working correctly. Test both the inside and outside handles to see if they operate without a fight.
Do One Final Sweep: Once the panel feels like it’s in place, run your hand along all the edges. You're feeling for any gaps or uneven spots. If it isn't sitting flush against the door frame, one of the clips probably missed its hole.
The single biggest mistake I see? People get excited and rush the finish line. After spending all that time carefully replacing the glass, it’s easy to blast through reassembly. Taking an extra 10 minutes to double-check every connection and alignment is what separates a pro job from a DIY nightmare filled with rattles and dead switches.
Dealing with Modern Car Tech
Newer cars definitely add a few wrinkles to this process. The explosion of Advanced Driver-Assistance Systems (ADAS) means our cars are packed with sensors and cameras, some of which might be located near the windows. The ADAS calibration market was valued at around $959 million in 2022, which just shows how critical these systems have become. By 2025, it's estimated that over 80% of new vehicles in the U.S. will feature at least one ADAS component. You can get more details on the growth of ADAS in the auto glass industry on verysmoothautoglass.com.
While the main ADAS cameras are usually on the windshield, it’s still wise to be mindful of any sensors nearby. Be gentle with wiring harnesses and try not to disturb any components that aren't part of the job.
And now that you’ve successfully tackled this repair, you might be thinking about other upgrades. A great next step is adding some tint. Check out our guide on mobile window tint to boost your car's privacy and style.
Common Questions About Replacing Car Window Glass
https://www.youtube.com/embed/OCC2JCfLNXw
Even after running through the whole process, a few questions always seem to come up. It's totally normal to have a few last-minute "what ifs" before you start pulling your door apart. We've gathered some of the most common ones we hear from folks doing this job for the first time to give you the straight answers you're looking for.
Think of this as your quick-hit guide for those nagging concerns. Getting these sorted out now will give you the confidence to tackle the project and handle anything that comes your way.
How Much Can I Realistically Save?
Let's be honest, the savings are a huge part of why you're reading this. A professional replacement can easily set you back anywhere from $200 to over $500, especially depending on the car you drive. Compare that to the cost of the replacement glass itself, which usually falls somewhere between $50 and $150.
By putting in a few hours of your own time, you're pocketing that difference. We're often talking a couple hundred bucks. For anyone with a few basic tools and a bit of patience, it’s one of the more rewarding DIY projects you can do.
What Is the Most Difficult Part of the Job?
From what I've seen, two parts of this job consistently trip people up. The first is getting that interior door panel off without breaking any of the plastic clips. They can get brittle over time, so a gentle, steady hand is key.
The second—and arguably more critical—is cleaning up every last shard of broken glass from inside the door.
I can't stress this enough: those tiny glass fragments get everywhere. If you miss some, you're pretty much guaranteed to hear rattling down the road. Worse, they can jam up the new window's regulator mechanism. Taking your time on the cleanup isn't just a suggestion; it's essential for a repair that lasts.
Should I Replace the Window Regulator Too?
Probably not. If your window was working fine before it broke—moving up and down smoothly without any weird noises—the regulator is almost certainly okay. There's no sense in replacing parts that aren't broken.
That said, with the door panel already off, you have the perfect opportunity to give it a quick look. Check the regulator's cables for any fraying and look for stress cracks in the plastic guides. If something looks worn out, replacing it now is a whole lot easier than tearing the door apart again in six months.
What Is Tempered vs. Laminated Glass?
This is an important one. Most side windows are made from tempered glass. It's designed specifically to shatter into thousands of small, cube-like pieces on impact. This makes it much safer in an accident, as you don't have large, sharp shards flying around.
Laminated glass, on the other hand, is what your windshield is made of. It's essentially a plastic sandwich, with a layer of vinyl between two sheets of glass. When it breaks, it cracks in a spiderweb pattern but stays in one piece.
Some newer luxury cars are starting to use laminated glass for side windows to make the cabin quieter and more secure. You absolutely need to confirm you're ordering the right type for your vehicle.
When you need professional-grade results without the DIY hassle, Auto Renu Auto Glass LLC is ready to help. We bring expert mobile service directly to you, ensuring your car is safe and secure. For a fast, free estimate on your auto glass needs, visit us at https://www.autorenu911.com.