Repair Windshield Chip: repair windshield chip in minutes
Learn how to repair windshield chip quickly with simple at-home steps and when to call a pro.
Nov 20, 2025
generated
repair windshield chip, windshield repair kit, DIY auto glass, car maintenance, windshield crack repair

That little chip on your windshield? It’s more than an annoying blemish—it's a ticking clock. It’s easy to glance at it and think, "I'll get to that later," but that tiny flaw is a serious weak point in your vehicle's safety system. Putting off a repair for a windshield chip is a gamble that almost always ends with a much more expensive windshield replacement.
Why You Can't Ignore a Small Windshield Chip
We often write off a rock chip as a minor cosmetic issue, but that couldn’t be further from the truth. Your windshield is a vital piece of safety equipment. It does a lot more than just keep the bugs out of your teeth; it's a key part of your car's structural integrity.
Believe it or not, in a rollover accident, the windshield provides up to 60% of the structural strength that keeps the roof from caving in. A chip, no matter how small, compromises that strength, putting everyone inside at a much greater risk.
On top of that, the passenger-side airbag relies on the windshield. It's designed to deploy and brace against the glass to protect the passenger. If the windshield is already damaged, it might not handle the explosive force of the airbag, causing it to shatter and fail when you need it most.
How Everyday Driving Turns a Small Chip into a Long Crack
That chip might look stable now, but it’s constantly under attack from forces you can’t even see. Once you understand what's working against it, you'll see why getting it fixed quickly is so critical.
Temperature Swings: This is the number one culprit. Blasting the defroster on a frosty morning or cranking the AC on a blistering summer day causes the glass to expand and contract. That stress zones right in on the weakest point—your chip—and can send a crack shooting across your line of sight in an instant.
Road Vibrations: Even the smoothest-looking roads create constant vibrations. Hitting a pothole, rolling over a speed bump, or just slamming the car door can send a shockwave through the glass, giving that chip just the jolt it needs to start spreading.
Direct Pressure: Even something as routine as a high-pressure car wash can be the final straw. It can force water deep into the chip, getting between the layers of glass. If that water freezes, it expands and pushes the glass apart from the inside out.
The hard truth is, over 90% of chips will eventually crack if they aren't repaired. It’s really not a matter of if, but when. A quick repair is the only way to stop a crack before it starts.
The Smart Money is on a Quick Repair
Putting off a chip repair isn’t just a safety issue—it’s a bad financial move. A professional repair costs a fraction of a full windshield replacement. In fact, many comprehensive auto insurance policies will cover the cost of a repair and even waive your deductible, meaning it could cost you nothing out of pocket. Insurance companies would much rather pay for a small fix now than a huge replacement later.
The market reflects this reality. The global windshield repair kits market was valued at around USD 1.2 billion in 2023 and is expected to grow significantly. This isn’t surprising; drivers are catching on that fixing chips early is cheaper and far more convenient. You can read more about windshield repair market trends in this detailed report. Bottom line: acting fast is the smartest financial decision you can make.
Don't let a small chip sit. Taking a few simple steps right after you notice the damage can prevent it from spreading while you arrange for a professional repair.
First Steps After Discovering a Windshield Chip
Follow these initial steps to stop a windshield chip from spreading while you arrange for a permanent repair.
Immediate Action | Why It Matters |
|---|---|
Cover the Chip | Place a piece of clear tape over the chip to keep out dirt, debris, and moisture. This ensures a cleaner, stronger repair later. |
Avoid Temperature Extremes | Park in the shade or a garage. Avoid using the defroster or high-powered AC, as sudden temperature changes are the leading cause of cracks. |
Drive Gently | Avoid slamming doors, driving over potholes, or hitting speed bumps too fast. Sharp impacts can easily turn the chip into a crack. |
Schedule a Repair ASAP | The sooner you call a professional, the better your chances of a successful and nearly invisible repair. Waiting only increases the risk of a full replacement. |
Taking these precautions gives you the best chance of saving your windshield and avoiding a more costly replacement.
How to Assess Your Windshield Damage
So, you've got a fresh chip on your windshield. It might look small and insignificant, but not all damage is the same. Getting a good read on what you're actually dealing with is the first, and most important, step toward a solid fix. Forget the old "dime-sized" rule of thumb—a real assessment will tell you whether you can repair the windshield chip yourself or if it's time to call in a professional.
Figuring this out isn't rocket science. You just need to know what to look for. The type of chip, its size, and where it's located on the glass are the three big things that will dictate your next move.
What Kind of Chip Is It?
Different impacts leave different signatures in the glass, and each one requires a slightly different approach. I recommend grabbing a flashlight, even in daylight, to get a really clear look at the damage. You'll probably see one of these common patterns.
Bull's-Eye: This is the classic. It looks like a small, dark circle, almost like a tiny crater. These are typically the easiest to repair because the damage is clean and contained.
Star Break: This one has little "legs" or cracks shooting out from the middle, just like a star. You have to be careful with these—those little legs love to spread, especially with temperature changes.
Combination Break: Just as it sounds, this is a messy mix of a bull's-eye center with star-like cracks branching off. These are more complex, and a successful repair depends on getting resin into every single crevice.
Half Moon: This looks like a partial bull's-eye, basically a semi-circle. It's another common type that's usually a straightforward fix.
This infographic gives you a quick visual guide for what to do when you spot that chip.
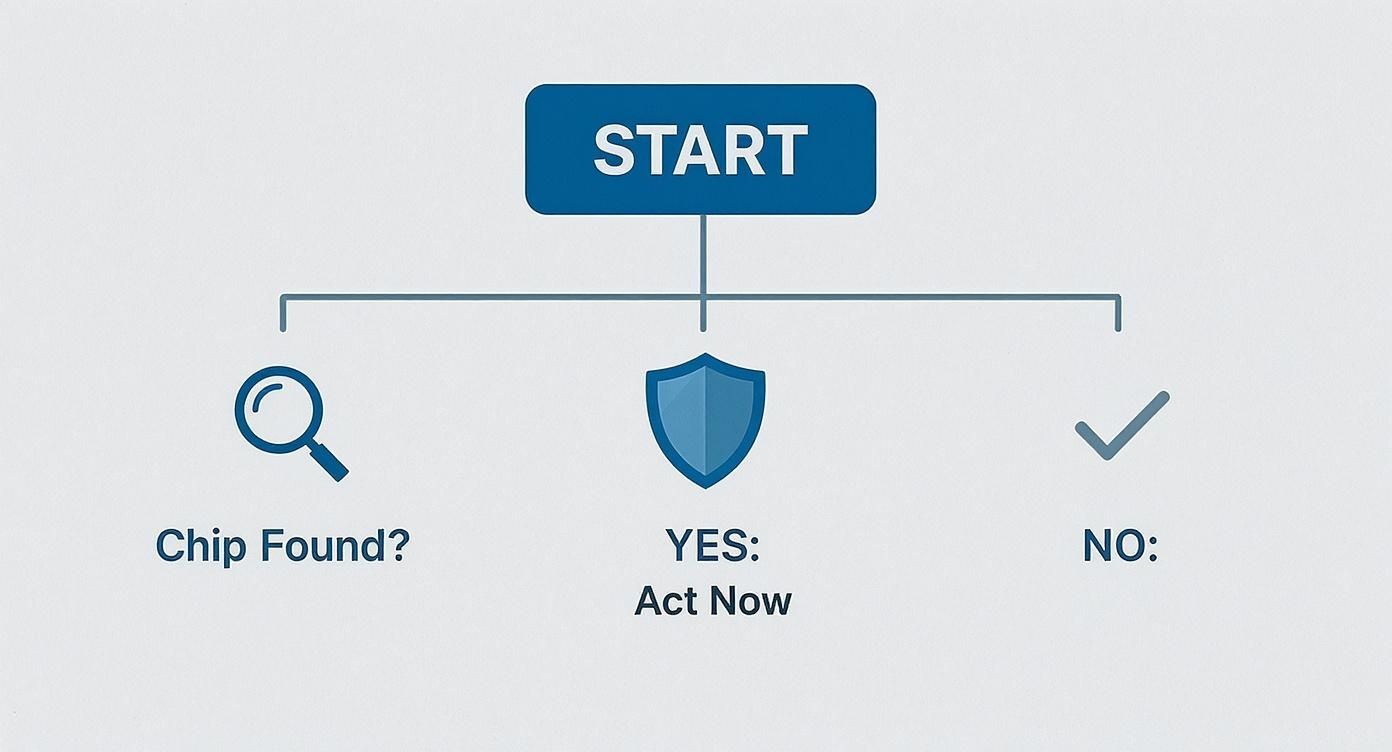
The main takeaway here is pretty clear: if you see a chip, you need to act fast before it gets worse.
Checking the Size and Depth
Size is a huge deal. While a pro can often fix damage bigger than a quarter, most DIY kits are only meant for much smaller impacts. My rule of thumb? If the chip is bigger than a quarter, or if any of the cracks coming off it are longer than three inches, it's time to let an expert handle it.
The depth of the damage is just as critical. Your windshield is actually a sandwich of two glass layers with a plastic sheet (PVB) in the middle. For a repair to work, the damage can only be on the outer layer of glass. If it has gone all the way through to that inner plastic layer, a simple resin repair won't cut it. An easy way to check is to run your fingernail over the chip on the inside of the car. If you feel a dip or anything unusual, the damage is too deep.
While a seasoned technician might be able to repair a crack up to six inches long, that's really pushing the boundaries. For a repair that's going to last and keep you safe, smaller is always better.
Pinpointing the Chip's Location
Where the chip is located is just as important as how big it is. Some spots on the windshield are simply no-go zones for repair because of safety and structural integrity.
Driver's Line of Sight
This is the big one. The driver's direct line of sight is the most critical area—think of it as the zone right in front of the driver, about as wide as the steering wheel. Even a perfect repair can leave a tiny bit of distortion, which is the last thing you want distracting you on the road. For this reason alone, most reputable shops will recommend a full replacement for any chip in this area.
Too Close to the Edge
The edges of a windshield are under a lot of structural tension. A chip within two to three inches of the edge can seriously compromise the glass, making it far more likely to split into a long, unfixable crack. We call this the "stress zone," and repairs here are risky and often don't hold up over time.
Damage Over a Sensor
Newer cars are packed with technology, including cameras and sensors for Advanced Driver-Assistance Systems (ADAS) mounted right behind the windshield. If a chip sits directly over one of these sensors, a repair could mess with its calibration and function. In this case, a replacement followed by a professional recalibration is the only truly safe option.
By looking closely at these three factors—type, size, and location—you can get a really accurate picture of what you're up against. This is what empowers you to decide if a DIY kit is a realistic solution or if the job calls for the expertise of a service like Auto Renu Auto Glass LLC.
So, You're Thinking of a DIY Windshield Repair? Here's How to Do It Right.
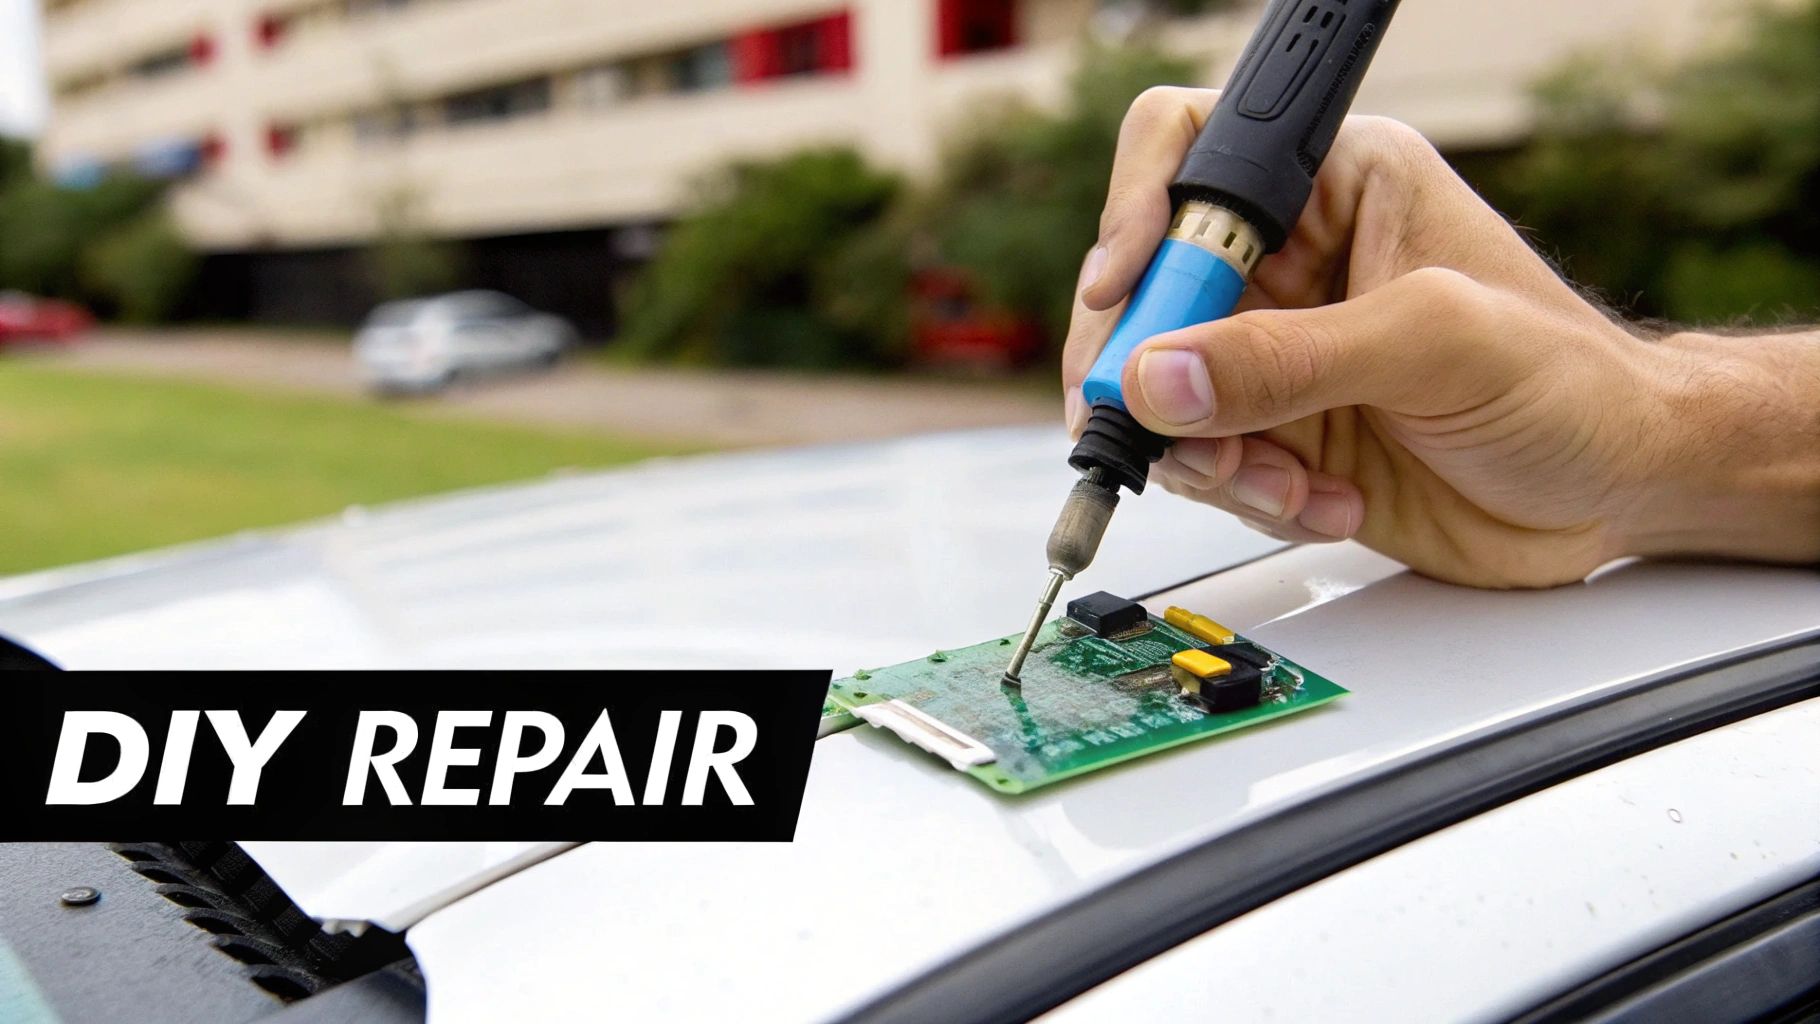
If you've checked out the chip and it's small and simple, a DIY kit can be a fantastic way to handle the repair windshield chip situation yourself. Let's be honest, these kits are everywhere now, and for good reason—they offer a quick and cheap fix compared to calling in a professional for a minor ding.
It’s no surprise they’ve taken off. In fact, small-scale chip repairs for damage under fifteen millimeters are the fastest-growing slice of the entire windshield repair market. That boom is tied directly to how good these little portable resin kits have become. You can find more data on this trend and the windshield repair industry on 360iResearch.com.
But here's the catch: the kit is only half the battle. A great result comes down to your prep work and patience. Getting it right means understanding why you're doing each step, which is the secret to a repair that’s not just strong but nearly invisible.
Nail the Prep Work (This Is Non-Negotiable)
I can’t stress this enough: the single most critical step is prepping the damaged area. If you leave any dirt, moisture, or tiny glass fragments in the chip, the resin won't bond correctly. You'll end up with a weak, cloudy spot that’s bound to fail.
First, clean the glass around the chip thoroughly with some rubbing alcohol and a microfiber cloth. Next, take the little pushpin or probe from your kit and gently—very gently—pick out any loose slivers of glass from the impact point. You’re just trying to clear the path for the resin, not make the damage worse.
And if there’s any moisture in there from rain or a recent car wash, you have to get it completely dry. A hairdryer on a low setting for a minute or two works perfectly. The chip needs to be bone-dry.
The Art of Applying the Resin (No Air Bubbles Allowed)
This is where most DIY repairs go south. The entire goal is to push resin into every last nook and cranny of the chip, forcing all the air out. Air bubbles are the enemy—they create weak spots and look terrible.
Your kit will have some sort of applicator that creates a seal and a vacuum over the chip. It’s absolutely vital to follow the instructions for your specific kit, but here are the universal rules of thumb:
Stay Out of the Sun: Never, ever do the repair in direct sunlight. The sun's UV rays will start to harden the resin before it has a chance to fully seep into the cracks. Find a shady spot or work in your garage.
Slow and Steady Wins the Race: When you inject the resin, apply slow, consistent pressure. Rushing this step is the number one reason people get air bubbles trapped in their repair.
Give It Time: Don't be in a hurry. Let the resin sit under pressure for the recommended time (usually several minutes) to ensure it works its way into every microscopic fracture.
A little insider tip from the pros? It's all about patience. We know that letting the resin flow naturally under pressure is what creates that seamless, strong bond. Rush it, and you’re pretty much guaranteed a lousy result.
Curing the Resin for a Rock-Solid Finish
Once the chip is completely filled, it’s time to lock it in. Curing is the chemical process that turns the liquid resin into a hard, permanent bond that becomes part of your windshield. And for this step, the sun is finally your friend.
After you take the applicator off, place the little clear curing strip from the kit flat over the wet resin. This keeps it from running and gives you that smooth, flush finish. Now, move your car out into direct sunlight.
The UV rays are what trigger the hardening agent in the resin. Let it bake for the time listed in the instructions, which is typically between 15 to 30 minutes. Once it's fully cured, take a fresh razor blade, hold it at a 45-degree angle, and carefully scrape off the excess hardened resin. A quick polish, and you're done. Your windshield's integrity is restored.
When It's Time to Call in the Pros for a Windshield Repair

While a DIY kit can be a lifesaver for a tiny, clean bull's-eye chip, there are plenty of times when trying to fix a windshield chip yourself is a bad idea. Knowing when to put the kit down and pick up the phone isn't admitting defeat—it's about making the smart, safe choice for your car.
Certain types of damage are just too tricky for a DIY approach. The repair resin has to get into every single microscopic fracture to properly restore the windshield's strength, and that requires specialized equipment and a whole lot of experience. If you spot any of the following warning signs, it's a clear signal that the job needs an expert touch.
Comparing a DIY Kit vs Professional Repair
Deciding whether to tackle a chip yourself or call a technician can be tough. This quick comparison should help you weigh the pros and cons based on what really matters.
Consideration | DIY Repair Kit | Professional Service |
|---|---|---|
Best For | Small, simple bull's-eye or star chips (dime-sized or smaller). | Complex cracks, multiple chips, contaminated damage, and anything in the driver's view. |
Cost | Typically $15-$25. | $50-$150 on average, but often covered by insurance with $0 out-of-pocket. |
Tools & Tech | Basic syringe or plunger system with a single-part resin. | Vacuum injectors, pressure-cycling tools, and multiple specialized resins for different breaks. |
Outcome | Can be effective for minor chips but risks a visible, weak, or incomplete repair. | A nearly invisible repair that restores ~95% of the original structural integrity. |
ADAS Safety | No ability to assess or recalibrate ADAS systems. | Trained to work around sensors and can perform required recalibration. |
Ultimately, while a DIY kit saves a few bucks upfront, a professional repair offers peace of mind, a better result, and ensures your vehicle's advanced safety systems are unaffected.
When the Damage Is Just Too Complicated
A simple, small chip is one thing, but complex damage patterns are a whole different ballgame. A professional technician has the right tools and training to fix damage that would easily overwhelm a basic kit.
You should consider these scenarios immediate red flags:
Long Cracks: Has that chip already started to spread? If a crack is longer than a dollar bill (about six inches), it's way beyond a simple repair. A pro uses special tools to stop the crack in its tracks before injecting resin along the entire length.
Multiple Chips: A spray of gravel can leave a cluster of chips, creating a large, unstable section of glass. A technician can properly assess if the area can be saved or if the windshield's integrity has been compromised too much.
Dirty or Wet Damage: If you waited a few days and the chip is now full of dirt, debris, or moisture, a DIY kit is out of the question. Professionals have methods to carefully clean and dry out the inside of the chip before filling it, which is critical for a strong, clear bond.
Damage in the Driver's Direct Line of Sight
This is a hard-and-fast rule in the auto glass industry. Any damage, no matter how small, that sits directly in the driver's line of sight is a job for a professional. Period. Even the best repair can leave a tiny distortion or "scar" in the glass.
While that slight blemish is perfectly fine elsewhere, it can be a dangerous distraction right in your main field of vision. A professional service like Auto Renu Auto Glass LLC will almost always recommend a full replacement for damage in this critical area. When damage is too severe to fix, understanding the windshield replacement process is the best next step.
A reputable auto glass technician will always put your safety before a quick repair. If they tell you a replacement is necessary for a chip in your line of sight, they're following industry best practices designed to keep you safe on the road.
Windshields with ADAS Technology
Modern cars are loaded with incredible safety tech called Advanced Driver-Assistance Systems (ADAS). These systems rely on cameras and sensors mounted right behind your windshield to control features like automatic emergency braking, lane-keeping assist, and adaptive cruise control.
If your car has ADAS, any work on the windshield—even a "simple" chip repair—can potentially throw off the precise calibration of these cameras. A professional is trained to work around these sensitive systems. More importantly, if a replacement is needed, they have the equipment to perform a crucial ADAS recalibration to make sure your safety features work exactly as they should.
This growing complexity is a huge factor in the auto glass industry. In fact, the global market for windshield services is projected to hit $23 billion by 2033, largely because of the increasing need for specialized services like ADAS recalibration.
Choosing a professional ensures not just the strength of your glass, but the proper function of your car’s most important safety systems. When it comes to something this vital, you can't beat the peace of mind that comes from trusting an expert.
Understanding Insurance and ADAS Recalibration
https://www.youtube.com/embed/rBPSevKCsbI
Let's talk about the two biggest things that often trip people up: cost and those high-tech safety systems in newer cars. A lot of drivers put off fixing a chip because they're worried about the bill. But what I've seen over the years is that most people are surprised to find out a professional repair is way more affordable than they imagined.
In fact, there's a good chance it won't cost you a single penny out of pocket.
When you look at it from your insurance company's perspective, a repair for a windshield chip is a no-brainer. They see a small, quick fix today as a smart way to prevent a massive bill for a full windshield replacement tomorrow. It's a win-win, and that's why they often make it incredibly easy for you to get it done.
Does Car Insurance Cover Chip Repairs?
For almost everyone with comprehensive coverage, the answer is a big, fat yes. Repairing a chip is almost always covered.
Here's the best part: most insurance carriers will actually waive your deductible for a chip repair. So, even if you have a $500 deductible for other claims, you won't have to pay it for this. The insurance company covers the entire cost, making it a pretty simple decision to pick up the phone.
When you call your agent, just be direct.
Explain you have a small chip you want to get repaired before it spreads.
Ask them to confirm your comprehensive policy includes a zero-deductible chip repair.
Let them know you'd like to use a specific shop, like Auto Renu Auto Glass LLC.
That quick call can clear everything up. Getting on it right away saves your windshield and keeps you from dealing with a much bigger headache later on.
A quick tip from our team: Don't hesitate to make the call. Insurance companies want you to get chips repaired. A 30-minute repair today prevents a claim for a $500+ replacement tomorrow, which is good for everyone.
Why Your Car's Safety Systems Are Involved
A windshield isn't just a piece of glass anymore. In modern cars, it's a critical part of your vehicle’s technology hub, especially when it comes to Advanced Driver-Assistance Systems (ADAS).
Think about features like:
Lane-Keep Assist: The cameras that "see" the lines on the road.
Automatic Emergency Braking: The sensors that watch for obstacles.
Adaptive Cruise Control: The system that tracks the car in front of you.
Where are the forward-facing cameras and sensors for these systems located? You guessed it—mounted directly to your windshield. Their alignment has to be absolutely perfect to work correctly.
The Critical Need for ADAS Recalibration
If a chip repair happens near one of these cameras, or if you ever need a full replacement, that alignment can be thrown off. Recalibration isn't just a good idea; it's a mandatory safety procedure.
A camera that's misaligned by even a single degree can fail to read the road properly. That could mean a safety feature doesn't engage when you need it most, or even worse, engages when it shouldn't.
This is exactly why you want a professional handling the job. A trained technician knows to check if the damage impacts any ADAS components. If a replacement is performed, they'll follow up with a precise recalibration to get everything back to factory specs. You can dive deeper into ADAS windshield calibration in our detailed guide to see just how important this process is.
At the end of the day, fixing a chip is about more than just glass. It’s about maintaining the entire safety ecosystem of your car.
Your Top Windshield Repair Questions, Answered
Deciding to fix a chip is the first step, but you probably still have a few questions about how it all works. I get it. You want to know you're making the right call for your car and your budget. After years in this business, I've heard just about every question there is, so let's clear up the most common ones.
Knowing what’s coming takes the stress out of the equation. From how long you'll be without your car (spoiler: not long at all) to what the final result looks like, here’s the real-world scoop on what to expect when you repair a windshield chip.
How Long Does a Professional Windshield Chip Repair Take?
One of the best parts about professional chip repair is just how fast it is. An experienced technician can have you back on the road in about 30 to 45 minutes. This isn't some quick-and-dirty patch job, either; that's the time it takes to do it right.
Here’s a quick rundown of what we're actually doing in that half-hour:
Prep Work: We start by meticulously cleaning every bit of debris and moisture out of the chip. Any tiny glass fragments or dirt left behind can compromise the repair, so we’re thorough.
Resin Injection: Next, we use a special tool to create a vacuum over the chip, sucking out all the air. Then, we inject a high-quality, optically matched resin that flows into every nook and cranny of the damage.
Curing: A UV light is placed over the area to cure the resin, hardening it into a permanent bond that’s as strong as the glass itself.
Finishing Touches: Finally, we scrape off any excess resin and give the spot a quick polish, leaving the surface perfectly smooth.
Because the process is so efficient, your car is safe to drive the moment we're done. You can easily squeeze it in during your lunch break.
Will the Chip Be Completely Gone After the Repair?
This is probably the most important question we get, and it’s all about setting the right expectations. A windshield repair has two main jobs: first and foremost, to restore the structural strength of the glass, and second, to stop that chip from turning into a full-blown crack. The cosmetic improvement is a very close third.
A quality repair will make the damage far, far less noticeable. We typically see between 85% and 95% of the optical clarity restored. That said, it's normal for a tiny blemish or faint outline to remain. You’ll probably only spot it if you know exactly where to look.
The crucial takeaway is this: A successful repair transforms a dangerous weak point into a strong, stable part of the windshield. While a tiny mark might remain, the glass is once again safe and the distracting, eye-catching damage is gone.
Is It Safe to Go Through a Car Wash After a Repair?
Absolutely. Once that liquid resin is cured with the UV light, it triggers a chemical reaction that creates an incredibly tough, permanent bond. This cured resin is completely waterproof and more than strong enough to handle the pressure jets at an automatic car wash.
As a general rule, I usually tell people to wait an hour or so before washing their car, just to be extra cautious and let everything fully settle. After that, treat your windshield like you always have. A proper repair is meant to last the lifetime of the windshield, holding up against everything from car washes to winter storms. If you have any specific concerns, our team is always here to help when you contact Auto Renu Auto Glass LLC.
Can an Old Chip Still Be Repaired?
It's always, always best to get a chip fixed as soon as you spot it. The longer it sits there, the more dirt, road grime, and moisture work their way deep into the tiny cracks. All that contamination makes it tougher for the repair resin to create a clean, strong bond with the glass.
Now, can we still fix an older chip? Often, yes. An experienced tech can clean it out and get a solid repair. But the final result is rarely as clear as when we work on fresh damage. That trapped gunk can sometimes leave the repair looking a bit cloudy. Acting fast gives you the best shot at a repair that's not only strong but also practically invisible.