Fix a Car Window A DIY Guide for Common Problems
Learn to fix a car window with our guide. We cover troubleshooting stuck windows, replacing regulators, handling broken glass, and knowing when to call a pro.
Jan 12, 2026
generated
fix a car window, power window repair, car window regulator, auto glass repair, DIY car maintenance
When your car window decides to stop working, the first and most important step is to play detective. Before you even think about grabbing tools, just listen. The sounds the window makes—or doesn't make—are huge clues that can tell you whether you're dealing with a simple electrical hiccup or a more serious mechanical breakdown. This quick check can save you a ton of unnecessary work and help you figure out if this is a DIY job or one for the pros.
What to Do First When Your Car Window Fails

A window that won't budge is more than just annoying. It's a security risk, an open invitation to thieves, and a surefire way to get soaked if it starts raining. But hold off on tearing that door panel apart. A few minutes of simple diagnosis can save you hours of frustration by pointing you directly to the root cause.
So, the very first thing you need to do is listen carefully. The noises (or lack thereof) when you hit that switch will tell you almost everything you need to know.
Interpreting the Sounds of a Faulty Window
Your ears are genuinely your best diagnostic tool for this job. Press the switch for the stuck window and pay close attention to what happens.
Complete Silence: Hear nothing? Not a click, not a hum, just dead air? That almost always points to an electrical problem. This can be the best-case scenario, as it might just be a blown fuse. Other culprits could be a dead switch or a fried window motor.
A Clicking or Whirring Noise: If you hear a click or a faint whirring sound from inside the door, but the glass doesn't move, the motor is getting power. The problem is that it's no longer connected to the window itself. This is a classic symptom of a broken window regulator.
Grinding or Crunching Sounds: This is the ugly one. Loud, gravelly grinding noises are a dead giveaway that the regulator has failed spectacularly. Usually, the cable has snapped and is getting chewed up by the motor, or the plastic gears in the assembly have been completely stripped.
Pro Tip: Always try the window switch on the affected door and the master control switch on the driver's side. If it works from one but not the other, you've just diagnosed a faulty switch. That's a far easier and cheaper fix than swapping out a motor or regulator.
Next Steps in Your Diagnosis
Okay, you've listened and have a good idea of what's wrong. What's next?
If you were met with silence, your next move is to find the fuse box. Your car's owner's manual will have a diagram showing you exactly which fuse protects the power windows. Pull it out and see if it's blown.
If you heard that tell-tale clicking or grinding, you're dealing with a mechanical failure. The only way to know for sure is to pop off the interior door panel and take a look at the window regulator and motor assembly. This visual inspection will confirm your diagnosis and help you decide if you've got the skills and tools to tackle the job yourself, or if it's time to call a mobile auto glass expert to come to you.
Getting Your Hands on the Right Tools
Trying to fix a car window without the right gear is like trying to cook a gourmet meal with just a butter knife. You might make some progress, but the result will be messy, frustrating, and you'll probably break something along the way. Before you even pop off that first trim piece, let's talk about what you need to have within arm's reach.
Getting your tools sorted out beforehand is the single biggest thing you can do to make this job go smoothly. A little prep work here saves a ton of headaches—and extra trips to the auto parts store—later.
The Everyday Heroes of Your Toolbox
Good news: you probably already have most of the basics. These are the workhorses you'll need for almost any window fix, whether you're wrestling with a new regulator or cleaning up shattered glass.
Socket and Ratchet Set: This is non-negotiable. You’ll be dealing with a lot of bolts holding the door panel and regulator, and a good metric set (usually 8mm to 14mm sockets) is your best friend.
Screwdriver Set: A mix of Phillips and flathead screwdrivers is a must. You'll need them for various screws and, in a pinch, for gently persuading a clip to release.
Work Gloves: Seriously, don't skip these. Broken glass is a nightmare, but even the stamped metal edges of a window regulator can be surprisingly sharp. A good pair of mechanic's gloves will save your hands.
Safety Glasses: If you're dealing with shattered tempered glass, this is an absolute must. Those tiny cubes of glass get everywhere, and you only get one set of eyes.
The “Secret Weapon” Tools Pros Use
Now, let's get into the tools that really make a difference. These are the things that separate a clean, professional-looking repair from one that leaves your car with new scratches and broken plastic clips.
The most important thing you can buy is a set of plastic trim removal tools. They're cheap, usually under $20, but they are worth their weight in gold. Trying to use a metal screwdriver to pry off a delicate door panel is the fastest way to leave a permanent, ugly gouge in the plastic. These tools are designed to pop clips and panels without causing damage.
I learned this the hard way years ago on a friend's car. I thought I could get away with using a flathead screwdriver wrapped in electrical tape. The tape tore, the screwdriver slipped, and I left a nasty scratch right on the armrest. A $15 tool kit would have saved me from a very awkward conversation.
Don't Forget the Supplies
Tools are only half the battle. Depending on the job, you'll need a few specific materials to put everything back together correctly and ensure it lasts.
Heavy-Duty Tape: You'll need this to hold the glass in the "up" position while you're unbolting the old regulator. Strong painter's tape or duct tape works, but be careful of the residue.
Butyl Tape: If you have to remove the plastic vapor barrier inside the door, this is the right stuff to stick it back on. It creates a waterproof seal that keeps moisture and road noise out of your cabin.
Thick Plastic Sheeting: For a temporary window fix, don't use a flimsy kitchen trash bag. Grab a heavy-gauge contractor bag or some 6-mil plastic sheeting from a hardware store. It’s far more durable and will actually stand up to wind and rain while you wait for parts.
Before starting any project, it's a great idea to lay everything out and make sure you have what you need. A quick inventory can save you a world of trouble.
Essential Toolkit for Car Window Repair
Tool/Material | Primary Use | DIY-Friendly? |
|---|---|---|
Socket & Ratchet Set | Removing bolts on door panels, speakers, and regulators. | Yes |
Trim Removal Tool Kit | Safely prying off plastic interior panels without scratching them. | Yes |
Screwdriver Set | Removing various screws and sometimes gently prying components. | Yes |
Safety Glasses & Gloves | Protecting eyes from glass shards and hands from sharp edges. | Yes |
Shop Vacuum | Cleaning up shattered glass from inside the door and cabin. | Yes |
Heavy-Duty Tape | Temporarily holding the window glass in place during repair. | Yes |
Butyl Sealant Tape | Re-sealing the door's vapor barrier to keep moisture out. | Yes |
Glass Suction Cups | Safely handling and positioning a new pane of window glass. | Yes |
Having these items ready will prepare you for the most common issues you're likely to face. It's the foundation for a successful, damage-free repair.
What to Do When Your Power Window Regulator Gives Up
Ever had your car window suddenly drop into the door with a loud thunk? Or maybe it just groans and struggles, barely moving at all. Nine times out of ten, the problem is a failed window regulator. This is the mechanism—a blend of a motor and a track system—that does the heavy lifting.
Fixing it might sound intimidating, but it’s a classic weekend warrior project. The trickiest part is usually just getting the interior door panel off without breaking any of those little plastic clips. Trust me, with a bit of patience and the right approach, you can pull this off without a scratch.
This graphic breaks down the basic prep work for tackling the job yourself.
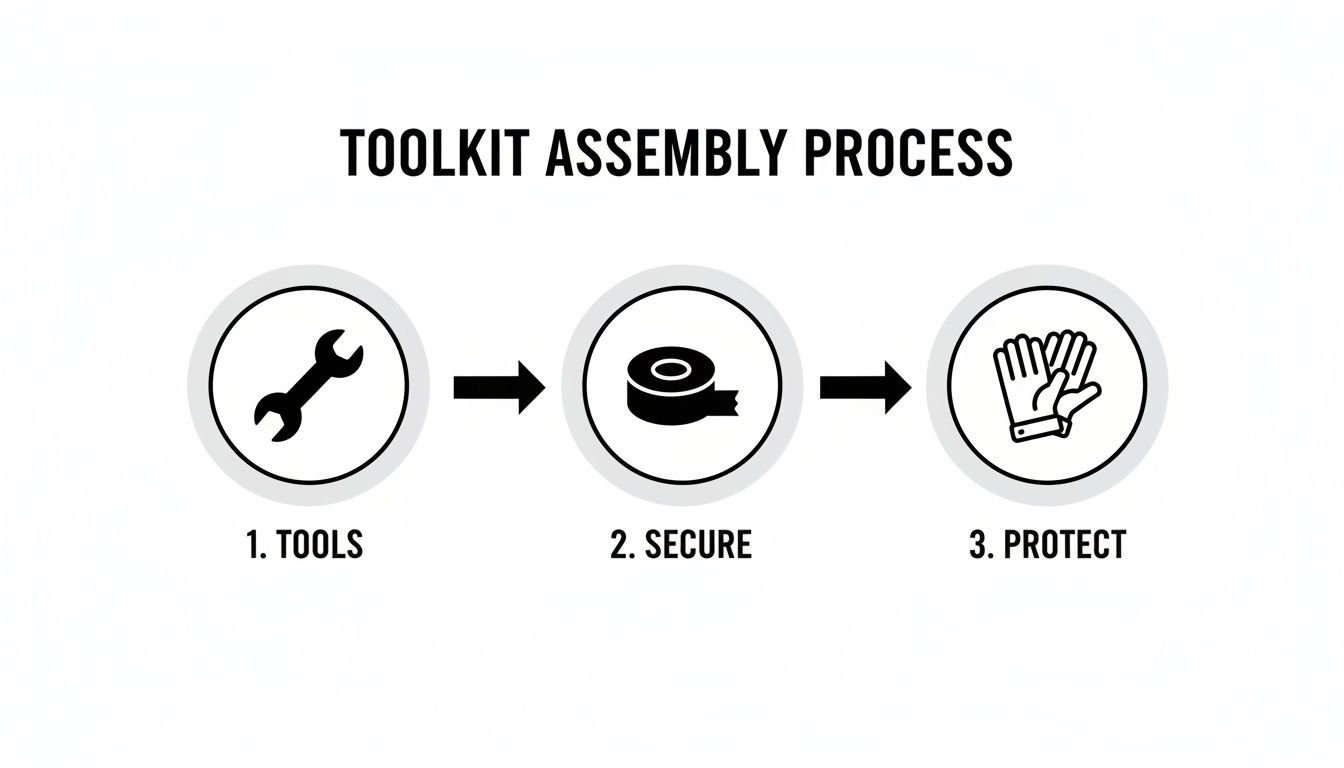
It really boils down to having your tools ready, making sure the glass is secured, and keeping your hands safe.
Getting Inside the Door
First things first, you have to get that door panel off. Start by hunting down all the screws. They love to hide in plain sight, often tucked away behind little pop-out covers in the armrest or around the door handle.
With the screws out, grab your plastic trim removal tools (don't use a screwdriver, you'll regret it!) and gently start prying the panel away from the door. You’ll hear a series of pops as the clips release—that's the sound of success. Work your way around the edges until the panel is free.
Hold on, though. Before you pull it completely away, remember to disconnect the wiring harnesses for your window switches and door locks. They're usually simple clip-on connectors.
If you suspect the problem might be more than just the motor, it's worth checking for other gremlins in the system. Getting familiar with diagnosing other electrical system issues can save you from replacing a part that isn't actually broken.
Making the Swap
Once the panel is off, you'll find a plastic sheet, which is the vapor barrier. Carefully peel it back just enough to see what you're doing. Now you'll have a clear view of the window regulator assembly—the metal tracks and the motor.
The glass is probably loose in the door now, so your next move is critical: secure it. Use strong painter's tape or duct tape to hold the window all the way up. Run a few strips over the top of the door frame to the glass on both sides. This is non-negotiable; it prevents the window from crashing down on your hands.
My Pro Tip: Before you unbolt a single thing, take a picture with your phone. Seriously. Having a photo of how the old regulator and its wiring were situated is a lifesaver when you're putting the new one in.
Now you're ready to get the old unit out.
Unplug the Motor: Find the electrical connector on the motor and disconnect it.
Release the Glass: Look for the bolts or clamps holding the glass to the regulator's lift plate. Carefully loosen and remove them.
Remove the Assembly: Undo the bolts holding the regulator assembly to the door itself. You might need to wiggle and angle it a bit to snake it out through the access holes.
Installing the new regulator is just doing all of that in reverse. Fit the new assembly into the door, bolt it in, and re-secure the glass to the new lift plate. But before you button everything up, plug the window switch back in and give it a test run. A smooth up-and-down motion means you’ve nailed it.
Dealing With a Shattered Window: A Cleanup and Replacement Guide

When a car window shatters, you’re not really doing a “repair.” It's more of a meticulous cleanup and replacement job. Tempered glass doesn't break into nice, big pieces; it explodes into a million tiny, sharp cubes that manage to get absolutely everywhere.
If you rush this, you’re just setting yourself up for headaches later on. Your first priority has to be safety, followed by an almost obsessively thorough cleaning.
Before you even think about touching that glass, get your gear on. We’re talking heavy-duty work gloves and proper safety glasses. These are non-negotiable. Those little glass pebbles can cause some nasty cuts and are a serious danger to your eyes.
The Cleanup: More Important Than You Think
Your best friend for this job is a powerful shop vac, preferably with a narrow nozzle to get into tight spaces. Start with the obvious mess on the seats, floor, and dashboard. But the real work—the part that separates a good job from a bad one—is cleaning out the areas you can't see.
You have to get every last shard out of the inside of the door panel. Seriously, any piece left behind will rattle every time you close the door and can even jam or scratch your brand-new window.
Pay extra close attention to the rubber channels and tracks where the glass slides. A single forgotten fragment here can wreck your whole day.
Clean Out the Door: Carefully pick out any large chunks by hand (with your gloves on!), then get that shop vac nozzle deep into the bottom of the door cavity and suck everything out.
Wipe Down the Tracks: I like to wrap a microfiber cloth around a thin plastic trim tool to gently wipe out the rubber channels. This grabs any fine dust and tiny slivers the vacuum might have missed.
Sweep the Cabin: Do one final, thorough vacuum of the entire car interior. You'd be amazed where that glass can fly—I've found it in air vents, cupholders, and tucked way under the seats.
The goal here isn't just to get the big, obvious pieces. You're hunting down every single fragment to guarantee a clean, quiet installation and to protect the new glass and regulator from damage.
Putting in the New Glass
Once the door is spotless, you're ready to put the new glass in. This part takes patience and a steady hand, so don't rush it.
The process for a back window can have its own quirks. If that's what you're tackling, our guide on how to replace a rear car window has more specific tips for you.
You'll need to carefully angle the new pane of glass and lower it down through the window slot in the top of the door. This is a whole lot easier with a helper to guide it from the other side.
Line up the mounting holes on the bottom of the glass with the clamps on the window regulator. Get the bolts started, but don't torque them down just yet.
Snug them up, then reconnect the power and test the window. Run it up and down a few inches to make sure it’s sitting perfectly in the side channels. Once you're confident it's aligned and moves smoothly, go ahead and tighten those mounting bolts for good.
With the glass secured, all that's left is to put the vapor barrier back on and pop the door panel into place.
Knowing When to Call a Mobile Glass Professional
Look, I'm all for rolling up your sleeves and tackling a good DIY project. But some car window repairs are best left to the pros. Trying to wrangle the glass on a modern vehicle without the right know-how can quickly turn a simple fix into an expensive, even dangerous, mess. Knowing when to put down the tools and pick up the phone is half the battle.
A huge red flag is the type of glass you're working with. More and more cars, especially luxury models, now use laminated side glass for better security and a quieter ride. This isn't your standard tempered glass that crumbles into little cubes. It has a plastic interlayer that holds it together, making removal and replacement a whole different ballgame. It's definitely not a job for a rookie.
When Technology Complicates the Fix
Today's cars are basically computers on wheels, and a surprising amount of that tech is tied directly to the glass. This is where a seemingly straightforward window replacement can get tricky, fast.
Advanced Driver-Assistance Systems (ADAS): Does your car have lane-keeping assist, adaptive cruise control, or automatic braking? The cameras for those systems are usually mounted on the windshield. If that glass gets replaced, a precise ADAS recalibration is non-negotiable. A camera that's off by even a millimeter could fail to see a hazard, putting you at serious risk.
Specialized Sensors: It's not just cameras. Rain sensors, humidity sensors, and even heads-up display (HUD) projectors are often integrated into the windshield. These delicate components need expert handling and often require a system reset after the new glass is in.
Attempting to fix a car window linked to ADAS without proper recalibration is a significant safety risk. The system might appear to work, but its accuracy could be compromised, leading to failure when you need it most.
The Cost and Complexity Factor
All this integrated technology has a major impact on the final bill. This is particularly true for windshields. A replacement that might have cost a couple of hundred bucks a decade ago can now easily soar from $800 to $1,500 on newer vehicles once you add in the essential calibration. For a deeper dive into these industry trends, you can explore detailed insights on the automotive glass industry from GrandViewResearch.com.
Knowing what to expect financially is crucial. While it’s for a different service, this breakdown of mobile detailing service pricing gives you a good sense of how mobile professionals structure their costs, which can help you budget.
Sometimes, you just have to decide if the savings are worth the risk. This table can help you make the call.
DIY Repair vs Professional Service
Scenario | Recommended Action | Key Consideration |
|---|---|---|
Simple Stuck Window (Older Car) | DIY | Likely a mechanical issue (regulator or switch) that's manageable with basic tools. |
Cracked Windshield (with ADAS) | Professional | ADAS recalibration is essential for safety and requires specialized equipment. |
Shattered Side Window (Tempered) | DIY-Friendly | Cleanup is the biggest challenge. The replacement process is often straightforward. |
Broken Laminated Side Glass | Professional | Laminated glass is difficult to remove cleanly and safely without experience. |
Malfunctioning Power Window Motor | DIY or Pro | Depends on your comfort with removing door panels and handling electrical connectors. |
Any Repair You're Unsure About | Professional | Peace of mind is priceless. A pro guarantees the work and has the right insurance. |
At the end of the day, if your repair involves ADAS, laminated glass, or you just don't feel confident, calling a mobile pro is the smartest move you can make. If a tricky power window is your problem, our guide on finding professional power window repair services near you can point you in the right direction. A good technician brings the right tools, the right experience, and takes on all the liability, ensuring the job is done right and your car is safe to drive.
Got Questions About Car Window Repairs? We've Got Answers.
When your car window decides to stop working, it's never a good time. Suddenly, you're faced with a rush of questions about what to do next. It's a problem we see all the time, and we've heard just about every question in the book.
Here are some of the most common ones we get from drivers, along with some straight-to-the-point advice from our years of experience.
What's This Going to Cost Me?
That's always the first question, isn't it? The honest answer is that the price to fix a car window really runs the gamut. If you're lucky, it's just a blown fuse that'll cost you a few bucks and a couple of minutes. But if the whole power window regulator has given up, you're likely looking at a professional repair in the $250 to $450 ballpark.
Dealing with a completely shattered side window? For most cars, you can expect to pay between $200 and $400 for a replacement. Keep in mind, if you drive a luxury vehicle or one with special laminated glass, the price will creep up due to the higher cost of parts. We've put together a more detailed guide on car window repair costs if you want to dive deeper into the numbers.
Key Takeaway: The final bill really comes down to three things: the make and model of your car, what actually broke (glass, motor, or something else), and who's doing the work—you or a pro.
Can I Just Slap Some Duct Tape on It for Now?
I know it’s tempting. Duct tape seems like the universal fix for everything, but please, step away from the roll. Its adhesive is incredibly aggressive and will bake onto your paint and trim, leaving a gummy, impossible-to-clean mess. Trust me, it's not worth the headache.
A much smarter temporary fix is to use clear packing tape—the heavy-duty kind. Use it to secure a thick plastic bag (a contractor-grade trash bag works great) over the opening. This creates a surprisingly effective barrier against the elements and, more importantly, peels off cleanly without damaging anything.
My Window Dropped Inside the Door. Can I Fix That Myself?
Good news—in many cases, you absolutely can. When a window just falls off its track, it's almost always because a small, cheap plastic clip has snapped or popped off. Fixing it means taking the interior door panel off to see what's going on inside.
Once you're in there, you can usually see the problem right away. The trick is to carefully guide the glass back into its channels and re-secure it to the regulator. If the thought of dismantling your door panel makes you nervous, don't worry. A pro can knock this kind of job out in under an hour, so it's a pretty affordable repair.
When you need a professional, reliable solution brought directly to you, Auto Renu Auto Glass LLC is ready to help. From simple repairs to full replacements and ADAS recalibration, we bring dealership-quality service to your doorstep. Schedule your mobile appointment today at https://www.autorenu911.com.