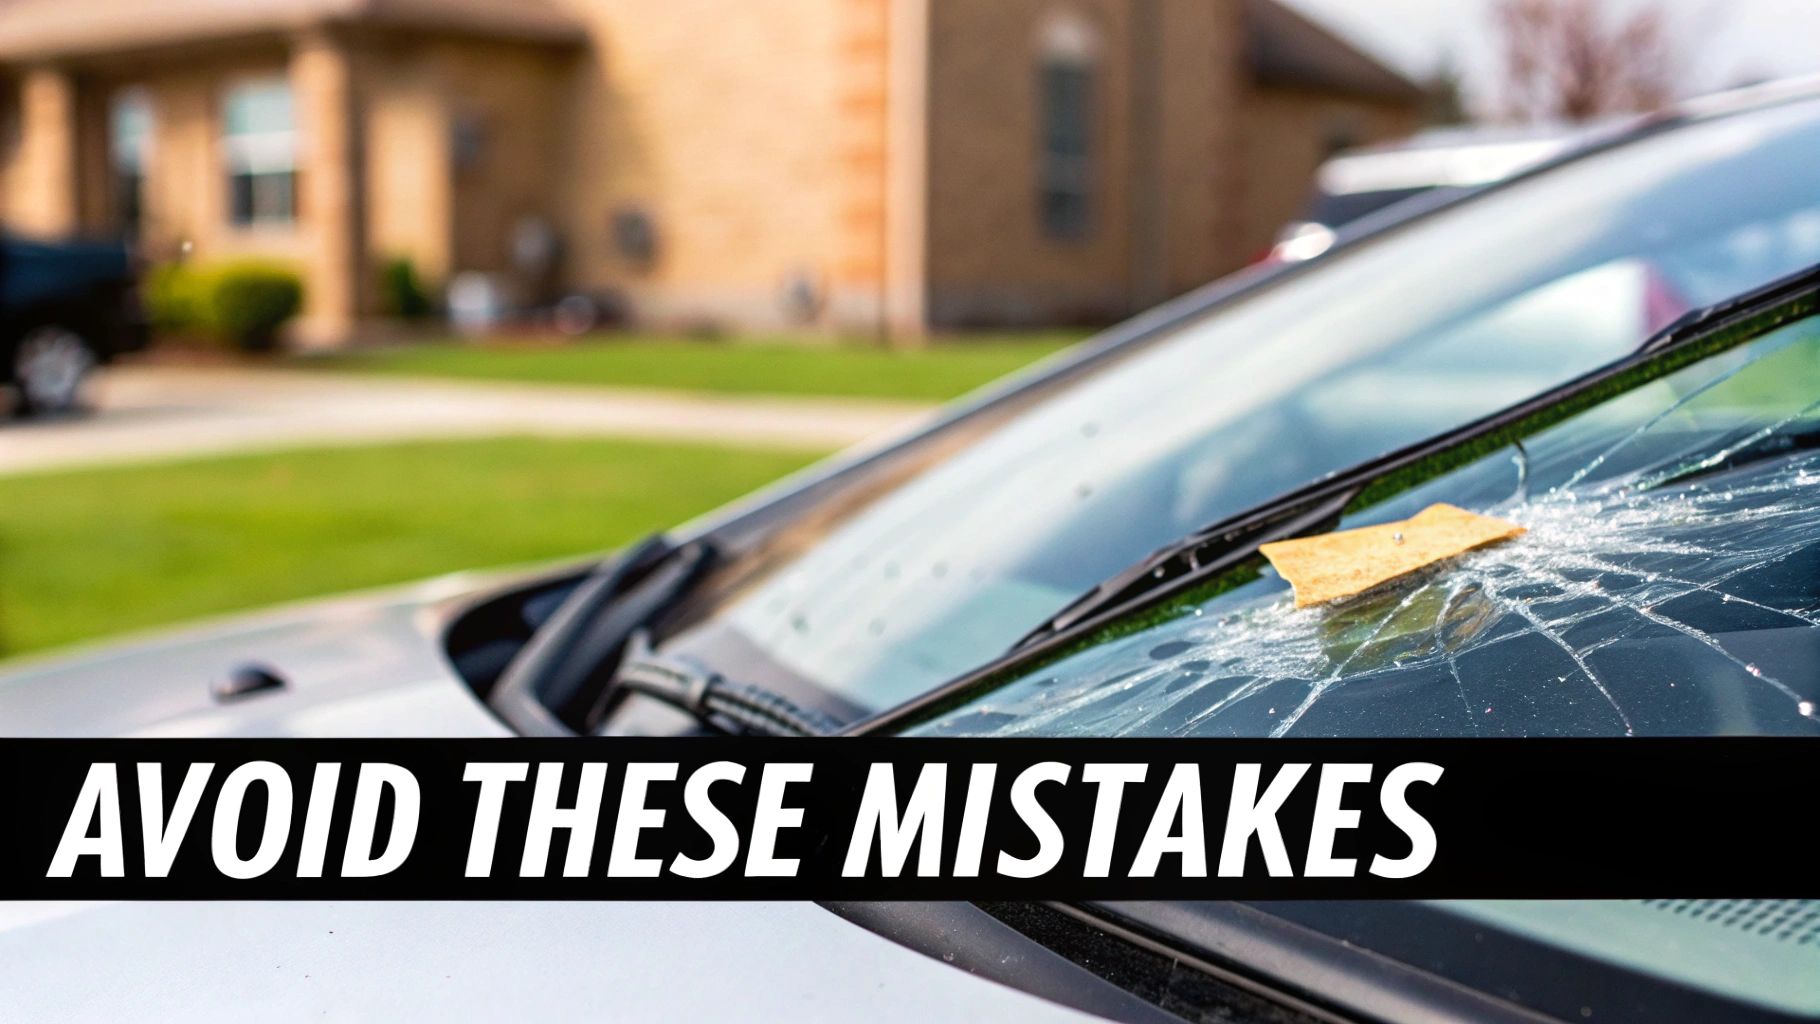
How to Fix a Rock Chip in Windshield: A Quick DIY Guide
Learn how to fix a rock chip in windshield with this DIY guide. Get practical tips, select the right repair kit, and know when to call a pro.
Feb 5, 2026
generated
how to fix a rock chip in windshield, windshield chip repair, DIY auto glass repair, rock chip repair kit, windshield repair
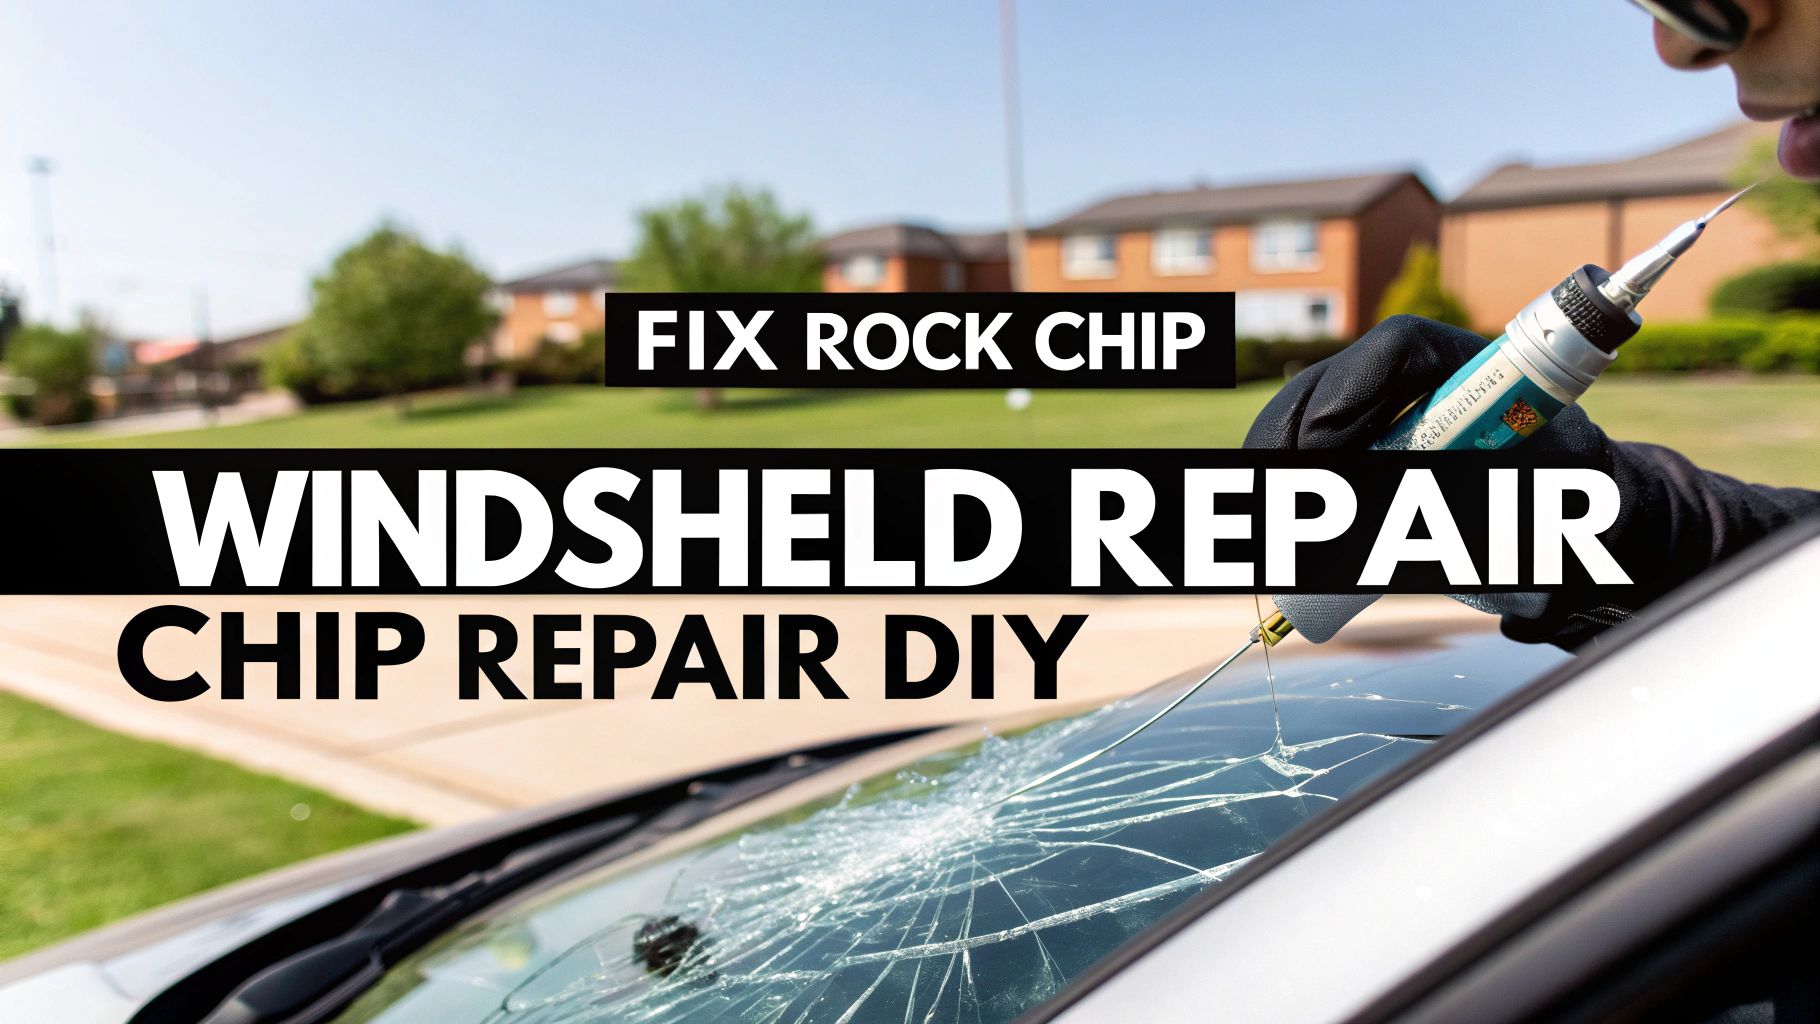
That cringe-worthy thwack of a rock hitting your windshield is a sound every driver dreads. But the good news is, learning how to fix a rock chip can save you a serious headache and hundreds of dollars. For common damage like a bullseye or a small star-shaped chip—anything smaller than a quarter—a good DIY kit can be a surprisingly effective, permanent fix that brings back the glass's strength and clarity in less than an hour.
Your Guide to Assessing Windshield Damage
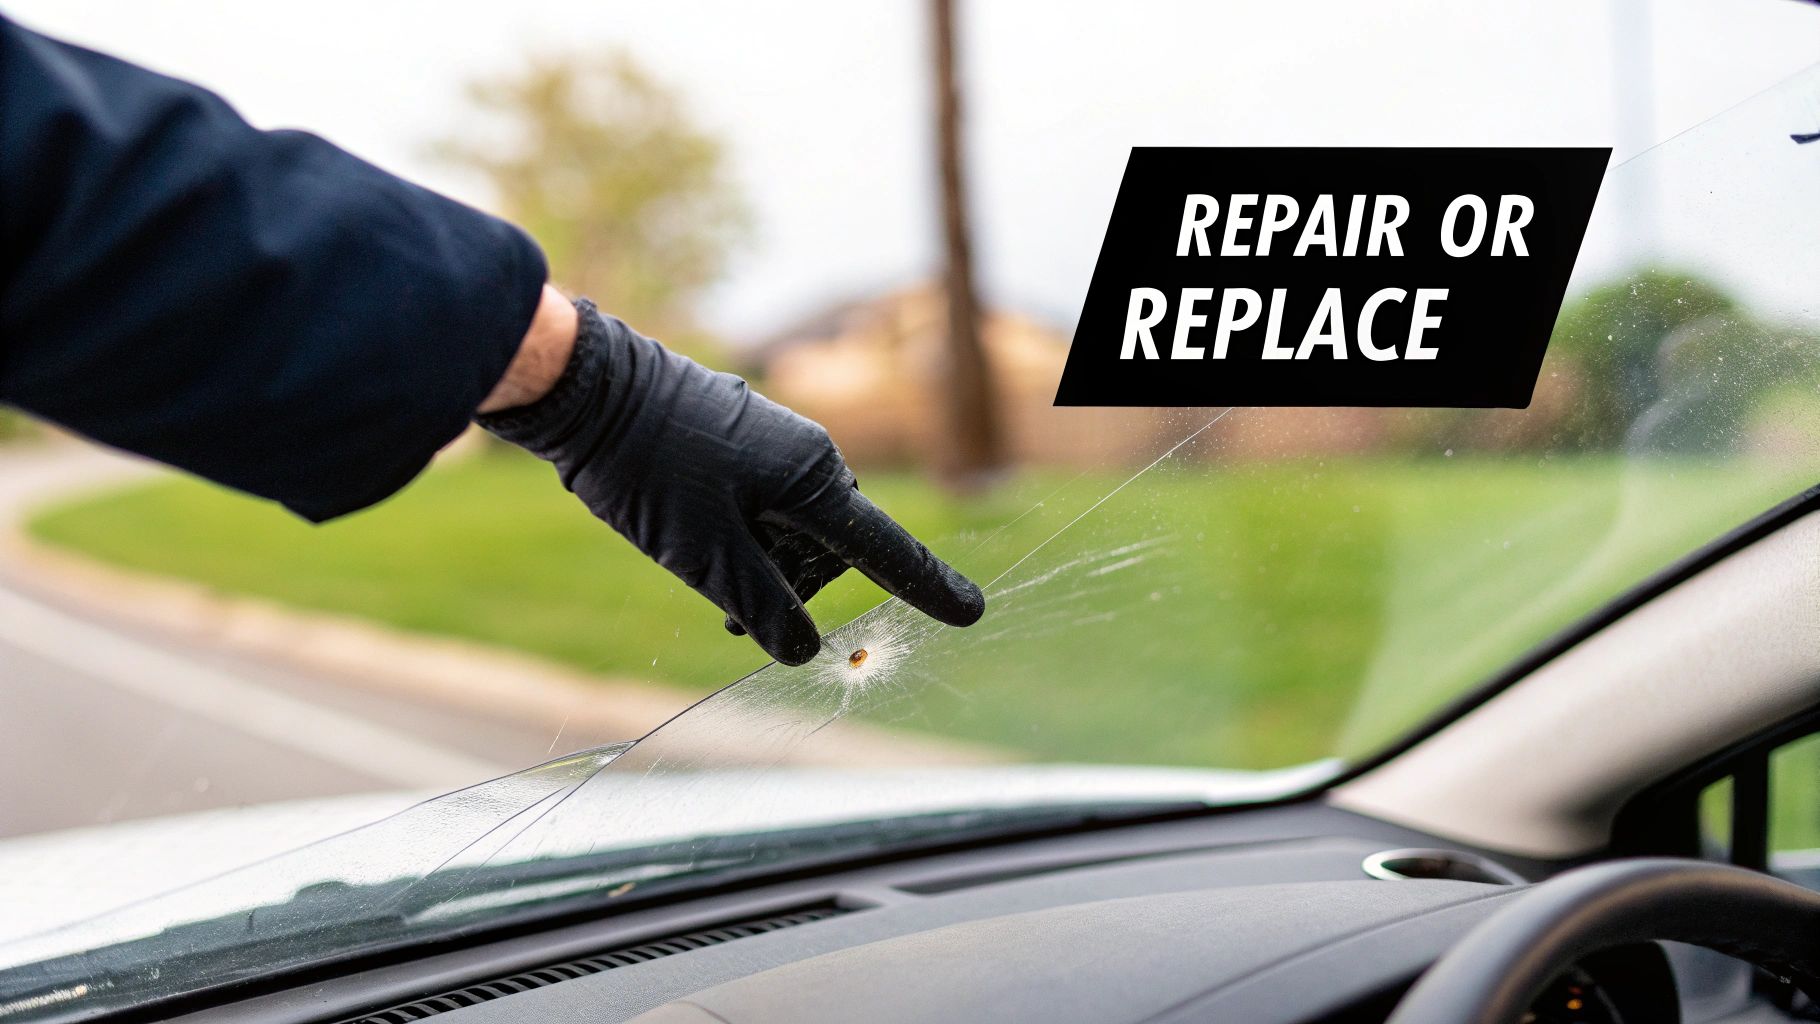
It’s tempting to ignore that new little blemish on your glass, but that's a gamble you'll likely lose. A tiny chip is a weak point, and with road vibrations, temperature swings, or even just a car wash, it can easily spread into a long, unfixable crack. The decision to repair it yourself or call a pro really boils down to three things: the chip's size, its location, and the type of damage you're looking at.
Quick Damage Assessment: Repair vs. Replace
Use this quick table to see if your chip is a good candidate for a DIY repair or if you should leave it to a professional.
Damage Characteristic | Good for DIY Repair | Best to Call a Professional |
|---|---|---|
Size | Smaller than a U.S. quarter. | Larger than a quarter or long cracks. |
Location | Anywhere outside the driver's direct line of sight. | Directly in the driver's primary field of view. |
Edge Proximity | More than two inches from the windshield's edge. | On or very near the edge of the glass. |
Type of Damage | Simple bullseye, small star break, small combination. | Long cracks (over 3 inches), multiple impacts, deep pits. |
Contamination | Fresh, clean break with little to no debris. | Chip is old, filled with dirt, or has moisture inside. |
Ultimately, if you're ever in doubt, getting a professional opinion is the safest bet to ensure the structural integrity of your windshield.
Understanding the Different Types of Chips
Not all rock chips are the same, and knowing what you're dealing with helps you predict how well a DIY repair will turn out. The shape of the break determines how easily the resin can flow in and fill the void.
Here’s a quick rundown of what you might see:
Bullseye: This is the classic. It's a clean, circular impact, usually with a dark little cone in the middle. These are the easiest to fix.
Star Break: This one has small cracks shooting out from the center impact point, just like a star. A little trickier, but very fixable.
Combination Break: Just what it sounds like—a mix of a bullseye and a star break. These can be more challenging, but if they're small, they're often repairable.
Half Moon (Partial Bullseye): A semi-circular break that looks like an unfinished bullseye. Also a good candidate for repair.
If what you have is a long crack (think longer than a dollar bill) or several impact points clustered together, it’s time to put the DIY kit away and call a professional.
Key Takeaway: The single best thing you can do is act fast. A fresh chip is clean, making it much easier for the repair resin to bond perfectly with the glass. If you wait, dirt and moisture get inside, which almost always leads to a weaker, more noticeable repair.
Weighing the Financial and Safety Benefits
Fixing a chip isn't just about saving a few bucks—it's a critical safety decision. The Windshield Rock Chip Repair market has ballooned to USD 1.38 billion globally for a reason. Rock chips are behind nearly 30% of all auto glass claims in the U.S. A professionally repaired windshield holds onto 85-95% of its original strength, which is vital since the glass helps support the roof in a rollover and is essential for proper airbag deployment.
On the other hand, a full replacement can easily set you back $500 or more out-of-pocket. If the damage is bad enough to need a new windshield, you might want to look into filing an auto insurance claim to soften the blow. For a deeper dive, check out our guide on https://www.autorenu911.com/blog/when-to-replace-windshield. Knowing the stakes helps you make the right call for your car and your safety.
Choosing the Right Windshield Repair Kit
Your success with a DIY rock chip repair really comes down to one thing: the quality of the kit you buy. It’s tempting to just grab the cheapest one on the shelf, but that's usually a fast track to a cloudy, weak repair that sticks out like a sore thumb. A good kit is a complete system, built to give you a result you can be proud of, right from your own driveway.
The market for these kits is massive—the On-Demand Windshield Chip Repair market recently blew past USD 1.42 billion, which tells you just how many people are dealing with this exact problem. That demand means you have a ton of options, but the great kits all share a few key features that work together to create a strong, nearly invisible fix. Knowing what those are is the first step to a successful repair. You can dig into the growth of the windshield repair market on dataintelo.com to see just how common this is.
Anatomy of a High-Quality Repair Kit
A premium DIY kit is so much more than a little tube of glue. It’s a well-designed system for injecting a special resin deep into the damaged glass. When you're comparing boxes, make sure it has these critical parts:
A Bridge or Injector: This is the heart of the whole operation. It’s a plastic or metal tool that sticks right over the chip, usually with suction cups. Its entire job is to create a perfect seal so you can first suck the air out of the chip and then use pressure to push the resin into every last little crack.
Specialized Repair Resin: This is definitely not superglue. It’s a clear acrylic resin with a very specific consistency, engineered to flow into microscopic cracks. The best resins have a refractive index almost identical to glass, which is the secret sauce that makes the repair practically disappear once it’s cured.
Curing Strips: These are just small, clear plastic squares. After you’ve injected the resin, you lay one of these over the top. It does two things: it holds the resin in place while it hardens and blocks oxygen (which can mess with the curing process), ensuring the final surface is perfectly smooth.
A Razor Blade: This is for the finishing touch. Once the resin is rock-hard, you’ll use the razor to gently scrape away any excess from the surface of the windshield, leaving a finish that’s completely flush with the surrounding glass.
The real difference-maker in any kit is the injector. Look for one that lets you create both a vacuum and pressure. That dual-action is what gets the air bubbles out and forces the resin all the way in—it's what separates a strong, permanent fix from a weak, temporary one.
Selecting the Best Resin for the Job
If the injector is the tool, the resin is the magic. The final strength and clarity of your repair depend almost entirely on the quality of the resin. I’ve seen cheaper kits use a generic, one-size-fits-all resin that looks okay at first but yellows after a few months in the sun or just doesn't bond as strongly.
Always look for kits that specifically mention they use a high-quality, professional-grade resin. While less common in consumer kits, some of the more advanced ones even include different resins for different types of damage—like a thinner one for a tight star crack and a thicker one for a classic bullseye.
Household Items to Have Ready
Before you even tear open the packaging, a little prep work can make a huge difference. Your kit will have the main components, but grabbing a few extra things from around the house will make the whole process go much more smoothly.
Your DIY Prep Station:
Rubbing Alcohol: You absolutely need this to get the chip perfectly clean.
Microfiber Cloths: Have one ready for cleaning the area with alcohol and a second, totally dry one for wiping things down.
A Push Pin or Needle: This is my go-to for carefully picking out any tiny, loose shards of glass from the point of impact. You have to get that debris out before you start.
Your Windshield Chip Repair Walkthrough
Alright, you've got your kit and a few other supplies ready to go. Now for the hands-on part. The key here isn't just following steps; it's about being patient and precise. A good result comes down to three things: a perfectly clean start, a rock-solid seal with your injector, and letting that resin fully do its job.
There's a reason the auto glass aftermarket is a multi-billion dollar industry—these repairs really work. For a DIY job, the success rate is over 90% if you tackle it within a couple of days of getting the chip. Acting fast is crucial. Millions of insurance claims are filed every year because of road debris, and an ignored chip is just a crack waiting to happen. You can get a sense of the windshield service market scale on datainsightsmarket.com to see how common this is.
This diagram gives you a quick visual of the main players you'll be using from your kit.
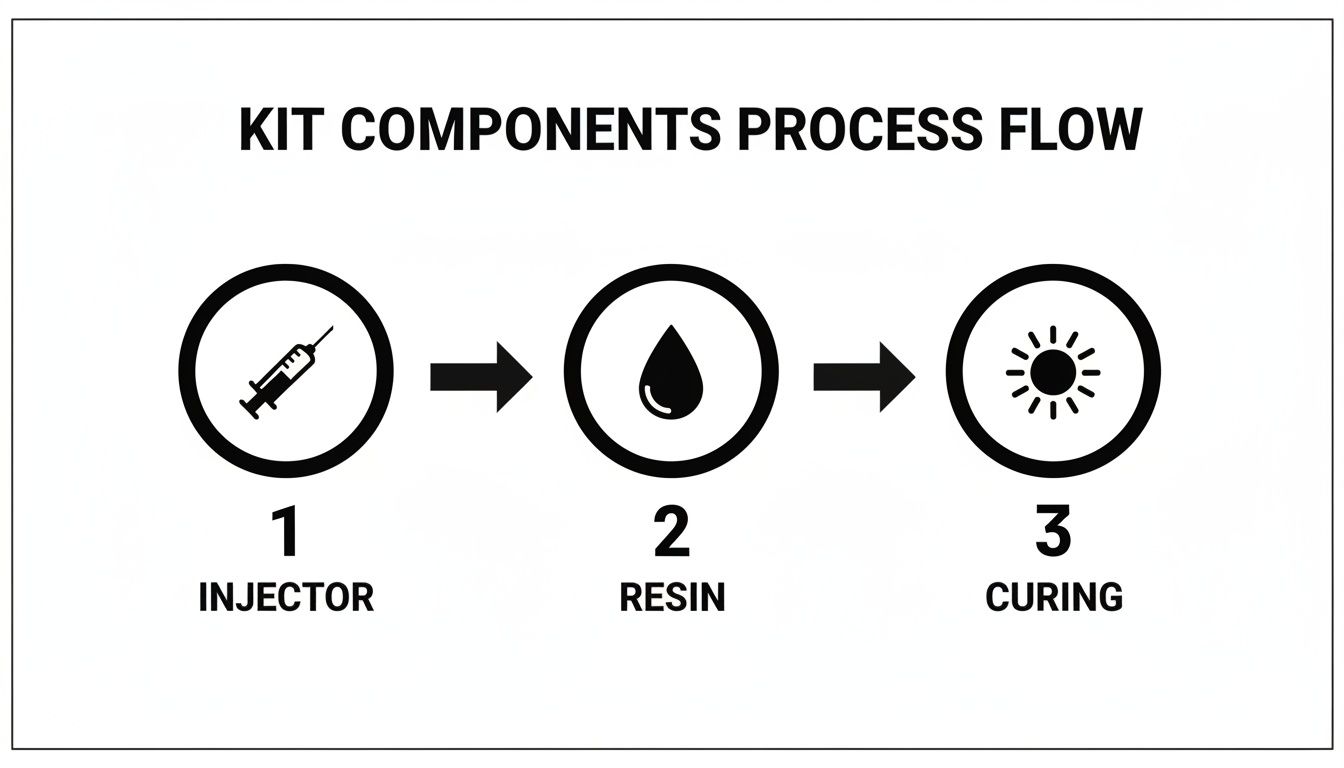
It boils down to the injector tool, the resin itself, and the curing process that makes the repair permanent.
Preparing the Impact Point for Repair
Your first move is the most important one. You need to create an impeccably clean and dry space for the resin to bond. If there’s any moisture, dust, or tiny glass fragments left in there, you'll end up with a weak or cloudy repair.
Find a shady, dry spot to work. Never attempt a repair in direct sunlight or on a hot windshield. The heat will make the resin harden way too fast, before it has a chance to seep into every little crevice.
Grab your push pin or needle and gently pick at the impact point. The idea is to carefully dig out any loose slivers of glass. It's amazing how much debris can get packed into one of these things.
Once you’ve cleared the loose bits, give the area a good cleaning with rubbing alcohol on a microfiber cloth. Wait for it to evaporate completely—the chip needs to be bone-dry.
Positioning the Repair Bridge and Injector
The repair bridge is the gadget that holds the resin injector steady and forms an airtight seal over the chip. Getting this lined up perfectly is everything.
Most kits use suction cups to stick the bridge to the glass. A little moisture on the cup edges helps. Press it down firmly, making absolutely sure the injector opening is centered directly over the chip.
The rubber tip at the bottom of the injector has to be pressed flush against the glass. This seal is what lets you create a vacuum, which is vital for sucking all the air out of the damage before the resin goes in.
Pro Tip: Hop inside the car and look out through the windshield at the injector. This is often the best angle to confirm the seal is perfectly centered over the darkest part of the chip.
The Main Event: Injecting the Resin
This is where the real repair happens. With the bridge locked in place, add the right number of resin drops into the injector chamber (your kit's instructions will tell you how many).
Now, screw the plunger or pressure driver into the injector. As you turn it, it slowly forces the resin down and into the chip. Don't rush it. You're trying to push a liquid into microscopic cracks, so slow and steady pressure is the way to go.
Some kits have you alternate between pressure and vacuum cycles. This means you’ll push the plunger down to force resin in, then pull it back up to create a vacuum that yanks out trapped air bubbles. This push-and-pull is the secret to getting the resin into every last nook and cranny.
Curing the Resin for a Permanent Bond
Once you’re confident the chip is totally filled, it's time to harden, or cure, the resin. This step is what turns the liquid into a solid with optical properties similar to glass, making the repair nearly invisible.
After you remove the bridge and injector, immediately place one of the clear curing strips over the wet resin. Press on it gently to squeeze out any tiny air bubbles that might be sitting on the surface.
The curing strip does two jobs:
It holds the resin flat, keeping it from running and creating a smooth surface.
It blocks oxygen, which is necessary for the resin to cure properly and get as hard as possible.
Now, move your car into direct sunlight. The sun's UV rays are what activate the resin and make it harden. On a bright, sunny day, this can take as little as 15-20 minutes. If it’s overcast, you might need to leave it for up to an hour. Some fancier kits even come with a little UV light to speed things up.
Finishing for a Smooth and Invisible Result
When the resin is fully cured and hard to the touch, you’re on the home stretch. All that's left is to remove the excess resin and make the surface perfectly smooth.
Take the razor blade from your kit and hold it at a sharp 45-degree angle to the glass. Use a smooth, confident motion to scrape away the cured resin and the plastic strip. Don't be afraid of scratching the glass—a sharp blade at the right angle will glide right over it.
You might need to make a few passes to get it perfectly flush. After that, a quick wipe with a clean cloth will reveal your finished work: a strong, clear repair you can barely see. You've just fixed a rock chip like a pro.
Common Mistakes to Avoid in a DIY Repair
Even if you've got a great kit and a steady hand, a few simple slip-ups can turn a straightforward DIY repair into a cloudy mess. The line between a near-perfect fix and a permanent blemish is often just avoiding a handful of common errors. Knowing how to fix a rock chip in your windshield means knowing what not to do, too.
These mistakes can sabotage the resin's bond, trap air bubbles that weaken the repair, or cause the resin to cure all wrong. The result? A fix that doesn't stop the crack from spreading or, worse, looks more obvious than the original chip. The good news is that these problems are easy to dodge with a little bit of know-how.
Working in the Wrong Conditions
This is hands-down the most common mistake I see, and it can ruin a repair before you even start. The temperature and sunlight aren't just minor details; they are crucial for the resin to work its magic.
Hot Glass is a No-Go: If your car has been baking in the sun, that windshield is way too hot. Applying resin to hot glass makes it cure almost instantly, long before it can seep into all the tiny fractures. You'll end up with a shallow, weak seal that's destined to fail.
Direct Sunlight is Your Enemy (at first): The sun’s UV rays are what harden the resin, but you need that to happen at the end of the process, not the beginning. Injecting the resin in direct sunlight will cause the surface to cure prematurely, trapping air and preventing the chip from filling completely.
A Wet Windshield Guarantees Failure: Even a tiny bit of moisture inside the chip will prevent the resin from bonding to the glass. It’s a recipe for disaster. The resin just won't stick, and the whole repair will be incredibly fragile.
The fix is simple: always work in the shade on a cool, bone-dry windshield. Park your car in the garage for a couple of hours and let the glass cool down completely before you touch it.
Skimping on the Prep Work
The next major pitfall is not cleaning the damaged area properly. You can't expect the resin to form a permanent bond if it’s trying to stick to road grime, dust, or little glass fragments.
Before you even think about placing the injector, you have to get that chip surgically clean. Use the little pin or probe from your kit to carefully dig out any loose shards of glass from the impact point. After that, give the area a thorough wipe-down with rubbing alcohol and let it fully evaporate. Skipping this is like trying to put a sticker on a dirty surface—it’s just not going to hold.
Any professional technician will tell you that the repair starts with a pristine surface. Taking an extra two minutes to properly clean and prep the chip is the single best thing you can do to get a pro-level result.
Using the Wrong Amount of Resin
Getting the resin quantity right is a bit of a balancing act. Both too much and too little can cause problems that undermine all your hard work.
If you use too little resin, you won't fill the entire network of cracks spidering out from the impact point. This leaves little air pockets, creating weak spots and making the damage far more visible. Those unfilled channels are also the perfect place for a new crack to start spreading down the line.
On the other hand, using too much resin is just messy and wasteful. While it's less damaging to the repair's structure than using too little, it makes the final scraping and polishing step much more difficult. You'll have a higher chance of leaving a raised, noticeable bump on your windshield. Just follow your kit’s instructions—they usually tell you the perfect number of drops to use.
Look, I'm all for rolling up your sleeves and tackling a good DIY project. It can save you some cash and you learn a thing or two about your car. But let's be honest—part of being smart is knowing when to call in the pros. When it comes to fixing a rock chip in your windshield, some situations just aren't meant for a kit you bought at the auto parts store. Pushing your luck can turn a small problem into a big one, leaving you with a botched repair or, worse, a compromised windshield.
There are certain types of damage that demand the industrial-grade equipment and advanced resins that a mobile professional from a company like Auto Renu Auto Glass LLC brings to the job. Recognizing these red flags from the get-go will save you time, money, and a whole lot of frustration.
Size and Location Are Non-Negotiable
The first two things to check are the size and location of the chip. These aren't just suggestions; they're the hard-and-fast rules of the road for safe, effective repairs.
If the chip is larger than a U.S. quarter, it's time to put down the DIY kit. A bigger impact zone means more stress on the glass around it. The simple injectors and standard resins in a consumer kit just don't have the power or the right properties to properly fill and stabilize damage that extensive.
The same goes for cracks. Anything longer than a few inches—the industry standard is typically no longer than 3-6 inches—is a job for a professional. Long cracks need very specific techniques to halt their spread, something a basic kit is not equipped to handle.
Here’s the most important rule of all: Any damage, no matter how small, that falls within the driver's direct line of sight requires a professional. A DIY repair in this critical zone can easily leave behind a slight distortion or glare, creating a dangerous distraction when you're on the road.
The Rise of ADAS and the Need for Recalibration
Today's cars are smarter than ever, and the windshield is no longer just a barrier against wind and rain. It’s now a critical hub for your vehicle's Advanced Driver-Assistance Systems (ADAS)—the brains behind features like lane-keeping assist, adaptive cruise control, and automatic emergency braking.
The cameras and sensors that make ADAS work are usually mounted right on the windshield. This changes the game for repairs entirely.
Precision is Everything: Even a tiny, nearly invisible distortion from a repair can throw off how an ADAS camera interprets the road ahead.
Recalibration Isn't Optional: Whenever a windshield is worked on—and especially when it's replaced—the ADAS system has to be professionally recalibrated. This ensures the cameras are aimed perfectly so your safety features work exactly as they were designed to.
Don't Risk System Failure: A DIY fix near these sensors could interfere with their function, potentially causing a critical safety system to fail when you need it most, often without any warning.
Because of this built-in complexity, if you have a car with ADAS, any damage near the sensors should be left to a technician who understands the technology inside and out. To get a better idea of what a mobile professional can do, our post on finding mobile windshield repair near you is a great resource.
DIY vs Professional Service A Quick Comparison
Still on the fence? Sometimes seeing it laid out side-by-side makes the decision clearer. Here’s a quick breakdown of what to expect from a DIY kit versus calling in a professional.
Feature | DIY Repair Kit | Professional Mobile Service |
|---|---|---|
Cost | Typically $15 - $30 | Usually $75 - $150+, often covered by insurance |
Best For | Single, small, simple bullseye chips outside the driver's view | Complex damage, long cracks, ADAS vehicles, chips in line of sight |
Tools/Materials | Basic injector, standard resin, curing strips | Industrial-grade vacuum injectors, multiple specialized resins |
Skill Required | Basic. Requires steady hands and following instructions precisely | High. Certified technicians with extensive training and experience |
Risk Factor | High risk of improper fill, visible blemish, or crack spreading | Low risk. Repairs are often guaranteed against spreading |
ADAS/Safety | Not equipped to handle ADAS; no recalibration possible | Experts in ADAS; can perform necessary system recalibrations |
Time | 30-60 minutes, including cure time | 20-30 minutes; a fast and efficient process |
Ultimately, a DIY kit can be a decent option for a very minor, straightforward chip. But for anything more serious, a professional service ensures the job is done right, preserving both your vehicle's safety and its value.
When the Damage is Just Too Complex
Beyond the obvious size and location issues, the type of damage can also be too much for a DIY fix. For instance, if you have several chips clustered together, you're dealing with a large, weak area that needs a much more robust repair than a kit can provide.
Another tricky spot is any damage right near the edge of the windshield. The perimeter of the glass is under significant structural stress, and an amateur repair here is far more likely to fail and lead to a crack that spreads across the entire windshield. A professional uses specialized tools to inject resin with the perfect amount of pressure to secure these highly vulnerable areas.
By knowing what to look for, you can skip the headache of a failed DIY attempt and make sure your windshield is repaired safely and correctly the first time.
Frequently Asked Questions About Windshield Repair
Even after reading a full guide, it's normal to have a few last-minute questions before you get to work on your windshield. You want to be sure you're doing the right thing for your car. We've pulled together the most common questions our technicians get asked in the field to help clear up any final uncertainties.
Think of this as the final check-in before you start. These answers will help you decide whether to DIY or call in a pro for your specific situation.
Can I Really Get Good Results Fixing a Rock Chip Myself?
You absolutely can, but it comes with a few big "ifs." For a very small, simple chip—think a classic bullseye or a tiny star break smaller than a quarter—a good quality DIY kit can produce a result that looks surprisingly professional. The secret is patience. You have to follow the instructions to the letter, work in a clean, shaded area, and give that resin all the time it needs to cure properly with UV light.
That said, it's important to know the limits. If you're dealing with anything larger, a crack that's starting to run, or any damage directly in your line of sight, a professional is always the better bet. They use equipment that creates a much stronger vacuum to pull every last bit of air out, which is something a DIY kit just can't match. This ensures the resin fills the damage completely for a stronger, clearer repair.
Will My Car Insurance Cover a Rock Chip Repair?
More than likely, yes. The vast majority of comprehensive auto insurance policies will cover the entire cost of a windshield repair, and here's the best part: they often do it without you having to pay a deductible. Insurers would much rather pay for a small repair than a full windshield replacement, which can cost them (and you) hundreds of dollars.
This is a huge reason to go with a professional. A company like Auto Renu Auto Glass can usually deal with the insurance company for you, making the whole thing painless and, in many cases, completely free for you.
It never hurts to make a quick call to your insurance agent just to confirm your policy details. If you're curious about the specific numbers, we break down the cost to repair a chipped windshield and explain how insurance fits into the picture.
How Long Does a Chip Repair Take and How Long Will It Last?
If you're doing it yourself, plan on setting aside 30 to 60 minutes. Most of that time is just waiting for the resin to cure, so it's not a lot of active work. A professional mobile repair is even quicker; we're usually in and out of your driveway in under 30 minutes.
And is it permanent? You bet. When a chip is repaired correctly, the resin chemically bonds to the glass. It restores the structural integrity and stops that chip from ever spreading. A quality repair is meant to last for the life of the windshield, holding up against car washes, temperature extremes, and rough roads. A poorly done DIY job, on the other hand, comes with no such promise.
Is It Really That Risky to Drive with a Small Chip?
It’s far more dangerous than it looks. That little chip is a major weak spot in a critical piece of safety equipment. Your windshield isn't just a window; it provides up to 60% of your vehicle's cabin strength during a rollover and is vital for making sure your airbags deploy correctly.
Every time you drive, you're putting stress on that weak spot.
Temperature Swings: The simple act of using your defroster on a cold day can cause the glass to expand and make that chip run.
Road Vibrations: Hit one bad pothole, and that chip can instantly become a long, unrepairable crack.
Vision Obstruction: If a crack does form and spreads into your line of sight, it creates a serious blind spot.
Leaving a chip is a roll of the dice. Fixing it fast is always the smartest, safest, and ultimately cheapest option to make sure your windshield is ready to protect you.
For a professional, guaranteed repair that ensures your safety and peace of mind, trust the mobile experts. The team at Auto Renu Auto Glass LLC comes directly to you, using top-tier materials to deliver a flawless fix every time. https://www.autorenu911.com