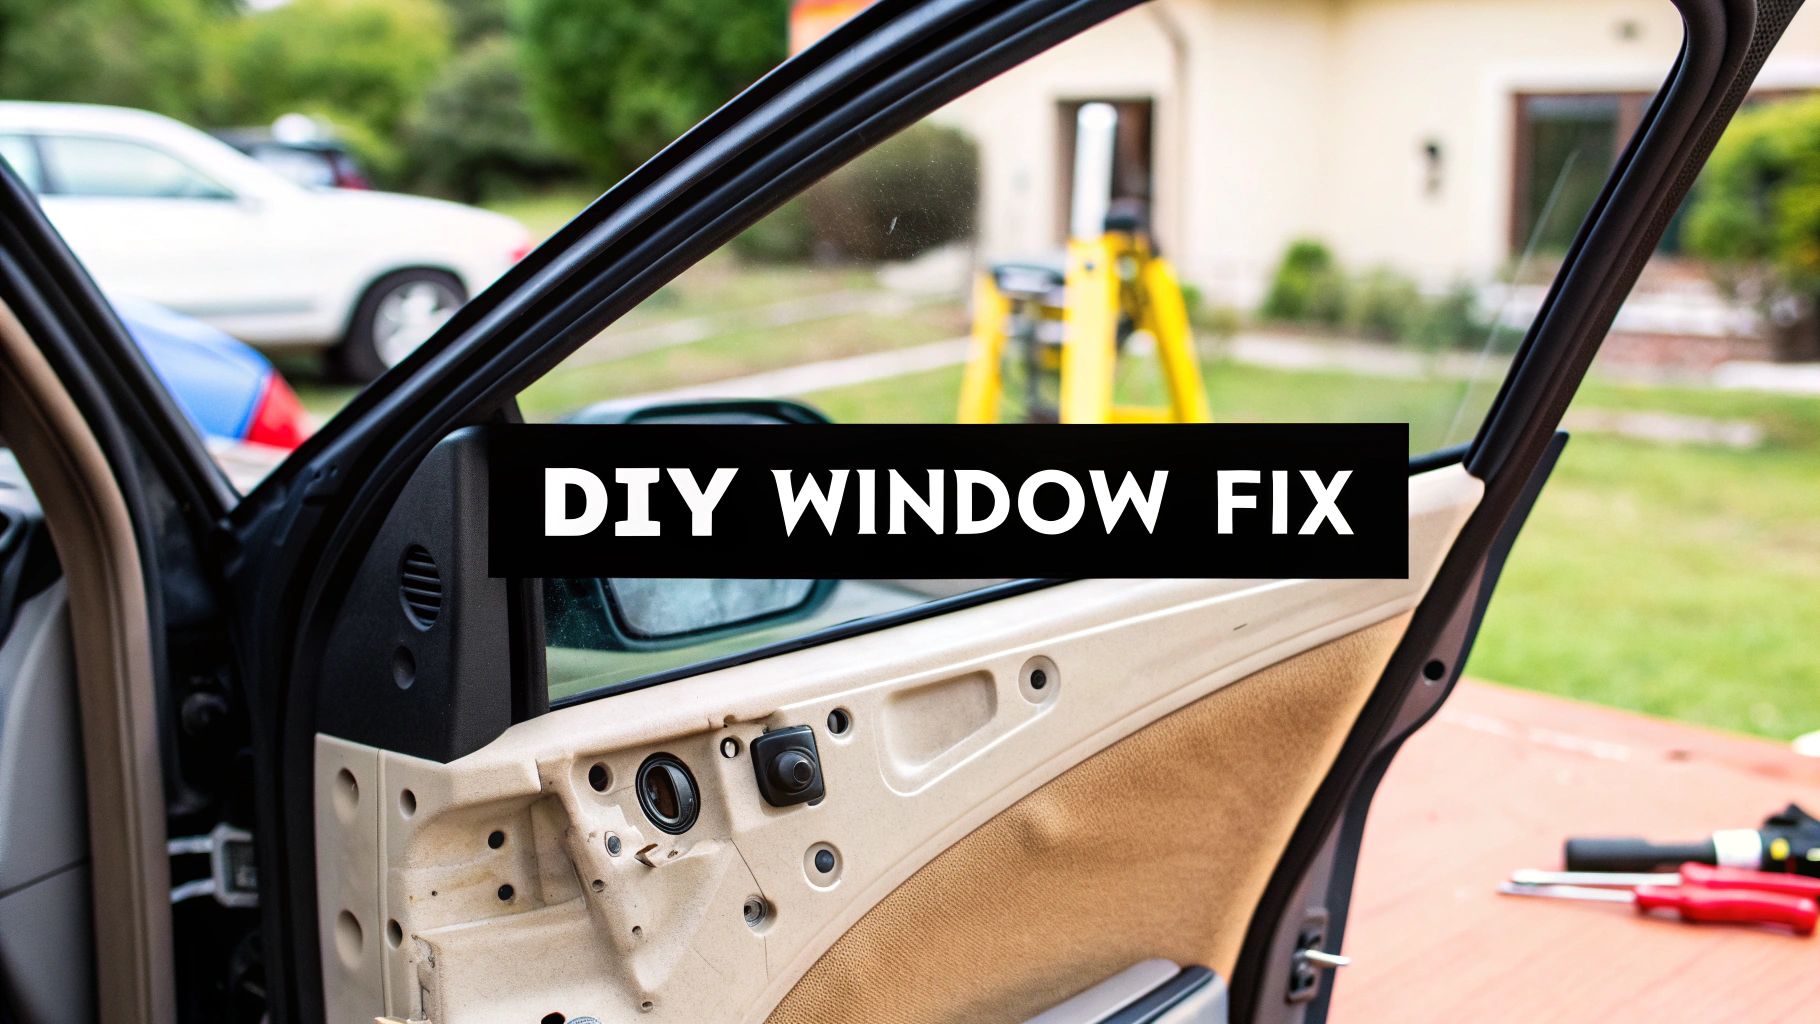
Repair Window Regulator: Quick DIY Window Fix
Learn how to repair window regulator with this DIY guide. Find symptoms, tools, and steps to repair window regulator and fix your car window.
Nov 28, 2025
generated
repair window regulator, power window repair, DIY car repair, auto maintenance, car window fix
We’ve all been there—you hit the window switch, and instead of a smooth glide, you get a nasty grinding sound or, even worse, total silence. That sinking feeling is a universal frustration. If your window is stuck down, moving at a weird angle, or has dropped completely into the door, you’re almost certainly looking at a busted window regulator.
Figuring out what's really going on is the first—and most important—step. A good diagnosis saves you time, money, and the headache of buying parts you don’t need.
How to Know if Your Window Regulator Is Broken
Before you grab your tools and start pulling the door panel off, you need to be sure the regulator is actually the problem. It’s easy to jump to conclusions, but misdiagnosing the issue is a classic DIY mistake. The good news? A broken regulator usually leaves behind a pretty clear trail of evidence.
Your job is to be a bit of a detective. You need to tell the difference between the mechanical groans of a dying regulator and the dead silence of an electrical problem. Getting this right is the key to a quick fix instead of a long, frustrating wild goose chase.
Classic Symptoms of a Failed Regulator
When the guts of the regulator fail—usually a snapped cable or a chewed-up plastic gear—the symptoms are almost always physical. You can see or hear that something is mechanically wrong inside the door.
Keep an eye (and an ear) out for these dead giveaways:
Grinding or Clicking Noises: You press the switch and hear a horrible grinding, popping, or clicking sound from inside the door. That's the motor spinning, but the broken cable or stripped gear isn't letting it lift the glass.
The Window Falls on Its Own: This is a big one. The mechanism holding the glass in place has snapped, and gravity takes over. The window slides down into the door and won't come back up.
Crooked or Slow Movement: If the window looks like it's tilting forward or backward as it moves, or if it really struggles to go up, the glass has likely come off its track. This means the regulator can no longer guide it properly.
Pro Tip: If the window has dropped all the way down, listen for a rattling sound when you close the door or drive over a bump. That's often the sound of broken plastic pieces of the regulator bouncing around inside the door—a sure sign of mechanical failure.
Differentiating from Electrical Issues
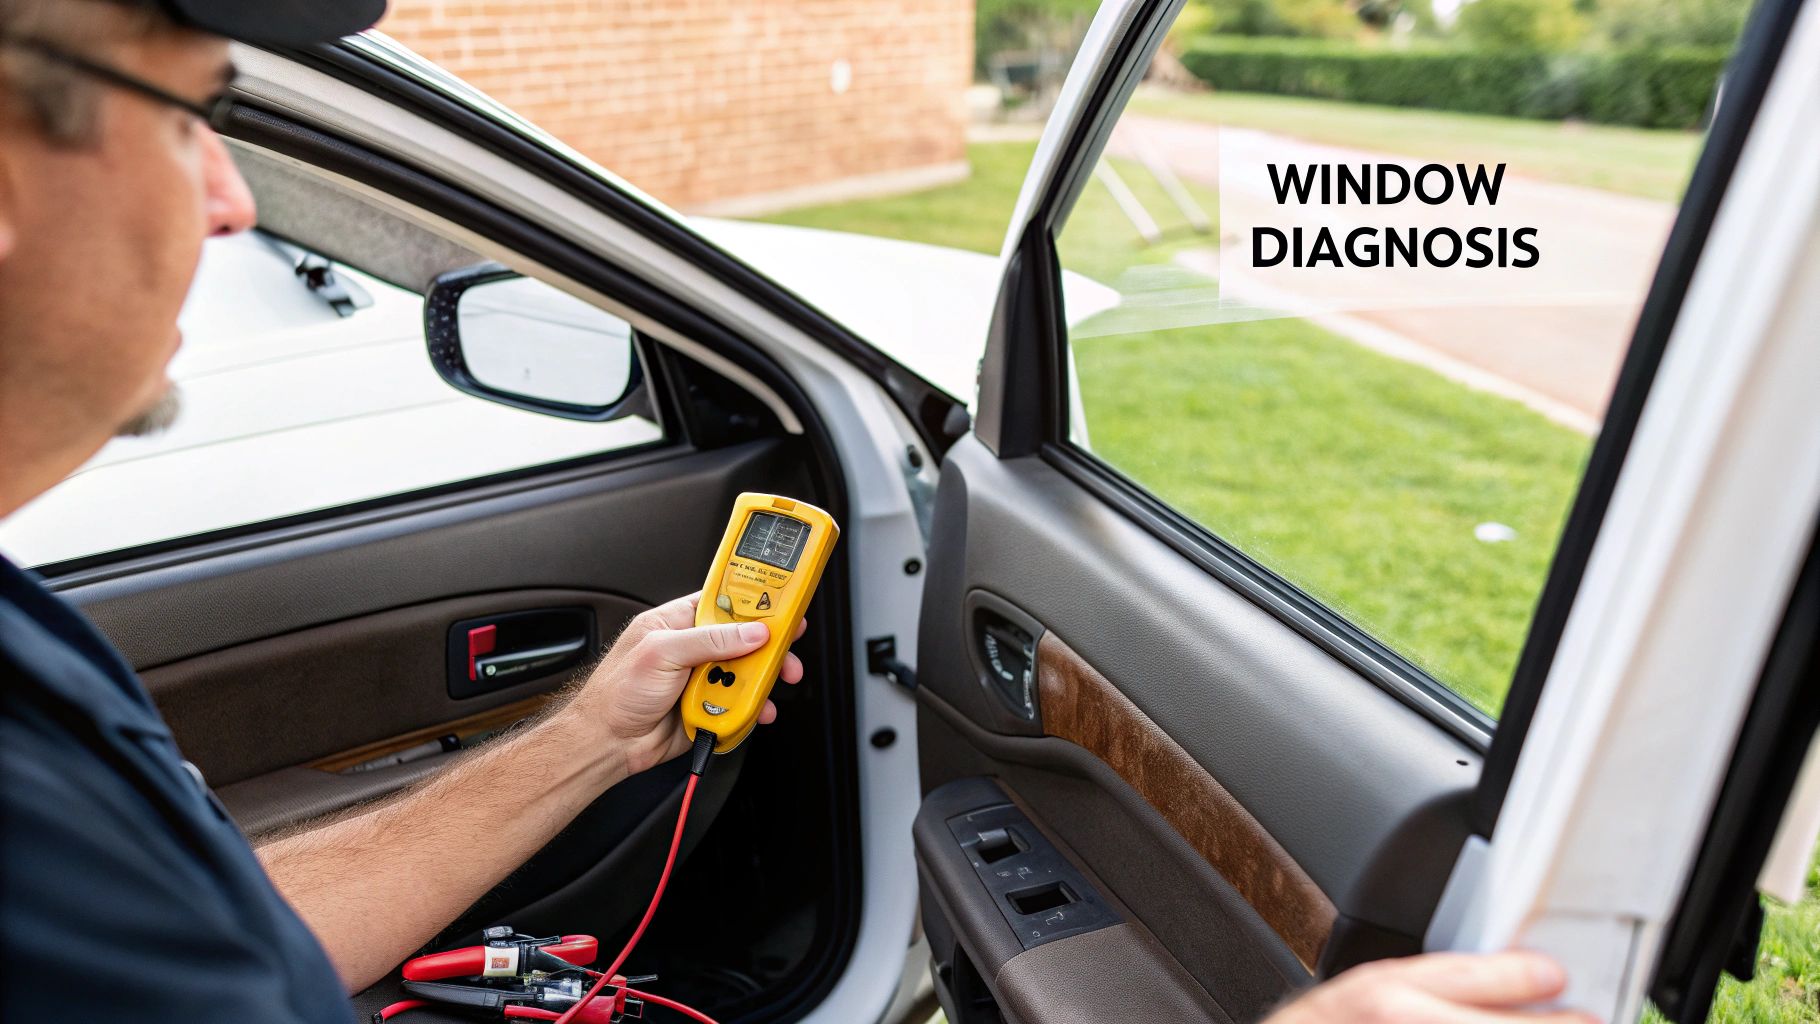
Electrical gremlins, on the other hand, usually show up as a complete lack of response. It’s the difference between hearing a strange noise and hearing nothing at all. Before you commit to the idea that you need to repair the window regulator, run through this quick electrical checklist. You might get lucky with a simpler fix.
You're more likely dealing with an electrical issue if:
There is no sound at all: You hit the switch and get absolute silence. No click, no whir, no grind. This usually points to a bad switch, a blown fuse, or a dead motor.
The "All Windows" test fails: Try the other windows from their own switches and the driver's master control. If several windows are dead, you're probably looking at a bad master switch or a main fuse, not four broken regulators.
The window works intermittently: If it works one minute and not the next, you could be dealing with a loose wire or a switch that’s on its way out.
Common Car Window Problems and Their Likely Causes
To help you sort it all out, this quick diagnostic table matches common symptoms to their most probable cause. Use it to confirm your suspicions before you start the repair.
Symptom | Likely Cause | Recommended First Action |
|---|---|---|
Grinding noise when switch is pressed | Broken Regulator Cable/Gear | Prepare to replace the regulator assembly. |
Window slides down into the door | Broken Regulator or Snapped Cable | Secure the glass with tape and plan for replacement. |
No noise or movement at all | Blown Fuse or Faulty Switch/Motor | Check the fuse box and test the switch with a multimeter. |
Window moves slowly or is crooked | Regulator Track is Damaged or Off-Track | Inspect the regulator track after removing the door panel. |
Once you've matched your symptoms to a likely cause, you’ll have a much clearer idea of whether you're about to tackle a mechanical replacement or an electrical diagnosis.
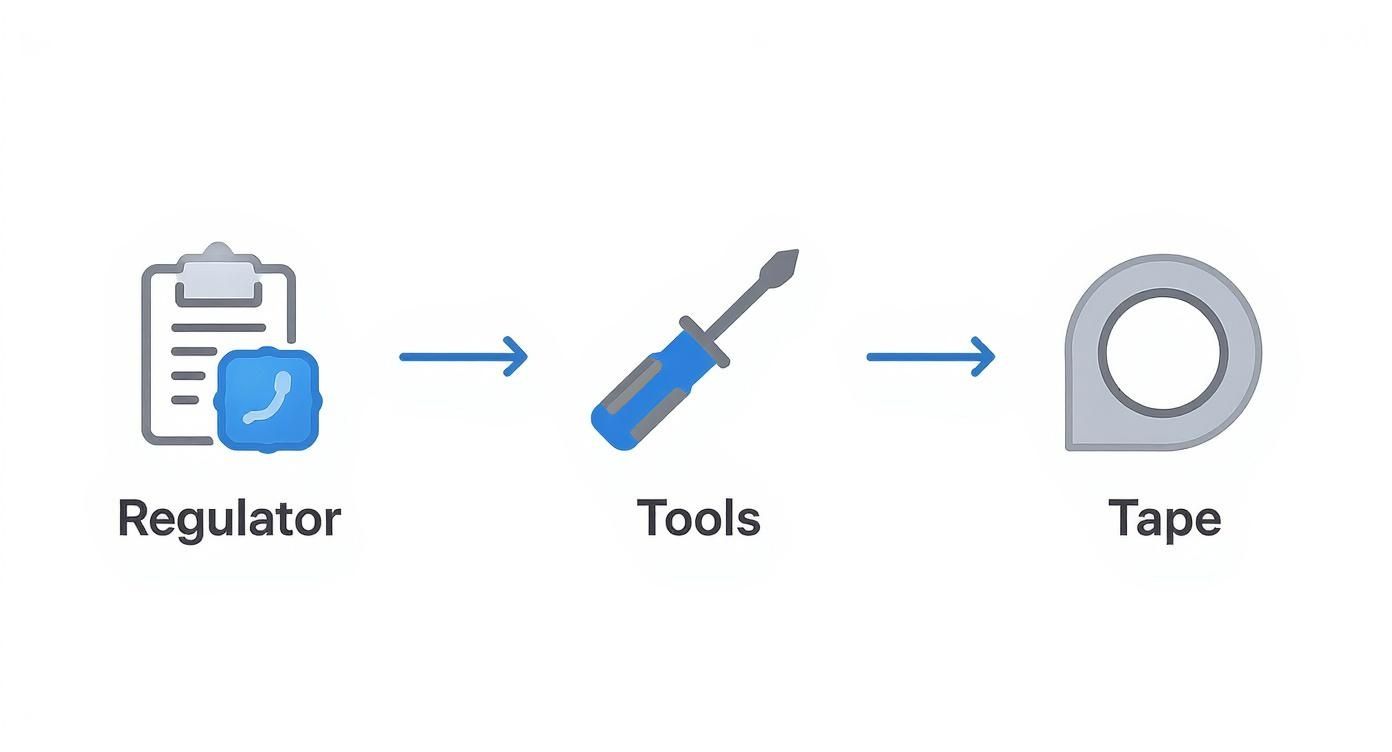
Gathering the Right Tools and Parts for the Job
Any seasoned mechanic will tell you that a successful window regulator repair is 90% preparation and only 10% execution. I can't tell you how many times I've seen a simple job turn into a nightmare because someone tried to wing it without the right equipment. It's a classic recipe for frustration, leading to scratched door panels, broken clips, and that dreaded mid-project run to the auto parts store.
Getting everything you need lined up beforehand turns a potential headache into a smooth, satisfying project. The goal is simple: open that door panel once and close it once, with a fully functioning window as the result.
Your Essential Tool Checklist
While every car has its quirks, the core set of tools for this job is pretty standard. You probably have most of these in your garage already, but there's one item that is absolutely non-negotiable if you want a professional-looking result: plastic trim tools.
Here’s what you'll want to have within arm's reach:
Socket and Ratchet Set: A basic set will do the trick. You'll need it for the bolts holding the regulator in place and maybe for the speaker or other components you have to move.
Screwdriver Set: You’re almost guaranteed to find both Phillips head and flathead screws holding the door panel and switch assembly together.
Plastic Trim Removal Tools: This is the single most important specialized tool for this job. Using a metal screwdriver to pry off your door panel is the fastest way to leave ugly scratches and gouges. These inexpensive plastic tools are designed specifically to pop clips without damaging your car's interior.
Needle-Nose Pliers: Invaluable for disconnecting those stubborn electrical connectors without breaking the plastic clips.
Painter's Tape: Once you unbolt the old regulator, the glass will be completely free to slide down and shatter. A few strips of strong painter's tape is the best way to secure the window safely in the "up" position while you work.
Work Gloves: Trust me on this one. The inside of a door frame is full of sharp metal edges just waiting to slice up your hands.
For a professional outfit, keeping everything ready is part of a larger contractor asset and inventory management system. For your weekend project, just having this checklist ready is your key to an organized, painless repair.
Choosing the Right Replacement Part
Now for the main event: the new window regulator. You’ve generally got two choices here, and the right one really depends on what you found during your diagnosis and what your budget looks like.
Regulator and Motor Assembly: This is the whole enchilada—the complete, all-in-one unit. It includes the regulator tracks, cables, and a brand-new motor already installed. It’s the most common and recommended option because you're replacing every potential point of failure at once. If your motor was making grinding noises or seemed weak, this is the only way to go.
Regulator Repair Kit: These kits usually contain just the cables and plastic guide pieces, which are the components most prone to breaking. They are certainly a more budget-friendly option, but the repair itself is significantly more complex. You have to completely disassemble the old regulator and carefully re-spool the new cables, which can be tricky.
The global window regulator repair kit market has grown to approximately USD 1.24 billion, and for good reason. It’s driven by vehicle owners looking for cost-effective fixes when just a small plastic part fails, but the motor is still perfectly fine. It just goes to show how often the mechanical bits give out first.
To find the correct part for your vehicle, you'll need the Year, Make, and Model. For absolute certainty, pop your VIN into an auto parts website. This ensures you get the exact regulator designed for your specific door (front driver's side is different from the rear passenger's side!). If you get stuck, don't hesitate to give a pro a call. Our team is familiar with the parts needed for all Auto Renu service locations.
Getting the Old Window Regulator Out and the New One In
Alright, you've got your tools laid out and the new regulator is ready to go. Now for the fun part. This is where we dive in and swap out the faulty part. We'll take this one step at a time, from getting the door panel off without breaking anything to fitting the new assembly and making sure it all works.
First thing's first, and this is non-negotiable: disconnect the car battery. Always start with the negative terminal. This simple step prevents any nasty electrical surprises and is critical for safety, especially since modern door panels can have airbag sensors and other sensitive electronics tucked inside.
Getting Inside the Door Panel
Think of the interior door panel as the gateway to the regulator. It's held on by a mix of screws and hidden plastic clips, so the key here is patience. Your goal is to get it off without a single scratch or a snapped clip. This is a job for your plastic trim tools, not a flathead screwdriver.
Start by hunting down all the visible screws. They love to hide in a few common spots:
Down in the door pull recess or armrest.
Behind a small cover near the interior door latch.
Sometimes along the very bottom edge of the panel.
With the screws out, grab your trim tool and start at a bottom corner. Gently work it between the panel and the metal door frame until you feel it bump against a clip. A little careful prying should produce a satisfying pop. Keep working your way around the edge of the door, releasing each clip one by one.
Don't just yank the panel off yet! It’s still tethered by a web of wires and cables. You’ll need to carefully unplug the connectors for the window switches, speakers, and any lights. The cable for the door handle usually unhooks with a simple clip. Once it's free, set the panel somewhere safe where it won't get stepped on.
Having your parts, tools, and securing tape ready beforehand makes the whole process go much smoother.
Securing the Glass and Removing the Old Regulator
Once the panel is off, you’ll see a plastic or foam sheet covering the inside of the door. That's the weather shield, and it’s your defense against rain and road noise. Gently peel it back, trying not to tear it. The gummy adhesive is usually tacky enough to be reused, but it’s not a bad idea to have some new automotive sealant on hand just in case.
Now you can see the whole regulator assembly. The most important thing in there is the glass itself, which is held to the regulator by a couple of bolts or clamps. Before you touch a single bolt, you must secure that window.
Grab your painter's tape and run a few long strips over the top of the door frame, sticking them firmly to both sides of the glass. This creates a strong sling that will hold the window all the way up, preventing it from crashing down inside the door when you unbolt it.
A buddy of mine learned this lesson the hard way. He figured he could hold the glass with one hand and unbolt the regulator with the other. The second that last bolt came loose, the glass slipped, fell, and shattered. What should have been a $150 fix instantly turned into a $400+ headache. Don't be that guy.
With the window safely taped up, you can now loosen the bolts that clamp the glass to the regulator track. Just loosen them enough to slide the glass free.
Next, find the mounting bolts holding the entire regulator assembly to the door. There are usually between four and six of them. Unplug the window motor's electrical connector, then remove all the mounting bolts. Getting the old assembly out can feel like a game of Tetris; you'll have to tilt and rotate it just right to wiggle it out through one of the larger access holes in the door's sheet metal.
Installing the New Window Regulator
The good news? Putting the new one in is just doing everything you just did, but in reverse. The market for these parts is huge—the global automotive window regulator market was valued at around USD 15.64 billion and is expected to climb to nearly USD 25.9 billion by 2035. This growth means parts are readily available, making a successful DIY repair of a window regulator that much more satisfying. You can find out more about the automotive window regulator market trends and the tech going into them.
Start by carefully maneuvering the new regulator assembly back into the door. Don't force anything; just find that sweet spot angle. Get all the mounting bolts started by hand before you tighten any of them down to make sure it's all aligned correctly.
Once the new regulator is secured, plug the motor's electrical harness back in. Now, you can carefully lower the window glass by hand, guiding it into the new clamps or mounting points on the regulator. Tighten the bolts that hold the glass, making sure it’s sitting straight and level.
Before you even think about reaching for that door panel, it’s time to test your work. This is the moment of truth that separates a job well done from a frustrating do-over.
Testing and Final Reassembly of Your Door
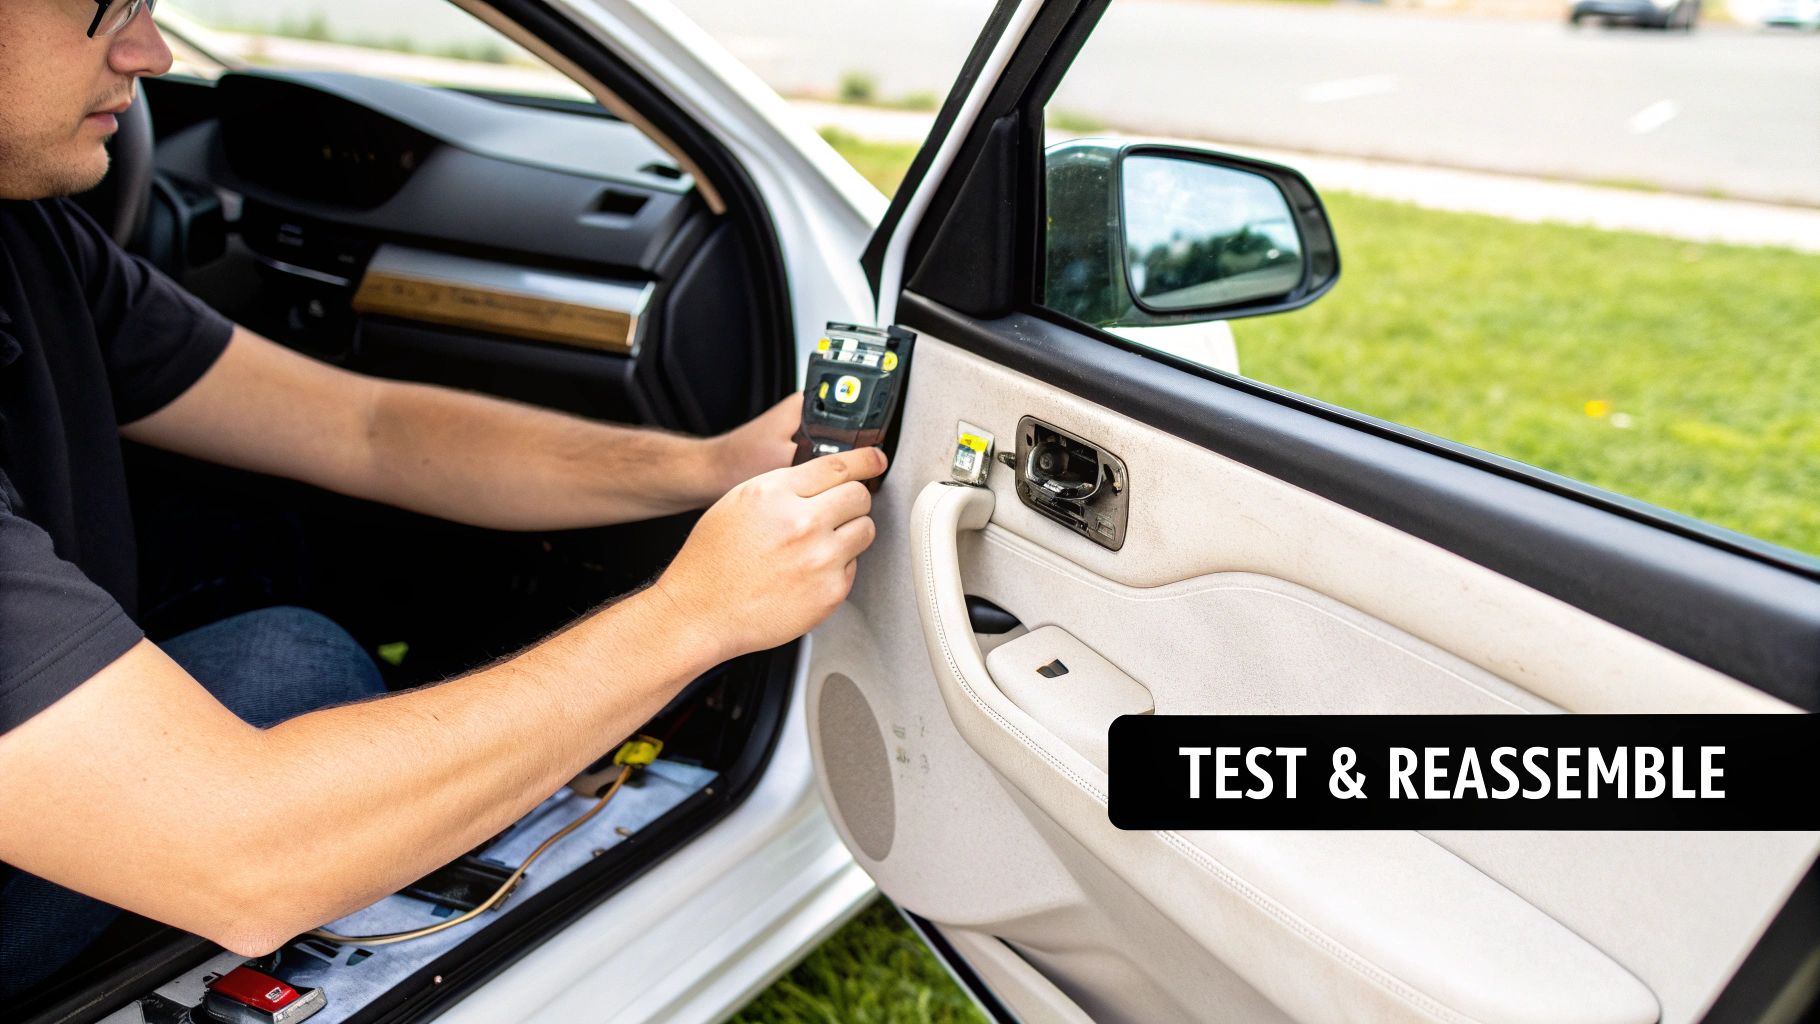
You’ve wrestled the old, broken assembly out and have a shiny new window regulator bolted in. The urge to just slap the door panel back on and call it a day is strong right now. Resist it. A little patience here will save you from having to tear everything apart again in ten minutes.
This next part is the most critical check of the whole job: a full operational test. By testing everything before you put the panel back on, you’ll know for sure that your hard work paid off and you can catch any small snags while they're still easy to fix. This is the moment of truth.
Powering Up for a Test Run
To run a test, you need to give the new regulator power. First, double-check that no wires are hanging where they could get pinched and that your hands and tools are clear of the mechanism inside the door.
Go ahead and carefully reconnect the negative terminal on your car’s battery. Now, find the master window switch that you set aside. Just let it hang by its wiring harness for a minute and plug it back into its connector.
With the key turned to the "on" position, it's time to hit the switch. Run the window all the way down, then all the way back up. Do this several times. Don’t just watch it—listen carefully to the motor and feel for any weird vibrations through the door frame.
Key Takeaway: A good test is a quiet one. The window should glide smoothly at a consistent speed. You shouldn't hear any stuttering, grinding, or popping sounds. Any hesitation or strange noise is a red flag that something isn’t quite right.
Troubleshooting Common Installation Glitches
If the window doesn't move perfectly, don't panic. The fix is usually simple, especially with the door panel still off. Most problems boil down to alignment or tightness.
Here’s what to look for if your test run isn’t smooth:
Binding or Crooked Movement: This is almost always a sign that the glass isn't sitting perfectly straight in the regulator’s clamps. Loosen the bolts holding the glass just enough so you can adjust it, then gently nudge the window until it's perfectly level in its tracks. Retighten and try the test again.
A Loud Clunk or Pop: That kind of noise usually means one of the main mounting bolts for the regulator assembly itself is loose. Go back and check that every bolt securing the regulator to the door frame is torqued down. A loose assembly will flex when the motor engages, causing the mechanism to jump.
The Motor Runs but the Window Doesn't Move: This points to one of two things. Either the glass isn't actually clamped down tight enough, or you simply forgot to plug in the motor's electrical connector.
The electric window lift motor is the heart of this system, and a smooth-running motor is the sign of a job well done. It’s no surprise that the global market for these motors is projected to grow from USD 3.5 billion to USD 3.8 billion, showing just how essential these parts are. You can get more details about the window lift motor market to see how this technology keeps evolving.
Final Steps to a Professional Finish
Once you’re 100% happy with how the window operates, it’s time to button everything up. Disconnect the battery's negative terminal one last time just to be safe.
Carefully press the plastic weather shield back into place against the door frame. That black, gummy sealant should still be tacky, but if you notice any spots that are peeling away, it’s a good idea to add a little bit of fresh automotive sealant to guarantee a watertight barrier. A leaky shield is how you end up with mysteriously wet carpets.
Next, reconnect all the electrical harnesses for the switches, speakers, and courtesy lights on the back of the door panel. Don't forget to re-hook the interior door handle cable.
Finally, line up the plastic clips on the door panel with the holes in the door. The easiest way is to start at the top, hooking the panel over the windowsill first. Then, working your way around the perimeter, give the panel a firm bump with the heel of your hand directly over each clip location to snap it securely into place. Reinstall the few screws you took out at the beginning, and you're officially done.
When to Call a Pro Instead of Going It Alone
There's a special kind of pride that comes from fixing your own car. You save some cash, learn something new, and get to say, "I did that." But trust me, I've seen enough DIY projects go sideways to know that sometimes the smartest tool you can pick up is the phone.
Knowing when to pass the torch to a professional isn't admitting defeat—it's making a smart call. If you're staring at a packed weekend, missing a key tool, or just getting a bad feeling about prying that door panel off, a pro can make a potential headache disappear in an hour or two.
It's Not Just a Window Anymore
Cars have gotten incredibly complex. What used to be a simple crank-and-cable system is now a network of wires, sensors, and computers. This is especially true for premium brands like BMW, Mercedes, and Audi, where the window regulator is deeply integrated into the car’s electronic nervous system.
A DIY attempt can get risky fast in these situations:
Integrated Electronics: In many modern cars, a new window motor isn't just plug-and-play. It has to be "introduced" to the vehicle’s Body Control Module (BCM) using a diagnostic scanner. Skip this step, and your new window might not work at all, or worse, you could set off a cascade of other electronic error codes.
Side-Impact Airbags: Your car door isn't just a hollow shell; it's packed with critical safety gear, including side-impact airbags and their sensors. Accidentally bumping or incorrectly reconnecting these parts is a massive safety risk. A pro knows exactly how to work around them to ensure they'll still be there for you if you ever need them.
Luxury and Exotic Cars: Trying to work on a Porsche or a Land Rover without the right know-how is asking for trouble. They often use unique internal designs and proprietary fasteners that demand special tools and a seasoned touch. One wrong move can lead to cracked trim or broken clips, turning a simple repair into an expensive mistake.
A Quick Gut Check: Should You Really Do This Yourself?
Before you break out the toolbox, take a minute for an honest self-assessment. A YouTube video can show you the steps, but it can't give you patience or a steady hand.
The real cost of a DIY job isn't always just the parts. It’s the hours you lose, the frustration of hitting a wall, and the extra money you might have to spend to fix what you accidentally broke.
If any of these sound familiar, calling a professional is probably your best bet:
Your toolbox is looking a little sparse, and you're not keen on buying a bunch of tools for a one-off job.
You don't have a garage or a good workspace, meaning you’re at the mercy of the weather.
The idea of unclipping delicate wiring harnesses and prying off expensive interior panels makes your palms sweat.
Your schedule is slammed. You can't risk having your car stuck in the driveway for a whole weekend if things don't go as planned.
DIY vs Professional Window Regulator Repair
So, what's the right move for you? This table breaks down the key differences between tackling the job yourself and calling in a mobile mechanic.
Factor | DIY Repair | Professional Repair (Mobile Mechanic) |
|---|---|---|
Cost | Lower upfront cost (parts only). Potential for hidden costs if mistakes are made. | Higher initial cost (parts + labor). The price is fixed and known upfront. |
Time | Can take several hours to a full day, especially for a first-timer. | Typically 1-2 hours. The technician has the experience and tools to work efficiently. |
Tools | You may need to buy or borrow specific tools (e.g., trim removal kit, rivet gun). | No tool investment needed. The pro arrives with everything required for the job. |
Complexity | High risk with complex modern vehicles, electronics, and airbag systems. | Low risk. Professionals are trained to handle complex systems and safety components safely. |
Convenience | You work on your own schedule, but you have to source parts and dedicate the time. | Extremely convenient. The repair happens at your home or office, fitting into your schedule. |
Warranty | Parts may have a warranty, but there's no guarantee on your own labor. | Both parts and labor are typically covered by a warranty, offering peace of mind. |
Ultimately, the decision comes down to balancing your budget against the value of your time, your comfort level with the work, and the complexity of your vehicle.
Finding the Right Pro for the Job
Once you've decided to hire someone, the next step is finding the right someone. You're looking for an experienced mechanic who is transparent about their process and stands by their work.
When you call around for quotes, arm yourself with a few key questions:
"What kind of parts do you use—OEM or aftermarket?" You want to know if they're using Original Equipment Manufacturer parts that guarantee a perfect fit, or at least a high-quality aftermarket equivalent. Steer clear of anyone using cheap, no-name parts that are bound to fail.
"What's the warranty on your parts and labor?" A confident mechanic will always back up their work. Look for at least a one-year warranty, which shows they trust both the parts they use and their own skill.
"Have you worked on my specific car model before?" This is a big one. A technician who knows the quirks of your Ford, Honda, or BMW will get the job done faster and safer, avoiding common pitfalls.
A great mobile service like Auto Renu takes the guesswork out of the entire process. To see what a professional service includes, check out our detailed guide on power window repair services. We bring the shop to you, armed with the right parts and expertise to get your window working perfectly again.
Got Questions? We've Got Answers
Even with the best guide in hand, it’s natural to have a few questions pop up when you’re deep inside a car door panel for the first time. Getting a straight answer can be the difference between a smooth repair and a frustrating afternoon.
Here are some of the most common questions we get from folks tackling a window regulator replacement.
How Long Is This Actually Going to Take?
If this is your first time doing this job, plan on it taking 2-4 hours. That's a realistic timeframe that lets you work at a steady pace without rushing. You'll need that buffer for tricky parts like getting the door panel off without breaking any clips or safely securing the window glass.
A seasoned pro? They can usually knock it out in about an hour. But remember, the complexity of your vehicle matters. A basic sedan door is a whole different ballgame than a luxury SUV packed with extra wiring and sound-dampening material.
Can I Just Swap the Motor and Keep the Old Regulator?
While you technically can, it's a really bad idea. The regulator and motor are almost always sold as a single unit for a good reason—they wear out together. If your motor just burned out, you can bet the cables, pulleys, and plastic guides on the regulator have seen the same amount of wear and tear.
This is a classic "penny wise, pound foolish" scenario. You might save a few bucks now by only replacing the motor, but you're setting yourself up to do the entire job again in a few months when a worn-out cable finally snaps. Just replace the whole assembly.
Are Aftermarket Parts a Safe Bet?
Absolutely, as long as you choose wisely. A high-quality aftermarket regulator from a reputable brand can work just as well as the expensive OEM part from the dealer. These companies design their parts to meet or even exceed the original factory specs.
The trick is to steer clear of the ultra-cheap, no-name parts from sketchy online marketplaces. Stick with brands you recognize from trusted auto parts stores. They’ll fit correctly and usually come with a decent warranty, giving you confidence without the dealership markup.
What Happens If I Get Stuck Halfway Through?
It happens to the best of us. You might hit a bolt that just won't budge, a wiring connector that seems impossible to release, or you might just feel like you've bitten off more than you can chew. The most important thing to do is stop. Don't force anything—that’s how plastic clips and trim pieces get broken.
If you’re at a standstill, professional help is right around the corner. If you need a hand or decide to tap out, you can always contact our mobile repair team. We’ll come to you and get it sorted out.
A stuck car window isn't just annoying; it compromises your vehicle's security and can be a real pain in bad weather. Whether you handle the repair yourself or call us in, fixing it quickly is what matters most. For a fast, professional fix, trust Auto Renu Auto Glass LLC to do it right. You can schedule your mobile repair today at https://www.autorenu911.com.