Replace windshield at home: The Ultimate DIY Replacement Guide
Learn how to replace windshield at home with our step-by-step guide, essential tools, techniques, and safety tips for ADAS-equipped vehicles.
Jan 15, 2026
generated
replace windshield at home, DIY windshield replacement, auto glass installation, ADAS recalibration, car maintenance
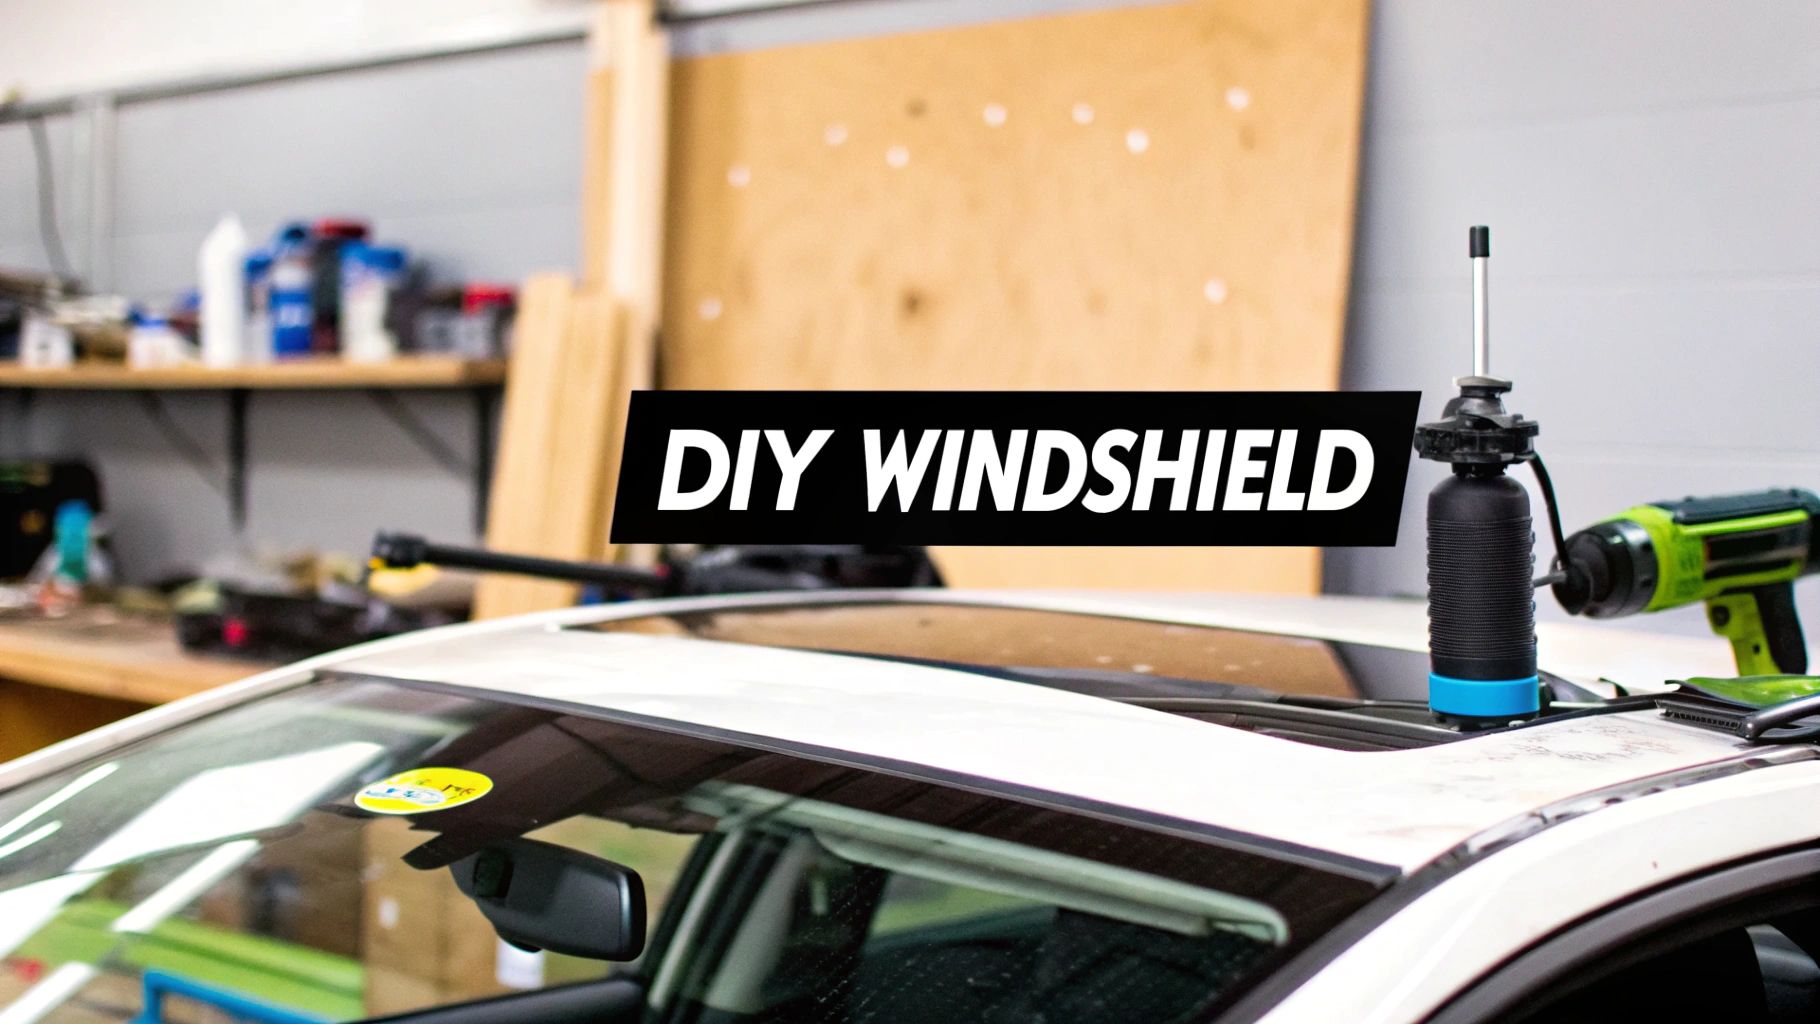
So, can you actually replace a windshield at home? The short answer is yes, but it’s a big job that really only makes sense for seasoned DIYers with older vehicles—think cars without all the modern bells and whistles. To pull it off, you need the right professional-grade tools, a ton of patience, and a solid understanding of just how badly things can go wrong. For most cars on the road today, calling in a mobile pro is the smarter, safer bet.
Is It Smart to Replace a Windshield Yourself?
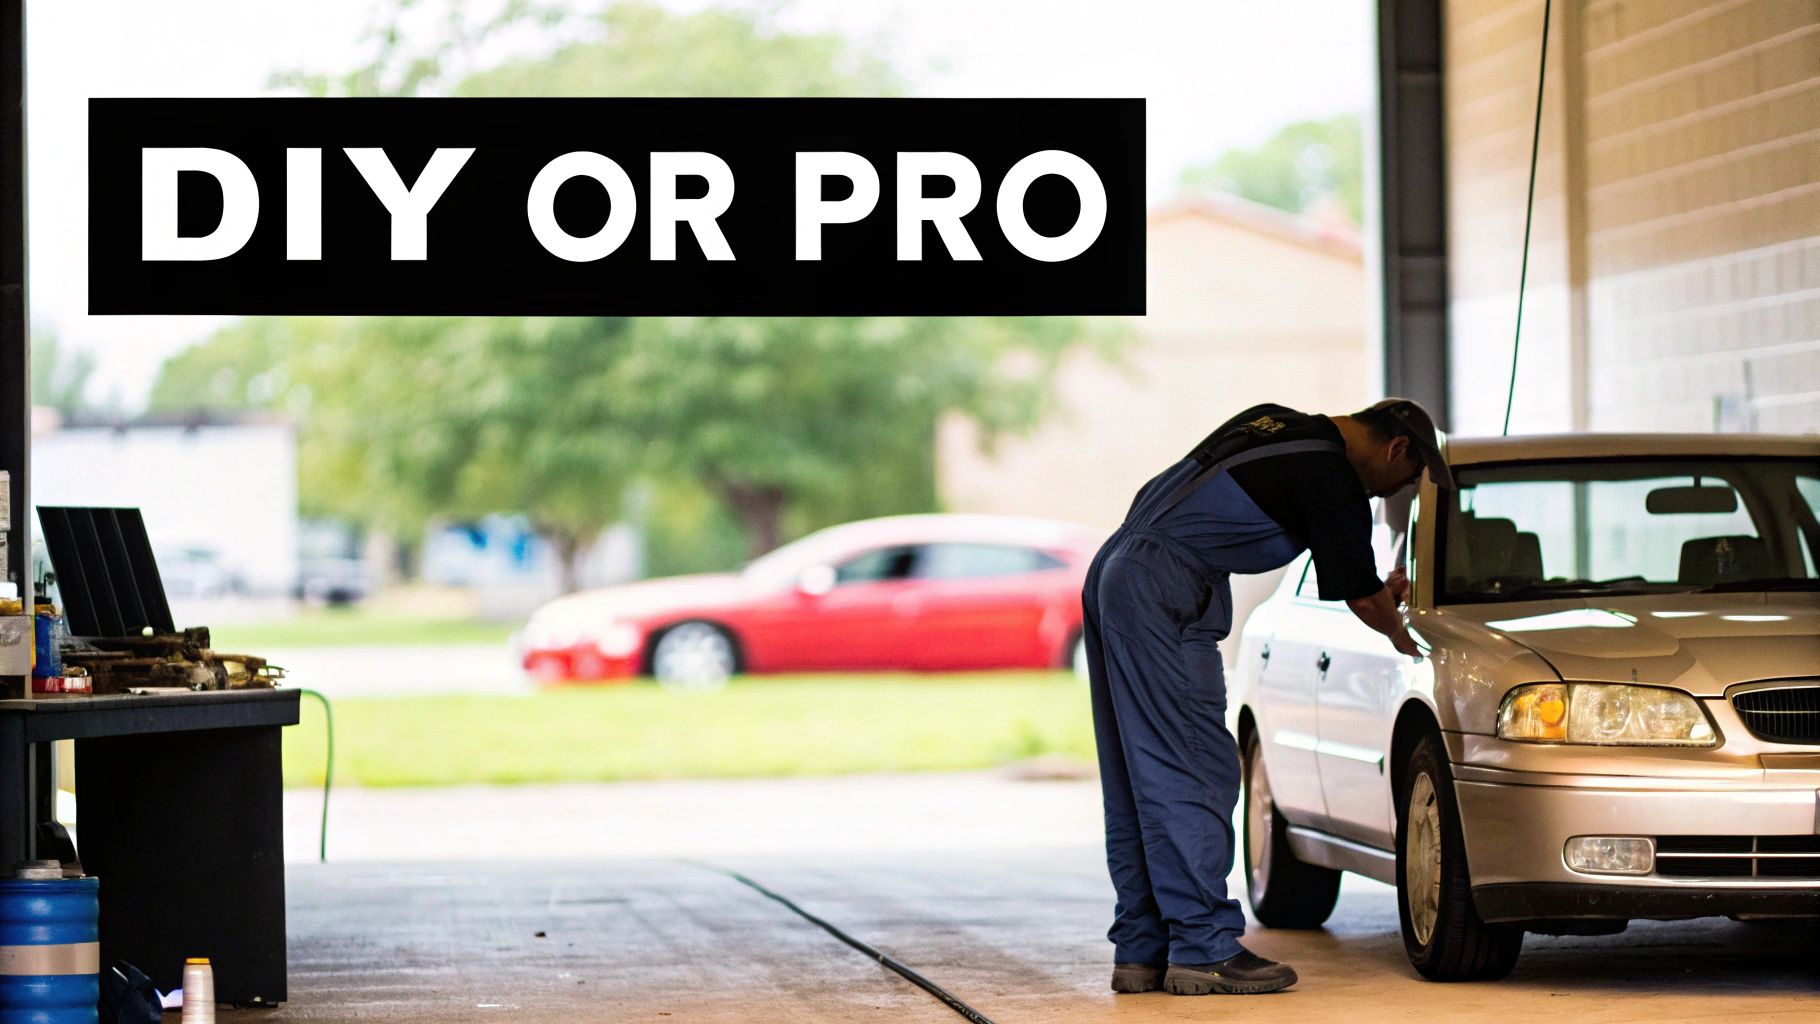
The thought of tackling a windshield replacement yourself is tempting. You see the quotes from professional shops and think, "I can save a bundle on labor and do this in my own garage." I get it. But this isn't like changing your oil or swapping out brake pads; it's one of the most demanding automotive jobs you can attempt, and there is zero room for error.
A windshield that’s put in wrong isn't just a cosmetic problem—it's a massive safety hazard. That piece of glass is a key structural component, providing up to 60% of your car's cabin strength in a rollover. If the bond is weak, it compromises the entire frame, which can affect how your airbags deploy and whether your roof holds up in a crash.
Who Is This DIY Project For?
Let's be honest about who should even consider this. A DIY windshield replacement is really only practical for someone working on an older vehicle, probably from before the year 2000. These cars don't have the complicated trim, integrated sensors, or the Advanced Driver-Assistance Systems (ADAS) that make installations on modern cars a job for specialists. If you’ve got a classic car or a basic work truck and you’re already a highly skilled mechanic with a surplus of patience, you might be in the clear.
For just about everyone else, especially if your vehicle was made in the last 15-20 years, the risks are just too high. The margin for error is incredibly thin, and one slip-up can lead to a world of headaches:
Persistent water leaks that can fry your electronics and ruin your interior.
Annoying wind noise whistling through a bad seal every time you hit highway speeds.
Cracking the brand-new windshield during the installation, forcing you to buy a second one.
Compromising your vehicle’s safety because the urethane adhesive didn't create a strong enough bond.
Understanding the Widespread Issue
It’s no surprise that people are looking for at-home solutions for windshield damage—it happens all the time. In the US, there are over 263 million vehicles on the road, and at any given time, an incredible 9-14% of them are driving around with repairable damage. That’s somewhere between 24 million and 37 million cars. This huge number is why at-home repair kits and DIY solutions have become so popular. But here's the catch: for those DIY kits, a staggering 75% of users are unhappy with the results, citing poor visibility or cracks that just keep spreading. It’s what pushes so many to eventually call a professional mobile service anyway. You can discover more insights about the windshield repair market and its potential here.
Key Takeaway: Deciding to replace your own windshield is a high-stakes gamble. A small mistake can create serious safety problems and lead to extra costs that quickly erase any money you thought you were saving.
DIY Windshield Replacement vs. Professional Mobile Service
Making the right call comes down to weighing the pros and cons. To lay it all out, here's a side-by-side comparison of doing it yourself versus hiring a mobile service like Auto Renu Auto Glass LLC.
Factor | DIY Replacement | Professional Mobile Service |
|---|---|---|
Total Cost | Lower initial parts cost, but high risk of added expenses from mistakes, tool purchases, or mandatory ADAS recalibration. | Higher upfront cost that is all-inclusive. Covers labor, materials, warranty, and professional expertise, eliminating financial risk. |
Time Investment | 6-10 hours for a first-timer, not including trips to the parts store. The vehicle must remain stationary for 24 hours to cure. | Typically 1-2 hours. The technician comes to you, and the vehicle is often safe to drive much sooner due to professional-grade adhesives. |
Tools & Materials | Requires purchase or rental of specialized tools like suction cups, a cold knife, and a caulking gun. Must source correct glass and urethane. | Professionals arrive with a fully equipped vehicle containing all necessary high-grade tools, primers, and adhesives for a perfect job. |
Quality & Safety | Highly variable and dependent on skill. High risk of leaks, wind noise, and a compromised structural bond if not done perfectly. | Guaranteed professional-grade seal. Ensures structural integrity, proper airbag function, and a leak-free fit backed by a warranty. |
ADAS Recalibration | Cannot be performed at home. Requires a separate, costly visit to a specialized shop after the windshield is installed. | Often included as part of the service. Technicians can perform on-site ADAS recalibration, ensuring safety systems work correctly. |
Ultimately, while the DIY path offers potential savings, the professional route provides peace of mind, safety, and a guaranteed result without the risk and hassle.
Your Essential Toolkit for Windshield Replacement

Trying to replace a windshield without the right gear is a recipe for disaster. It's like trying to bake a cake without an oven—sure, you might end up with something, but it's going to be a mess. Getting every tool and material on hand before you even think about touching the car is non-negotiable. It’s what separates a successful project from a panicked, mid-job run to the auto parts store.
This isn’t just a shopping list. We're going to break down why each of these items is critical. This job is about much more than just swapping a piece of glass; it’s about creating a perfect, waterproof seal that’s vital to your car’s structural safety.
Core Tools for Glass Removal and Placement
First up are the specialized tools you’ll need to cut out the old glass and set the new one. These are purpose-built for the job, and trying to improvise with what's in your garage toolbox is almost guaranteed to end with a damaged car or a brand-new, cracked windshield.
Windshield Removal Tool: This is not your average knife. You need a professional-grade cold knife or a wire-out tool to slice through the incredibly tough urethane adhesive. A simple utility knife won't cut it—you'll likely scratch the pinch weld (the metal frame where the glass sits) or snap the blade.
Heavy-Duty Suction Cups: A new windshield is heavy, awkward, and surprisingly fragile along its edges. A good pair of suction cups is the only safe way to lift, carry, and carefully place the glass without putting dangerous stress on the corners. This is a must-have for your safety and for the glass itself.
Trim Removal Tools: Using a screwdriver to pry off trim is a sure-fire way to scratch your paint and break the delicate plastic clips holding everything together. A set of plastic pry tools is designed to pop off interior and exterior trim without causing any cosmetic damage.
A professional's toolkit is built for precision and safety, not just brute force. To grasp the full scope of what's needed, it's helpful to review the essential equipment every auto repair shop should have as a benchmark for your own DIY setup.
Adhesives and Primers: The Key to a Perfect Seal
The real magic behind a proper windshield installation is the chemical bond. This is one area where you absolutely cannot cut corners. Using the wrong products will guarantee leaks, create wind noise, and seriously compromise your safety in an accident.
Handling automotive glass requires a specific approach, which differs from a windshield but shares core principles. You can learn more about how to replace a car window glass here: https://www.autorenu911.com/blog/how-to-replace-a-car-window-glass.
The Urethane System You need more than just a tube of black sealant. A proper installation relies on a complete system of products working together:
Glass Cleaner: Start with an automotive-grade, ammonia-free cleaner. This ensures the bonding surfaces are perfectly prepped and free of contaminants.
Pinch Weld Primer: This gets applied to any bare metal spots on the car's frame. It’s crucial for preventing future rust and helping the urethane adhere properly. Skipping this is a common reason for leaks and bond failure down the road.
Glass Primer/Activator: This chemical is wiped onto the black ceramic "frit" band around the edge of the new windshield. It preps the glass surface to create a permanent, chemical bond with the urethane adhesive.
Urethane Adhesive: This is the most important part of the whole job. Make sure you get a high-modulus, non-conductive urethane specifically made for auto glass. Pay close attention to its safe drive-away time, which can be anywhere from one hour to several, all depending on the product, temperature, and humidity.
You'll also want a professional-grade caulking gun. A cheap one from the hardware store will struggle with the thick urethane, leading to an uneven bead and a poor seal.
Safety Gear and Consumables
Finally, don't overlook the basic supplies that will protect you and your car during the job. These are just as crucial as any specialized tool.
Safety Glasses: This is non-negotiable. An old windshield can shatter unexpectedly during removal, sending shards everywhere.
Heavy-Duty Gloves: You need to protect your hands from sharp glass edges and the incredibly sticky urethane.
Masking Tape: This comes in handy for holding trim pieces in place and, most importantly, for securing the new windshield while the urethane cures.
Drop Cloths or Blankets: A simple step that saves a lot of headaches. Drape them over your dashboard, hood, and fenders to prevent scratches and stray adhesive drips.
Making sure you have every single one of these items ready to go is the first and most important step toward a successful DIY windshield replacement.
Removing the Old Windshield Without Damaging Your Car
Alright, here's where your patience really gets put to the test. Getting the old windshield out isn't about brute force. Think of it more like surgery—it demands a steady hand and a methodical approach. One wrong move and you could leave a deep scratch in your paint or, even worse, bend the pinch weld. That's a costly mistake that can totally compromise the seal on your new glass.
We're going to walk through this step by step. The only goal here is to get the old glass out cleanly and safely, leaving a perfect foundation for the new one. Trust me, rushing this part is the fastest way to turn a money-saving DIY project into an expensive trip to a professional.
Prepping Your Vehicle for the Operation
Before you even think about cutting, you need to prep the car. The idea is to protect every single surface that could get nicked or smeared. A few minutes of careful setup now will save you a ton of headache and touch-up work later.
Start with the exterior. Grab some low-tack painter's tape and create a protective border all the way around the windshield on the A-pillars and the roofline. This simple step creates a buffer zone, guarding your paint against the sharp edge of a removal knife.
Now for the inside. Drape a heavy blanket or a thick drop cloth over your entire dashboard. This will protect it from any falling glass chips and, more importantly, from the incredibly sticky old urethane you're about to cut through. It's a good idea to cover the front seats and floorboards, too, just to catch any stray debris.
Detaching All the Surrounding Parts
With your car's vulnerable spots covered, it's time to clear the deck. You need to get anything that's attached to or overlapping the windshield out of the way.
Windshield Wipers: Pop the little plastic caps at the base of the wiper arms. A socket wrench will take care of the nuts holding them on. The arms can be a little stubborn on their splines; just give them a gentle back-and-forth rocking, and they should pull right off.
Cowling Panel: This is that plastic or rubber trim piece at the base of the windshield that hides the wiper guts. It’s usually held on by a bunch of plastic clips or a few screws. Use your trim removal tools to carefully pry it up and set it somewhere safe.
Exterior and Interior Trim: A lot of cars have side moldings or a top trim piece running along the glass. Your plastic pry tools are perfect for gently popping these off. Inside, you'll probably need to take off the rearview mirror and the A-pillar trim panels to get clear access to the urethane bead.
Pro Tip: As you take off screws and clips, put them in little plastic bags and label them. It sounds tedious, but this tiny bit of organization is an absolute lifesaver when you're putting everything back together. No more mystery parts!
The Art of Cutting the Urethane Seal
This is it—the most critical part of the removal. You're about to slice through the industrial-strength adhesive holding the glass in place. You've got two main tools for this job: the cold knife or a wire-out tool.
A cold knife is a specialized tool with a pull handle and a sharp, angled blade. The technique involves working the blade between the glass and the pinch weld, then pulling it along the seal. It takes a good bit of muscle and a very steady hand to keep from scratching the frame.
A wire-out tool, on the other hand, uses a strong braided wire. You feed the wire through the urethane seal from inside the car, attach handles to both ends, and use a sawing motion to slice through the adhesive. Many find this method faster and a bit safer for the pinch weld, as long as you're careful.
Whichever tool you use, the technique is what matters.
Don't try to cut the whole thing at once. Work in small, manageable sections.
Always keep the blade or wire angled away from the pinch weld. You want to cut the urethane, not gouge the metal frame.
If you're working with a cracked windshield, run packing tape over the cracks on both sides. This helps hold the glass together and keeps it from completely shattering on you during removal.
Safely Lifting Out the Old Glass
Once you've sliced all the way around, the old windshield is technically free. But it’s still sitting there, held by its own weight and a few sticky spots. This is a two-person job. I can't stress that enough. Do not try to lift a windshield by yourself. It's heavy, awkward, and surprisingly easy to drop.
Get one person on each side of the car. Use your heavy-duty suction cups to get a solid grip on the glass. On the count of three, coordinate a slow, even lift, pulling the windshield up and away from the vehicle. Watch out for the dashboard and hood as you carry it away.
Set the old windshield down somewhere safe and out of your way. Now, you're looking at the car's frame and that old, messy bead of urethane. This sets the stage for the next crucial phase: preparing the pinch weld, which is absolutely fundamental if you want to successfully replace a windshield at home.
Alright, with the old windshield out of the way, you're looking at the most critical part of the entire job. This is where a good DIY project becomes a great one—or where it all goes wrong. Getting the new glass installed with a perfect, factory-like seal is what separates a safe, professional job from a leaky, noisy nightmare.
Every single detail from here on out matters. We're talking about creating a permanent, structural bond between the new windshield and your car's frame. Let's get it done right.
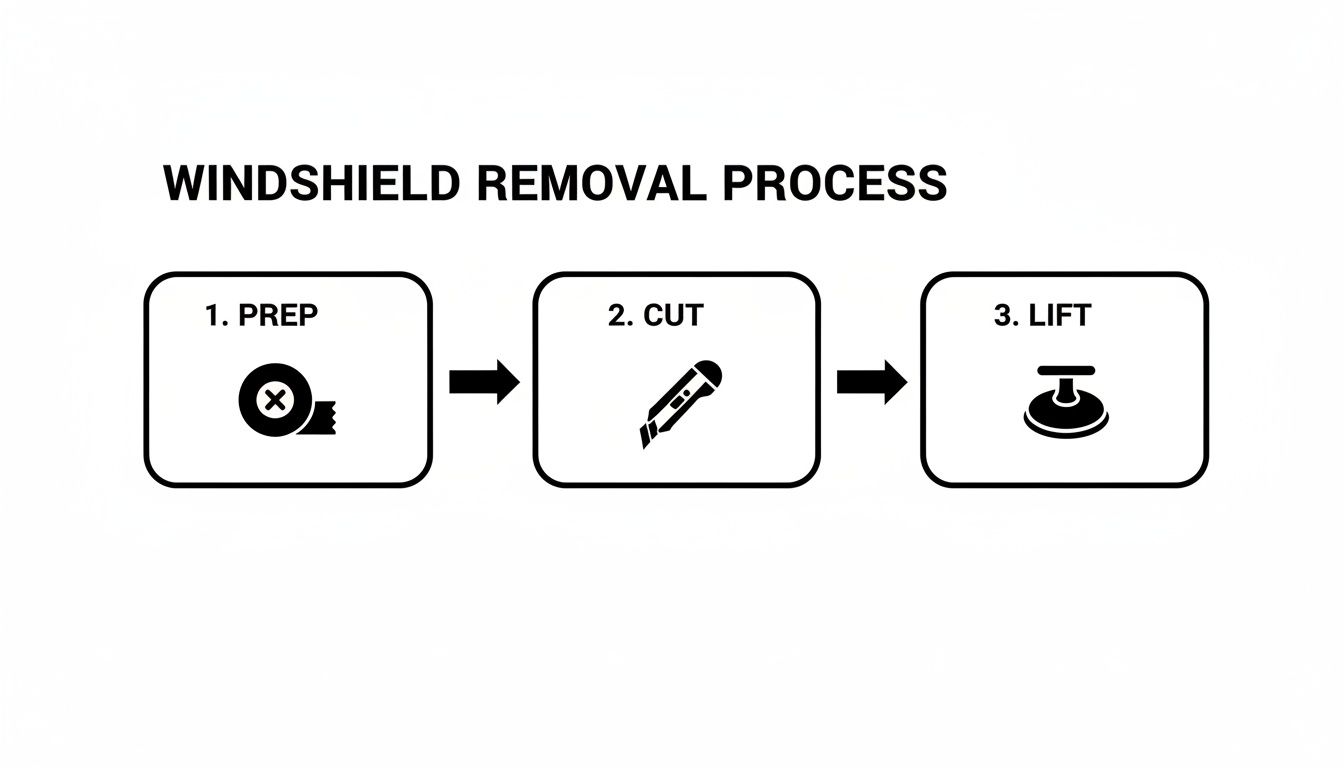
This graphic breaks down the removal you just finished—prep, cut, and lift. Now, let's apply that same methodical approach to the installation.
Pinch Weld Perfection: The Foundation of a Good Seal
Take a look at the pinch weld—that metal channel where the windshield sits. It’s probably caked with a messy, uneven ridge of old urethane. This is the spot where most DIY jobs fail, and it's almost always because of improper prep.
Grab a razor blade or a dedicated scraper and start carefully trimming that old urethane bead. You’re not trying to remove it all. You want to leave a thin, flat base layer that’s about 1-2 millimeters thick. New urethane actually bonds beautifully to old urethane, but only if the surface is smooth. Get rid of all the high spots and chunky bits.
Once it's trimmed down, vacuum out all the debris and give the entire pinch weld a good wipe-down with an automotive-grade cleaner. Now, inspect it closely. See any scratches or chips that went down to bare metal during removal? You must dab a bit of pinch weld primer on those spots. If you don't, rust will start to form under your brand-new seal, and it’s only a matter of time before it fails.
Applying a Flawless Urethane Bead
Now for the main event. Applying the adhesive bead is a game of precision. Too thin, and you'll be chasing leaks and wind noise forever. Too thick, and it's going to squeeze out everywhere, creating a huge mess.
First, do a dry run. Have your helper on standby and carefully place the new windshield into the frame. Check the fit and alignment, then use a few strips of masking tape on the roof and A-pillars to mark its exact final position. These little markers are your best friends for getting the placement right on the first try.
Now, take the glass back out and set it somewhere safe. Grab the glass activator/primer that came with your kit and wipe down the black "frit" band on the inside edge of the new windshield. This is a crucial chemical prep step that creates a powerful molecular bond between the glass and the urethane.
Next, cut the nozzle on your urethane tube. It has a V-shape for a reason—it’s designed to lay down a tall, triangular bead that squishes down perfectly when the glass is set. Apply a single, continuous bead of urethane all the way around the pinch weld. Don't stop and start. Just maintain a steady hand and consistent pressure.
Expert Insight: The height and consistency of that urethane bead are everything. Aim for a bead that's roughly 10-12mm high. An uneven bead is the number one culprit behind frustrating wind noise and water leaks down the road.
Setting the New Windshield
This is absolutely a two-person job, so make sure your helper is ready. Using your suction cups, lift the new windshield and, guided by your tape marks, carefully lower it into the frame. Start with the bottom edge first, then gently lay the rest into place.
Once it's sitting in the wet urethane, press down lightly but firmly around the entire perimeter of the glass. You want to ensure it makes solid, even contact with the adhesive all the way around. The goal is for the glass to sit perfectly flush with the car's body.
To keep the windshield from sliding down while the urethane sets, run a few long strips of masking tape from the roof, over the glass, and down to the cowl.
The Critical Curing Process
You're in the home stretch, but you can't rush this last part. The urethane needs time to cure and develop its full structural strength.
Check the instructions on your urethane for the Safe Drive-Away Time (SDAT). This is the minimum time you have to wait before the car is safe to operate, and it can be anywhere from one to several hours depending on the product and the weather.
Honestly, though, for a full, bulletproof cure, most pros will tell you to let the vehicle sit undisturbed for a solid 24 hours. While you wait:
Don't slam the doors. The sudden change in air pressure can pop the fresh seal.
Leave the windows cracked open about an inch to help equalize pressure.
Steer clear of car washes and extreme temperatures for at least a day.
The auto glass market is on a major upswing, projected to hit $57.92 billion by 2029, as more cars hit the road every year. While DIY is a piece of this growth, the real trend is with professional mobile services that guarantee perfect seals and can handle the complex ADAS recalibrations modern cars require. For businesses managing fleets or for car dealerships, mobile experts like Auto Renu Auto Glass LLC are a game-changer, delivering top-tier work for any make or model right on-site. You can explore more about these market dynamics and professional solutions.
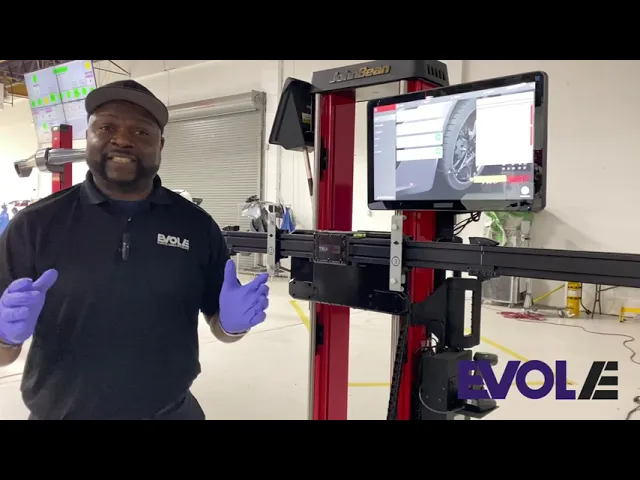
The Critical ADAS Recalibration You Absolutely Cannot Skip
Here’s a look at why this step is so vital:
If your car was built in the last ten years or so, it's almost certainly loaded with safety tech that works in the background. Things like lane-keeping assist, adaptive cruise control, and automatic emergency braking are all part of what’s known as Advanced Driver-Assistance Systems (ADAS). The brain behind this whole operation is a camera, usually tucked right behind your rearview mirror.
That little camera is your car’s eye on the world. It’s constantly reading lane lines, tracking the car in front of you, and scanning for potential hazards. But here’s the kicker: its position is calibrated with microscopic precision to your specific windshield. When you replace a windshield at home, even the tiniest shift—a single millimeter—in the new glass's placement can throw the entire system out of whack.
Where the DIY Job Ends and the Pros Take Over
This is the hard stop for any DIY project. Recalibrating an ADAS system isn't a driveway task. It demands specialized scanners, targets, and proprietary software that only professional technicians have access to. If you skip this, your car’s life-saving features can become dangerously unreliable.
Think about what that actually means on the road:
Your lane-keeping assist might start ignoring the lines on the road, letting you drift, or it could overcorrect and jerk the wheel.
The automatic emergency braking could fail to stop you in a critical moment. Even worse, it could slam on the brakes for no reason on the highway.
Adaptive cruise control might completely misread the distance to the car ahead, setting you up for a rear-end collision.
This isn't just about a feature glitching out; it's a massive safety failure waiting to happen. A poorly aimed ADAS camera turns a safety net into an unpredictable liability. Skipping recalibration is a bet you really don't want to make.
Why Expert Calibration is More Important Than Ever
The reality is, more and more cars have ADAS. This makes professional recalibration an essential, non-negotiable part of any glass replacement. With 9-14% of the 263 million vehicles on US roads needing glass work each year, the demand for this specialized skill is huge. A great analysis of this industry can be found over at MarketReportAnalytics.com.
For anyone driving a high-tech car like a Tesla or a Mercedes, mobile experts like Auto Renu Auto Glass LLC are a godsend. We bring the calibration equipment right to you, ensuring these complex systems are dialed in perfectly.
At the end of the day, just sticking the glass in is only half the battle. To really understand what goes into this final, crucial step, take a look at our complete guide on ADAS calibration after windshield replacement. It breaks down exactly why this professional service is the only way to keep your modern vehicle safe.
Common Questions About DIY Windshield Replacement
Even with a solid plan, taking on a windshield replacement yourself is a big job. It’s totally normal to have some last-minute questions about the costs, what can go wrong, and how modern car tech fits into the picture. Let's tackle the big ones so you can decide with confidence.
How Much Money Can I Really Save?
On the surface, it looks like a no-brainer. You're sidestepping professional labor, which usually runs between $100 to $300. But that’s only part of the equation.
First, you have to buy the glass, which can cost anywhere from $200 to over $500 depending on your car. Then comes the gear. A good urethane adhesive kit is about $50-$80, and you'll likely need to buy or rent tools like professional suction cups and a cold knife, adding another $100+ to your shopping list.
The real kicker, though, is the hidden cost of modern safety systems. If your vehicle has ADAS (Advanced Driver-Assistance Systems), a mandatory professional recalibration will run you $250-$400. That alone can erase any savings you thought you had. Worse, one slip-up during the install could mean fixing leaks or even buying a second new windshield, making the DIY attempt a costly misadventure. For a more detailed breakdown, check out our guide on the true cost to replace a windshield.
What Is the Biggest Mistake People Make?
From my experience, the most common and dangerous mistake people make when they replace a windshield at home is messing up the pinch weld preparation. If you don't scrape off all the old urethane down to a thin, even layer and then correctly prime the metal frame, the new adhesive just won't stick properly. It’s a tedious, non-negotiable step.
This one error triggers a whole chain of failures:
Water Leaks that can ruin your interior and fry expensive electronics.
Annoying Wind Noise that whistles through the cabin on the highway.
Serious Safety Hazards, because a poorly bonded windshield won't do its job in a crash.
A correctly installed windshield is a structural component of your car. It helps keep the roof from caving in during a rollover and ensures your airbags deploy correctly. A weak bond compromises everything, turning a simple DIY project into a genuine safety risk.
How Do I Know If My Car Needs ADAS Recalibration?
Figuring this out is pretty simple. Does your car have features like lane-keep assist, adaptive cruise control, or automatic emergency braking? If so, you have an ADAS camera, and it’s mounted right on the windshield.
The easiest way to be sure is to look at your rearview mirror from outside the car. See a black, triangular plastic box or a camera lens pointing forward through the glass? That's your ADAS system. For any car with this tech, professional recalibration isn't optional—it's a critical step to ensure your safety features work when you need them most.
Feeling like this is more trouble than it's worth? The smartest, safest move is often to just call a pro. Auto Renu Auto Glass LLC delivers dealership-level work right to your driveway, guaranteeing a perfect, leak-free seal and an accurately recalibrated ADAS system. https://www.autorenu911.com