Your Guide to Windshield Repair DIY Done Right
Thinking about a windshield repair DIY? Our guide gives you actionable steps, common mistakes to avoid, and the secrets to a pro-level finish at home.
Jan 30, 2026
generated
windshield repair diy, diy auto glass, fix windshield chip, car glass repair, auto maintenance

A tiny chip on your windshield might seem like a small problem, but it’s a ticking clock. Catch it early, and you can often fix it yourself in under an hour for less than $30. For a simple bullseye chip smaller than a quarter, a windshield repair diy kit is a fantastic, budget-friendly way to stop it from spreading.
But this is where you need to be honest with yourself. More complex damage, especially long cracks or anything in your direct line of sight, is a different story. That’s not a DIY job; that’s a safety issue that needs a pro.
Is a DIY Repair Really the Right Call?
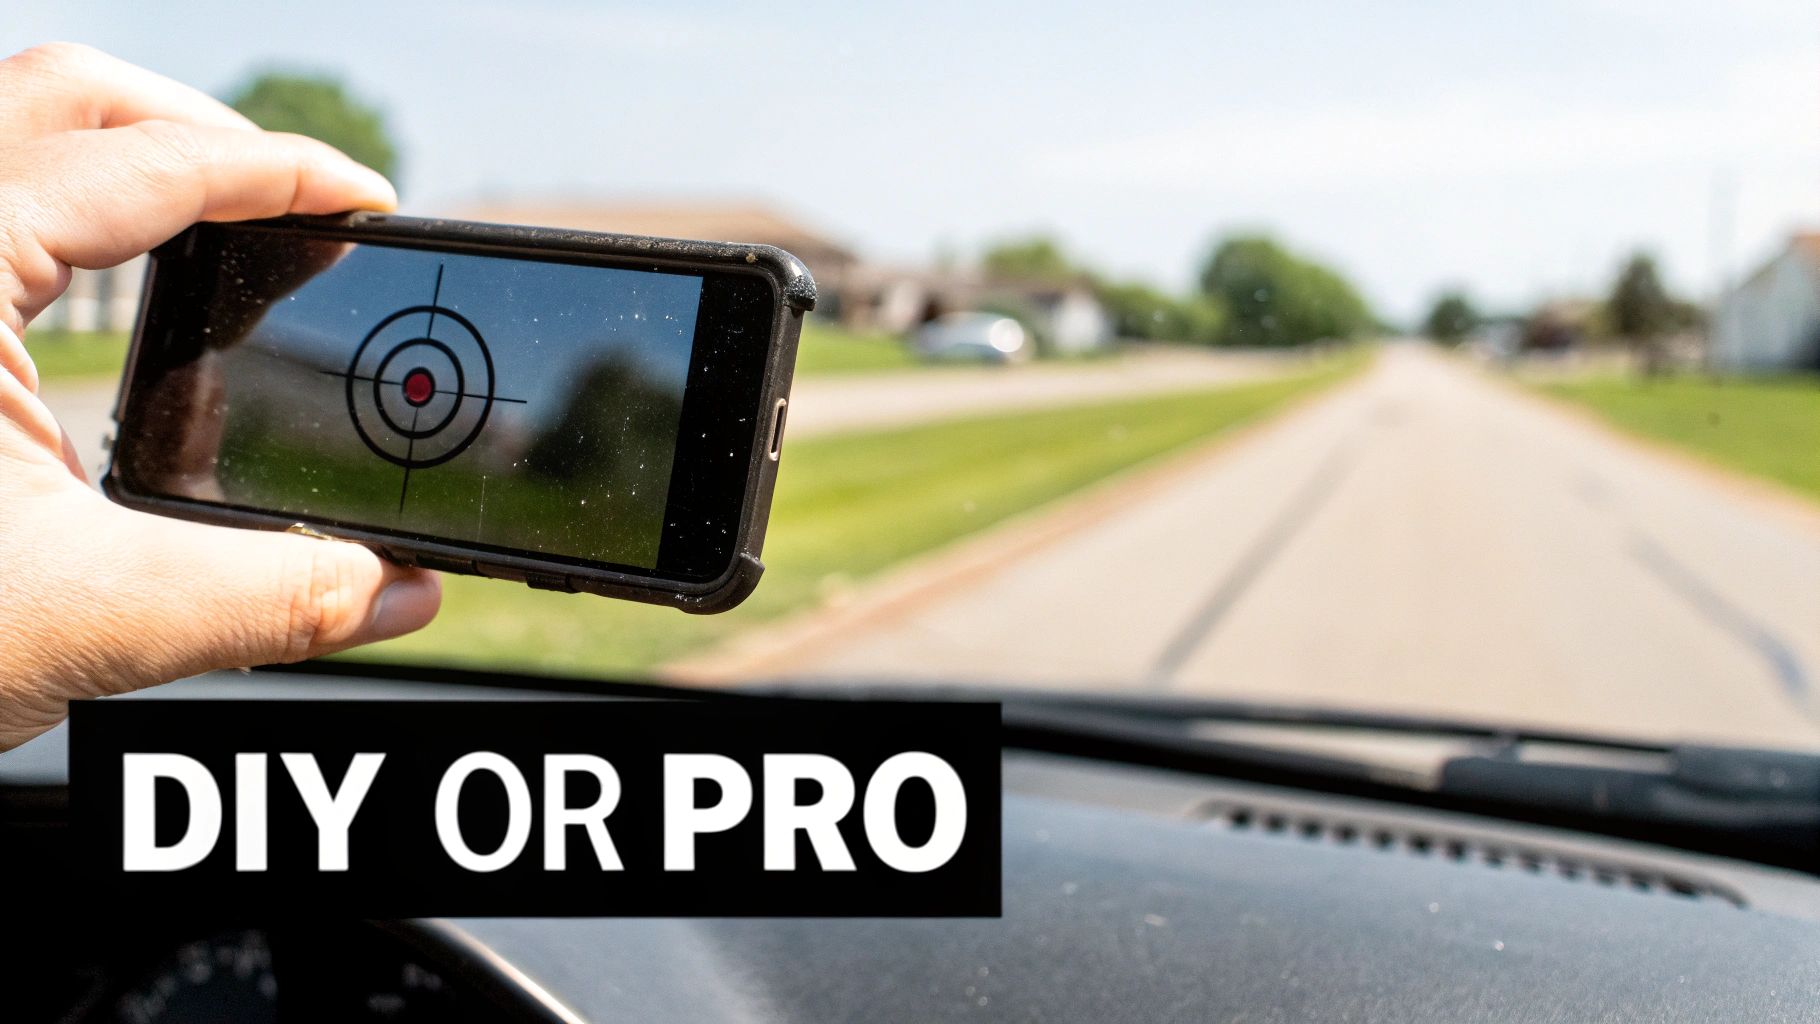
That new rock chip is more than just an ugly blemish—it's a fork in the road. Deciding between a quick home fix and calling a professional isn’t just about the money. It's about safety, whether the repair will actually hold, and preventing a minor annoyance from escalating into a full, expensive windshield replacement.
Getting this decision right from the get-go is the single most important step. Before you even think about buying a kit, you have to play detective and give that damage a serious, honest look. Not all chips are the same, and a kit that works perfectly on a simple ding could make a more complex crack even worse.
Sizing Up the Damage: A Realistic Assessment
The first rule of windshield repair diy is to know your limits. Those kits you see online or in auto parts stores are designed for very specific, minor damage. Get up close and really examine the impact.
What are you looking at? Is it a clean, round "bullseye"? Or does it have little legs branching out, like a "star break"? The shape and complexity tell you everything.
Here’s what makes a chip a good candidate for a DIY fix:
Size: The entire damaged area must fit comfortably under a quarter. If it's bigger than 1 inch in diameter, a DIY resin just won't be able to properly fill all the tiny fractures.
Type: Clean, simple chips are your best bet. Think bullseyes or small combination breaks. Those complex star breaks or long, single-line cracks are notoriously difficult to fill without trapping air.
Location: If the chip is anywhere in the driver's main field of vision, stop. Don't even consider a DIY repair. It can leave a slight haze or distortion that could be a dangerous distraction while driving.
Depth: The rock should only have damaged the outer layer of glass. Run your finger over the spot from inside the car. If you can feel any roughness or a divot, the damage is too deep and the windshield’s integrity is compromised.
A classic mistake is trying to tackle a star break that looks small. Those little radiating cracks are perfect for trapping air bubbles. The repair might look okay at first, but the first big temperature change can cause it to fail and spread.
Weighing the Risks and Rewards
The appeal of a DIY fix is obvious. The global market for windshield repair kits is projected to grow from $500 million in 2025 to $750 million by 2033 for a reason. You can avoid a professional bill that could be anywhere from $300 to over $1,000 for a replacement, all for the price of a $20-$60 kit.
The numbers look good, too. Research suggests over 70% of minor chips can be successfully repaired at home—but that success is all in the execution.
On the flip side, the risks are very real. A botched repair can trap air and moisture, making the damage look even worse. Worse yet, the cheap resin clogs up the chip, making it impossible for a professional to come in later and fix it correctly. A failed DIY attempt often leaves a full windshield replacement as your only option.
Before making a final call, it helps to understand exactly what kind of damage you're looking at. For a closer look at identifying different impact types, our guide on the types of windshield damage is a great resource. This knowledge is your best defense against making a costly mistake.
To help you decide, here’s a straightforward comparison of what to expect from each path.
DIY Kit vs Professional Service: A Practical Comparison
Factor | DIY Repair Kit | Professional Service |
|---|---|---|
Cost | $20 - $60 | $100 - $300+ (may be covered by insurance) |
Time | 30-60 minutes | 30-60 minutes (plus travel/wait time) |
Convenience | High (do it anytime, anywhere) | High (mobile services come to you) |
Skill Required | Basic (must follow instructions precisely) | None (handled by a trained technician) |
Best For | Simple bullseyes and small chips (<1 inch) | All repairable damage, including long cracks and star breaks |
Success Rate | Moderate to high (depends on user skill) | Very high (backed by warranty) |
Potential Risks | Botched repair, making damage worse, visual distortion | Minimal (insured and guaranteed work) |
Ultimately, choosing a DIY kit is a calculated risk. For a small, simple chip and a bit of patience, it can save you a significant amount of money. But for anything more complex or in a critical location, calling a professional is the smarter, safer bet.
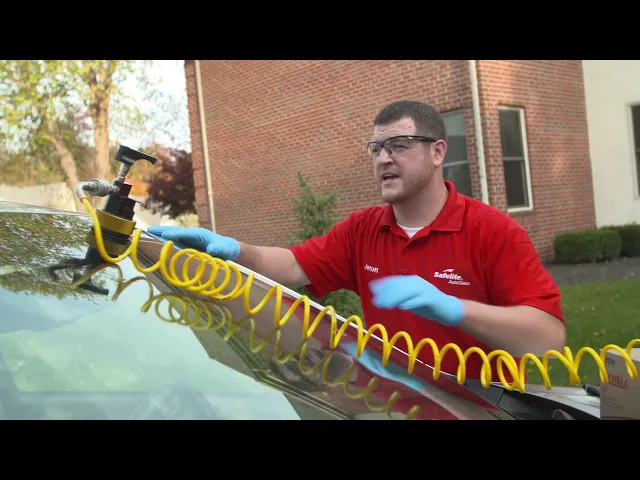
Setting Up for a Perfect Repair
Getting a nearly invisible repair is 90% preparation. Seriously. What you do before that resin bottle is even opened will make the difference between a seamless fix and a cloudy, permanent blemish. Think of this as your pre-flight checklist for a successful windshield repair diy project.
This isn't just about laying out your tools; it's about creating a controlled environment. You're performing a delicate procedure on glass, and just like a surgeon needs a sterile field, your resin needs a clean, stable workspace to bond correctly.
Find the Right Workspace
Let's get the biggest rule out of the way first: work in the shade. This is absolutely non-negotiable. The resin in your kit cures with UV light, meaning direct sun will start hardening it the second it touches the glass. You'll trap air, create bubbles, and end up with a weak repair that looks awful.
Find a garage, a carport, or even just the shady side of your house. You're looking for a spot with a moderate temperature, ideally between 50°F and 75°F. If it's too cold, the resin will be thick like molasses and won't flow into the tiny fissures of the chip.
Pro Tip: Stuck working outside on a sunny day? No problem. Grab a big piece of cardboard or a heavy blanket and create your own shade over the repair spot. It’s a simple hack that can make or break the entire job.
Gather Your Tools Beyond the Kit
Your kit has the essentials, but a few common household items can take your repair from looking "good enough" to looking professional. It’s best to have these ready so you’re not scrambling around with a half-repaired windshield.
Isopropyl Alcohol (90% or higher): This is for cleaning. Don't use Windex or other household glass cleaners; they leave behind a film that will sabotage the resin's bond.
Microfiber Cloths: Have at least two on hand. They need to be perfectly clean and lint-free. One for cleaning, one for drying.
A Utility Razor Blade or Push Pin: While the kit might include a pin, a fresh, sharp razor blade gives you more precision for carefully picking out loose glass shards from the impact point.
A Small Mirror: This is a fantastic trick. If you place a small mirror on the dashboard directly under the chip, you can see exactly what you're doing and make sure the repair tool is perfectly centered.
The Critical Cleaning Process
This is the step where most DIY repairs go wrong. If you leave any dirt, wax, or tiny glass dust in the chip, you're just going to seal it in forever. That not only looks bad, but it also creates a weak spot in the repair.
Start by spraying some isopropyl alcohol onto a microfiber cloth, not directly on the windshield. Thoroughly clean about a six-inch circle around the damage to get rid of any surface grime. For a job like this to turn out well, starting with a clean vehicle is always a good idea. You can find some excellent professional vehicle detailing tips that cover how to prep your car's surfaces for any kind of work.
Now, take your razor blade or pin and very gently pick at the center of the impact. You aren't trying to make the chip bigger, just dislodging any loose slivers of glass. A few gentle scrapes are all you need. Once you've done that, use a can of compressed air or a small bulb syringe to blow out the debris. Do this clean-and-clear process a couple of times. You want that crater to be absolutely pristine before you introduce the resin.
The Repair Process From Start to Finish
Okay, you’ve got your kit and your car is prepped. Now for the part that actually matters. This is where a little bit of patience goes a long way. I’d suggest tossing the tiny, horribly translated instruction sheet that came with your kit and just following along here. We’re going to do this the right way.
The whole point of this isn't just to plug a hole with glue. We're using pressure to force a very specific type of resin into every single microscopic crack, pushing all the air out. When you get it right, the resin actually bonds with the glass, making it strong and clear again. Think of it less like spackle and more like welding for glass. Your best guide is what you can see—watching that ugly chip slowly vanish tells you you're on the right track.
Before you even touch the resin, these three steps are non-negotiable.
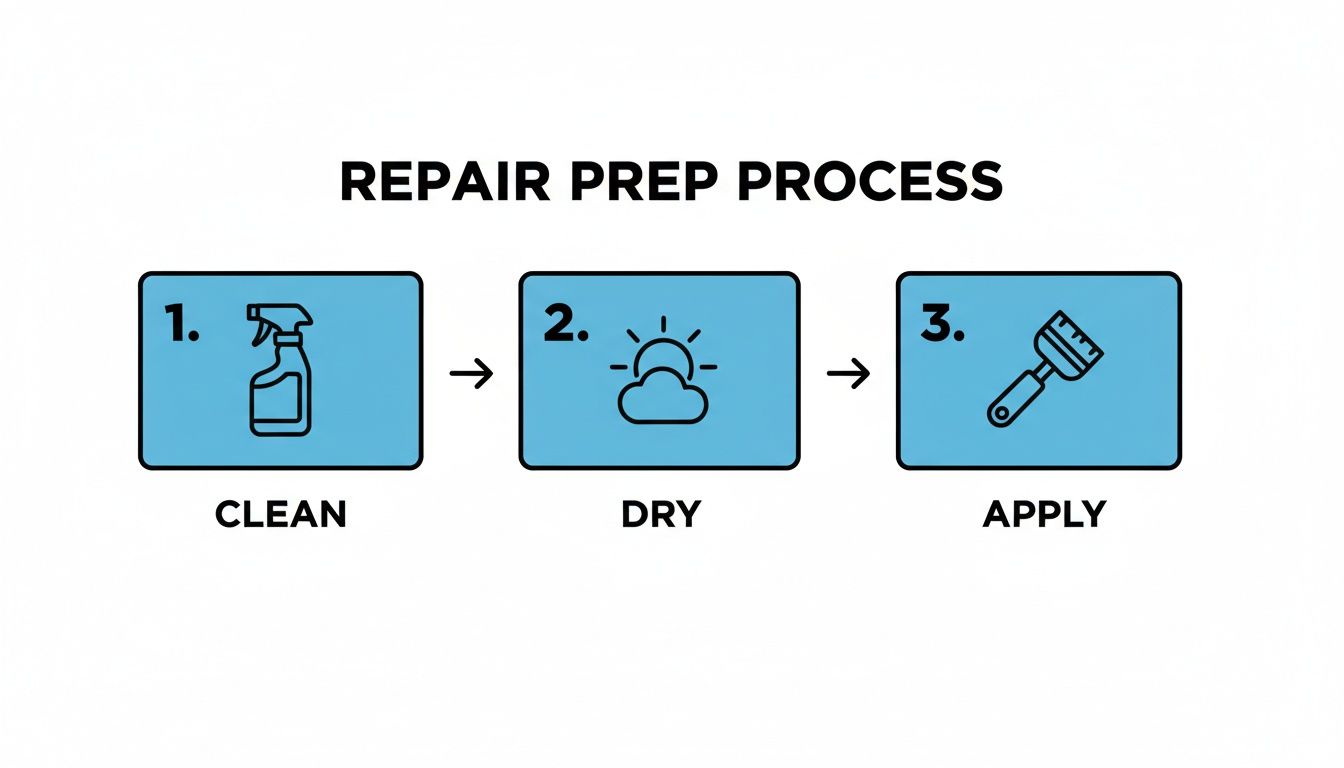
Seriously, getting the area clean and perfectly dry is half the battle. Don't rush it.
Mounting the Applicator for a Perfect Seal
First things first, you need to get the applicator bridge mounted. This little gadget is what creates the seal over the chip, letting you build up enough pressure to inject the resin. If you don't get a good seal, resin will just ooze out the sides instead of being forced into the damage. It's the most common rookie mistake.
Most kits come with a suction cup-style bridge. Center the hole on the applicator directly over the chip’s impact point. That little mirror you put on the dash earlier? This is where it pays for itself. Press down hard to lock the suction cups to the glass. Give it a little wiggle; it should feel like it's welded on there.
Now, gently thread the resin chamber into the applicator. You want to screw it down just until its rubber tip makes firm contact with the glass. You're looking for a snug fit, but do not overtighten it. Cranking it down too hard can actually squeeze the crack shut and trap air inside, which defeats the whole purpose.
Injecting the Resin with Precision
Alright, here we go. It's time to add the resin. Most kits will tell you to add between 3 to 6 drops into the chamber. Check your specific instructions, but whatever you do, don't just dump a bunch in there thinking more is better. Too much resin can cause what’s called a hydraulic lock, which actually stops it from flowing into the tiny cracks.
With the resin loaded, you'll screw the plunger or pressure driver into the chamber. As you turn it, you're building pressure, and that’s the force that will drive the resin deep into the chip.
This is a game of finesse, not force. Turn the plunger slowly. You should see the resin begin to spread into the chip. Watch from both outside and inside the car (this is where that mirror is a lifesaver). You'll physically see the dark lines of the chip start to disappear as the clear resin fills them.
Once that initial pressure is on, just let it sit. The resin needs time to creep into the tightest parts of the crack. Give it about 5-10 minutes, then unscrew the plunger all the way out to release the pressure. Immediately screw it back in. This creates a vacuum that helps suck out any stubborn air bubbles. Do this whole pressure/vacuum cycle a couple more times to get the best fill.
Curing the Repair for Maximum Strength
When you’re satisfied that the resin has filled every last bit of the damage—the chip should look pretty much invisible by now—it’s time to take off the applicator. Carefully lift the tabs on the suction cups to release the whole assembly. You'll see a small, wet spot of resin on the surface.
Don't wipe it! Instead, add one last drop of resin right on top of the repair. Grab one of the clear curing strips from your kit and lay it over the resin. Lightly press it down to smooth out any air bubbles underneath. The strip is crucial because it blocks oxygen, allowing the UV-sensitive resin to cure rock-hard.
Now, for the one thing you were avoiding earlier: direct sunlight. Move your car out into the sun. The UV rays are what trigger the chemical reaction that hardens the resin, making the repair permanent. On a nice, bright day, this usually takes about 15-20 minutes. If you're curious about what else can affect this timing, you can read our guide on how long windshield repair takes.
The Final Finishing Touches
After the resin has fully cured, it's time for the cleanup. Take the little razor blade that came with the kit. Holding it at a 45-degree angle to the glass, carefully scrape off the curing strip and any excess resin that hardened on the surface.
Use smooth, gentle strokes. The idea is to get the repaired spot perfectly flush with the rest of the windshield. Once it's smooth to the touch, give the area one last wipe with your alcohol and microfiber cloth. You’ll be left with a repair that’s almost invisible, maybe with a tiny, faint pinprick where the rock first hit.
Common DIY Mistakes to Avoid
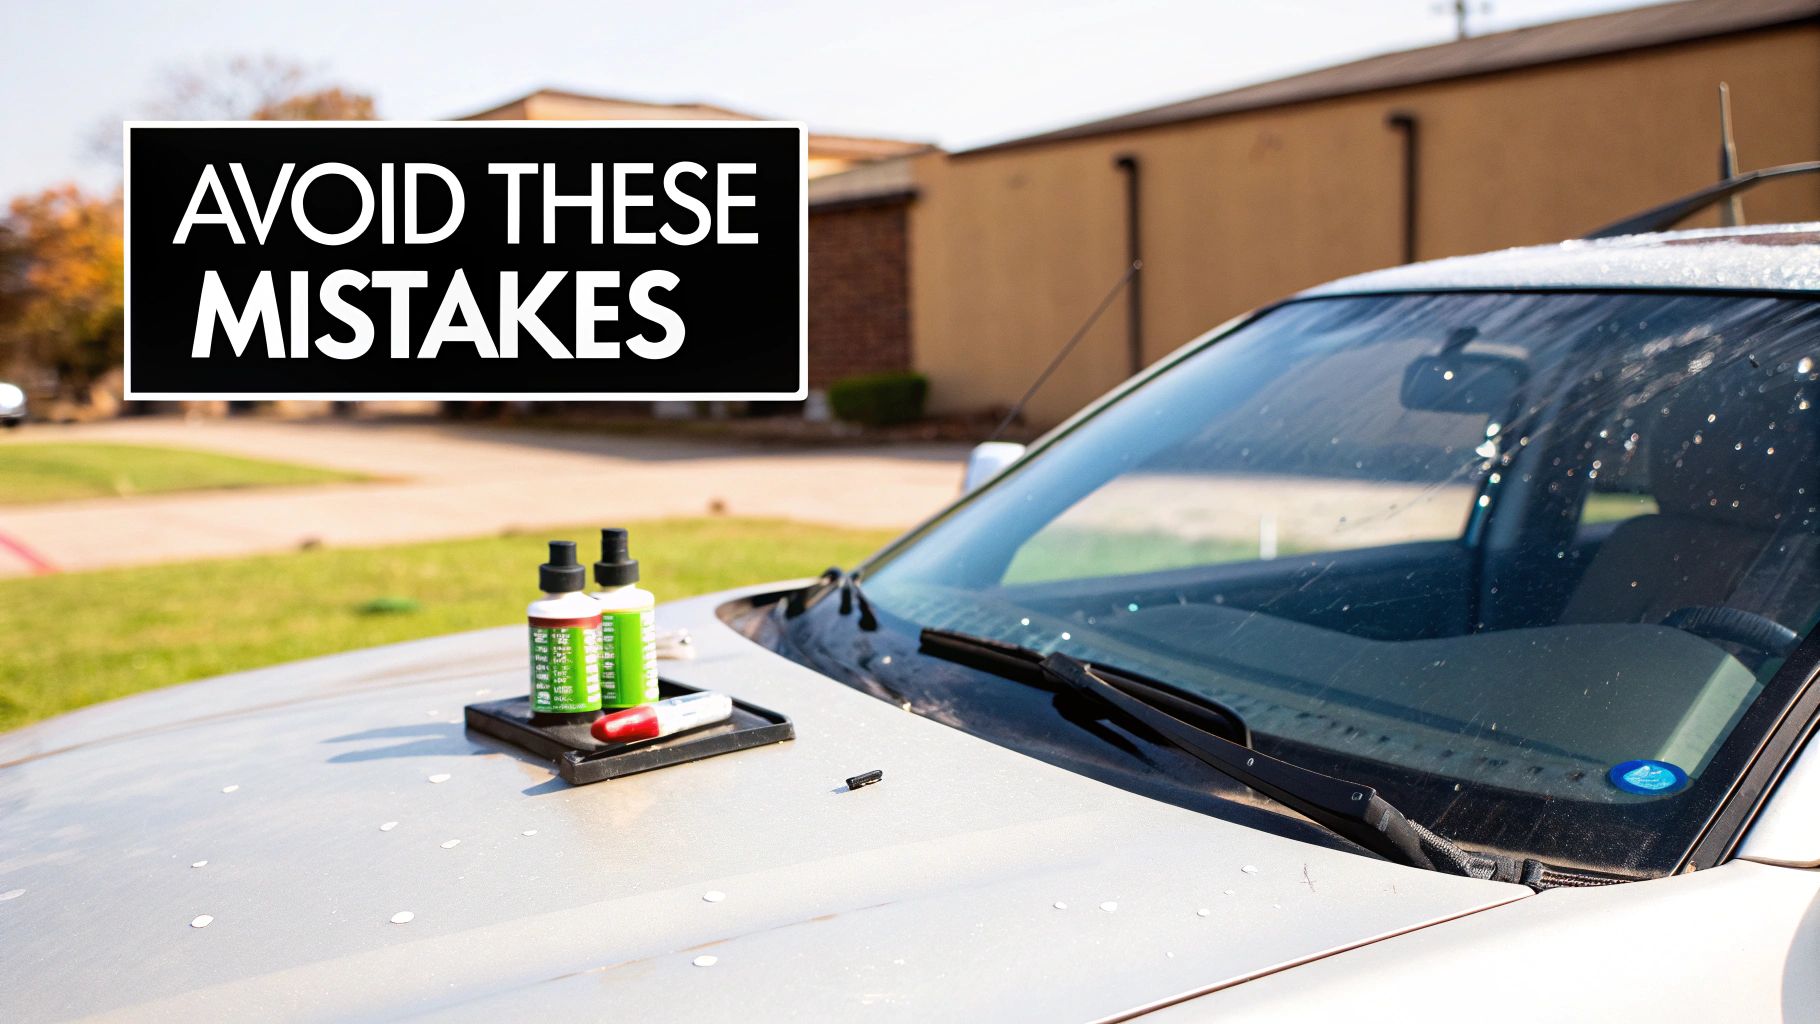
Even with the best of intentions, a simple DIY windshield repair can go wrong in a hurry. I've seen it happen countless times. A quick fix turns into a permanent, ugly blemish on the glass. Let's walk through the common pitfalls so you can sidestep the errors that cause most DIY jobs to fail.
Knowing what not to do is just as crucial as following the instructions. One small misstep, like working in direct sun or applying too much pressure, can ruin the entire repair. You could end up with a fix that's weaker and even more noticeable than the original chip.
The Problem with Sunlight and Temperature
This is the big one. The single most common mistake I see is people doing the repair in direct sunlight. The resin in your kit is designed to cure with UV light, but that's the final step. If you're working outside on a bright day, that resin starts hardening the second it hits the air.
When it cures too fast, the resin can't flow into all the microscopic nooks and crannies of the chip. You get a weak, partial fill that often traps ugly air bubbles, leaving a cloudy spot right in your line of sight. Always work in a garage, a carport, or at the very least, in the deep shade of a building. You're looking for a stable temperature, ideally between 50°F and 75°F.
Skipping the Meticulous Cleaning Step
Thinking you can just wipe the chip with your t-shirt and get started is a recipe for failure. Any bit of dust, road grime, or tiny glass fragments left inside the chip will be permanently sealed in by the resin. Not only does it look awful, but it creates weak points in the bond that can cause the repair to fail down the road.
You have to be meticulous here. Take the time to clean the impact point properly.
Start by degreasing the area with isopropyl alcohol.
Next, use the tip of a pin or needle to carefully pick out any loose slivers of glass.
Finally, use compressed air to blow out any remaining debris. The crater needs to be pristine.
A contaminated repair is a failed repair. That extra five minutes you spend on cleaning is the best investment you'll make in the whole process.
Using Too Much Force or Resin
When it comes to resin and pressure, more is definitely not better. Overfilling the applicator can create a sort of "hydraulic lock," where the excess liquid actually prevents itself from being forced into the tiny legs of the crack. Stick to the 3-6 drops recommended by your kit’s instructions.
Likewise, cranking down on the pressure plunger with all your strength is a huge mistake. Too much force can stress the surrounding glass and literally make the crack spread right before your eyes. The goal is to apply slow, steady, and gentle pressure. Give the resin time to seep into the damage naturally. Finesse, not force, is what gets the job done right.
Pro Tip: Trapping air is the number one cause of a visible, failed repair. This almost always happens from applying pressure too quickly. The goal is to push resin in and air out. A slow, methodical approach is your best defense against those dreaded bubbles.
The DIY auto care trend is huge, with the market for these repair kits hitting $800 million in 2024 and projected to climb past $1 billion by 2029. But here’s the reality check: an alarming 30% of these DIY attempts fail due to simple user errors. In contrast, professionals using advanced vacuum-injection equipment boast a success rate of over 98%. If you're curious about these stats, you can find more details about the growing market for DIY repair kits on Market Report Analytics.
Knowing When to Call a Professional
Taking on a windshield repair DIY project is a great way to save a few bucks, but the smartest tool in any DIYer's kit is knowing when not to use it. A good repair feels great. A botched one, however, can quickly turn a small chip into a full-blown crack, leading to an expensive replacement and a serious safety risk.
Sometimes, the damage is just too severe for a DIY kit to handle. These are the absolute dealbreakers. If you see any of these, put the resin kit away and call a pro.
Cracks longer than a dollar bill: At this point, the windshield's structural integrity is already in question. A consumer-grade kit simply doesn't have the strength to properly bond a crack of this size.
Damage right in your line of sight: Even the best DIY jobs can leave a slight haze or distortion. While barely noticeable elsewhere, in the driver's direct field of view, that tiny imperfection becomes a constant, dangerous distraction.
Chips or cracks near the edge: Damage within about two inches of the windshield's edge is bad news. This area is under constant stress, and a chip here can easily spider out across the entire glass.
The ADAS Complication
Here's something most DIY kits won't mention: your car's Advanced Driver-Assistance Systems (ADAS). We're talking about the tech behind features like automatic emergency braking, lane-keeping assist, and adaptive cruise control. These systems rely on cameras and sensors, many mounted right on the windshield.
Those cameras need a crystal-clear, undistorted view to work correctly. A small chip, or even a less-than-perfect DIY repair, can throw off the entire system.
Think of it like a smudge on your glasses. A tiny distortion can cause the ADAS to misread the road, misjudge distances, or fail to see an obstacle altogether. This is a critical safety failure just waiting to happen, and the only way to ensure the system is working properly is with a professional recalibration after the repair.
When a Pro Is the Only Safe Choice
Professional auto glass technicians bring more than just a syringe of resin to the job. They use specialized equipment, like vacuum injectors, to force high-strength resin deep into the damage, restoring the glass's structural integrity in a way a DIY kit can't. They're equipped to handle tricky star breaks and longer cracks that are out of reach for a weekend warrior.
Most importantly, they understand the technology built into your car.
If your vehicle has any ADAS features, any damage in the camera's view is an automatic no-go for DIY. It must be repaired by a professional who can also perform the essential recalibration. It’s a step you simply can't skip. When safety is on the line, opting for an expert is the only smart move. Searching for a mobile windshield repair service near you brings the expertise right to your driveway, ensuring the job is done right and your car’s safety systems are back to 100%.
Common Questions About DIY Windshield Repair
Even with a solid plan, it's smart to have a few lingering questions. It shows you're thinking things through. Getting those final details straight is often what separates a successful DIY job from a frustrating one.
Let's run through some of the most frequent "what ifs" and "how comes" that pop up right before people get started. We'll cover repair longevity, the ideal weather, insurance quirks, and the big one: what happens if it all goes wrong.
How Long Does a DIY Windshield Repair Last?
This is the million-dollar question, isn't it? A DIY repair that's done right, using a quality resin kit, can honestly last for years—often for the rest of the windshield's life. The secret is in the execution. When you manage to clean out every speck of debris, get the resin to flow into every last micro-fracture, and cure it properly, you create a permanent, stable bond.
But here’s the catch: the margin for error is razor-thin compared to a professional job. A pro uses vacuum and pressure injection tools to force the resin into the chip, leaving no room for air bubbles. With a DIY kit, it's easy to trap a tiny pocket of air or moisture. That's a ticking time bomb. As temperatures fluctuate, that trapped air expands and contracts, stressing the glass until one day, months later, the chip suddenly spiders into a crack.
What Is the Best Weather for a DIY Repair?
Don't underestimate the weather—it’s a critical factor, not a minor detail. The resin in these kits is incredibly sensitive to temperature and UV light.
For the best results, you need a Goldilocks day:
Temperature: Stick to a mild day, somewhere between 50°F and 75°F (10°C to 24°C). If it's too cold, the resin gets thick like honey and won't flow properly. Too hot, and it will start to cure before it has fully settled into the damage.
Sunlight: This is a big one. Never, ever do the repair in direct sunlight. The UV rays will kick off the curing process way too early, trapping the resin on the surface and leaving the deeper parts of the chip unfilled.
Moisture: Humidity and resin are not friends. Any moisture sealed into the chip creates a weak bond and often leaves a cloudy, ugly blemish. Avoid rainy or misty days entirely.
The perfect setting is a shaded garage or carport on a dry, mild day. This gives you a controlled environment and the best shot at a strong, crystal-clear repair.
Will My Insurance Cover a Professional Repair Instead?
Here’s a pro tip: before you even open that $20 DIY kit, make a quick call to your insurance agent. You might be pleasantly surprised. Many comprehensive auto policies will cover the entire cost of a professional windshield chip repair, often with $0 deductible.
Why would they do that? It's just good business for them. An insurer would much rather pay a glass technician $50 to $100 for a quick fix today than shell out $400 to $1,000+ for a full windshield replacement when that chip inevitably spreads. You might find that a guaranteed, professional repair costs you absolutely nothing out of pocket.
What Happens If My DIY Repair Fails?
This is the biggest risk you take when you decide to fix a chip yourself. If the repair goes south—you trap air, the resin cures badly, or it just looks awful—you've often made the problem worse.
Once a chip is filled with a DIY resin, it's almost impossible for a professional to re-do it. The damage is now contaminated. The cured or half-cured resin blocks the tiny channels, making it impossible for their high-end equipment to inject new material. A failed DIY attempt usually turns a repairable chip into a mandatory—and much more expensive—windshield replacement.
When the damage is beyond a simple DIY kit or involves your car’s sensitive ADAS cameras, it's time to call in the experts. Auto Renu Auto Glass LLC offers professional mobile repair and replacement, ensuring your vehicle is safe and the job is done right. Schedule your service with us today.