DIY Power Window Regulator Replacement A Practical Guide
Tackle your power window regulator replacement with confidence. Our practical guide provides clear, actionable steps for a successful DIY car window repair.
Dec 28, 2025
generated
power window regulator replacement, DIY car repair, window regulator fix, auto window repair, car maintenance

If your car window is acting up—making a grinding noise, sliding down on its own, or just plain stuck—you're likely dealing with a failed power window regulator. It’s the hidden mechanism inside your door panel that does all the heavy lifting, and when it goes, it’s more than just a minor annoyance.
Diagnosing Your Faulty Power Window
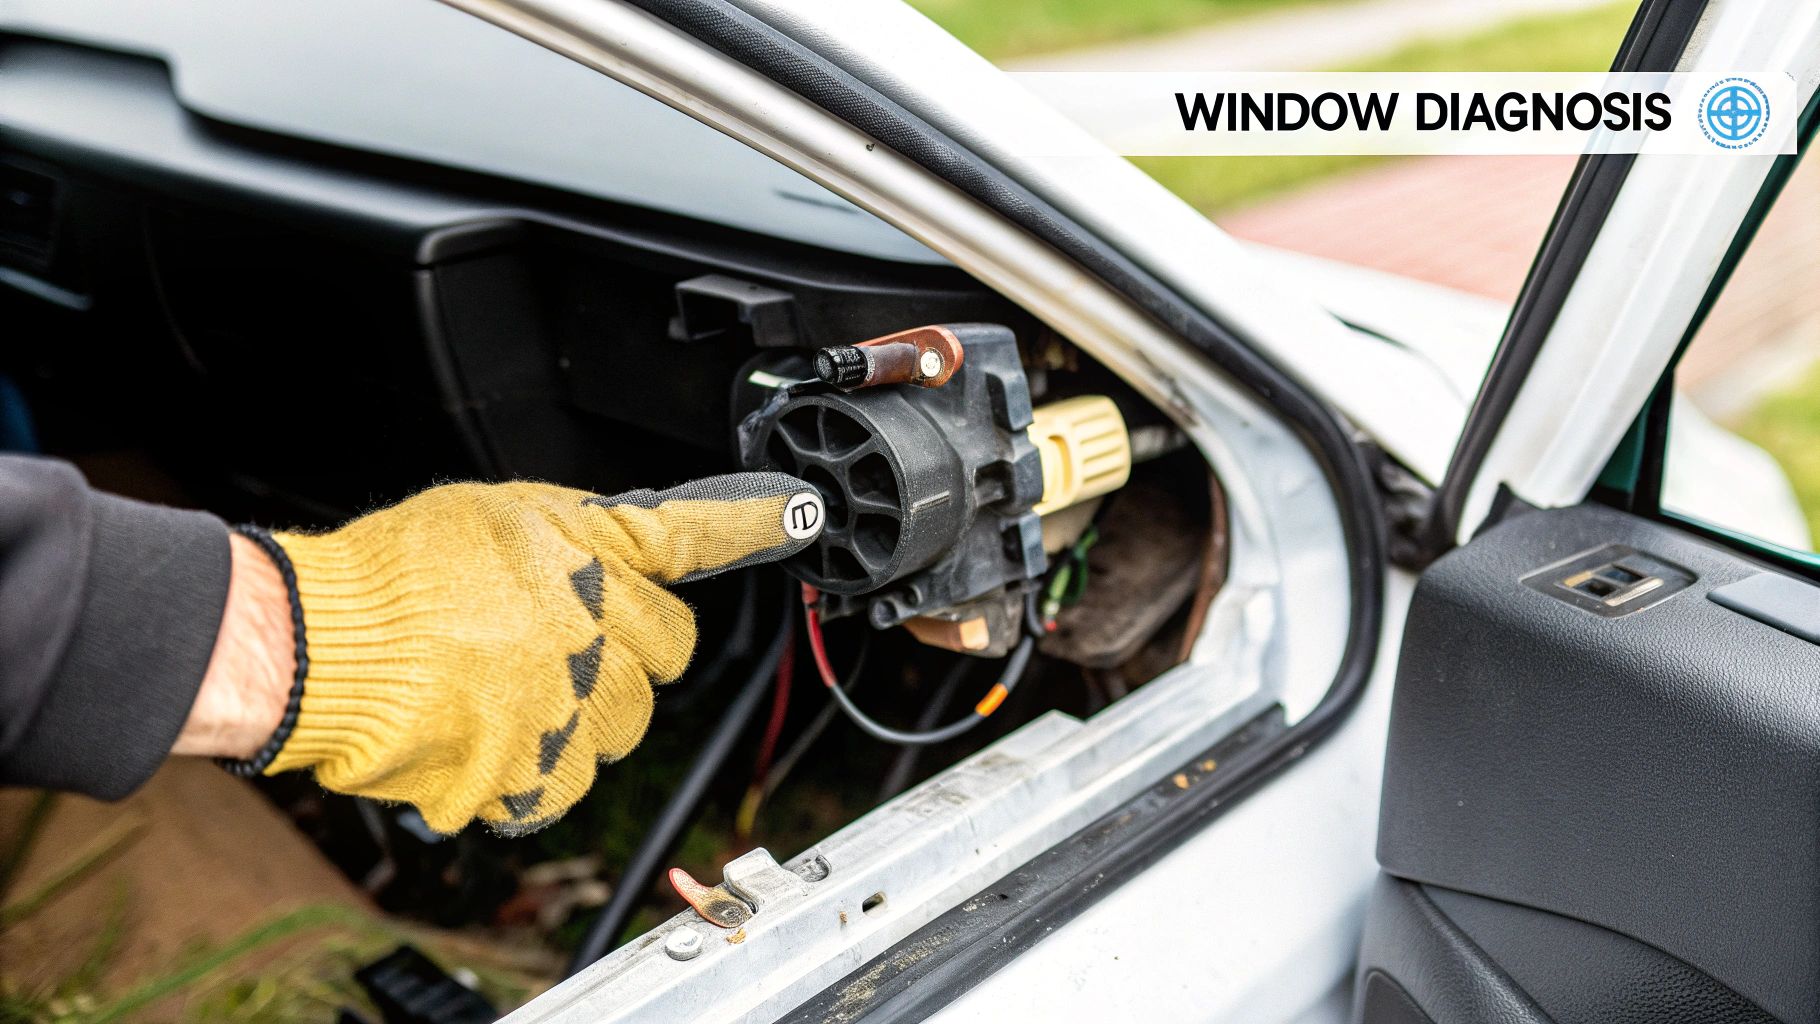
Before you jump online and order parts, let's make sure the regulator is actually the problem. Your power window system really comes down to two key parts: the regulator, which is the mechanical assembly of tracks and cables, and the motor, which provides the power. Figuring out which one gave up the ghost is the first step and can save you a lot of headache and money.
Common Symptoms of a Bad Regulator
Pay close attention to what you hear. A grinding, clicking, or crunching sound when you hit the switch is a dead giveaway. That's usually the sound of stripped gears or a frayed cable inside the regulator assembly itself.
Another classic sign is when you can hear the motor running but the glass isn't going anywhere. This tells you the motor is trying to do its job, but the regulator has probably disconnected from the window or broken internally.
On the other hand, complete silence when you press the switch often points to an electrical issue. It could be something as simple as a blown fuse, a bad switch on the door, or a dead motor. Always check your fuse box first before you convince yourself you need a full power window regulator replacement.
Pro Tip: If your window dropped all the way into the door and won't come back up, it's almost guaranteed to be a regulator failure. The cables that support the glass have probably snapped, leaving nothing to hold it in place.
Why This Part Fails So Often
Trust me, you're not the first person to face this repair. The plastic and metal components in a regulator are under constant stress, and they simply wear out over time. It’s such a common point of failure that it has spawned a huge market for replacement parts.
In fact, global sales for automotive window regulators hit an estimated USD 15.64 billion in 2024 and are only expected to climb. If you're curious, you can check out the automotive window regulator market trends to see just how common this job is.
Knowing what to look and listen for will give you the confidence to diagnose the problem correctly. This puts you on the right track for a DIY project that can save you a hefty sum compared to a shop bill.
Choosing The Right Parts And Tools For The Job
Nothing sinks a weekend car project faster than realizing you don't have the right tool halfway through. Trust me, trying to replace a window regulator without the proper gear can turn a straightforward fix into a nightmare of broken clips and scratched door panels. The good news? You don't need a professional-grade setup to get this done.
The one tool I absolutely refuse to work without is a non-marring trim removal kit. These simple plastic pry bars are your best friend for popping off interior panels without gouging the plastic or snapping the little clips that hold your door together. Seriously, put the flathead screwdriver away—using one is the quickest way to cause expensive cosmetic damage.
Your Essential Tool Checklist
Aside from the trim tools, you’ll just need a few common items from your toolbox. If you've ever worked on a car's interior, you know the 10mm socket is the unsung hero, and this job is no different. You'll also need some good, strong tape to hold the glass in place once it's disconnected from the broken regulator.
Non-Marring Trim Removal Kit: The only safe way to pry off your door panel.
Socket and Ratchet Set: Your 10mm socket will get a real workout here.
Screwdrivers: Have a couple of Phillips and flat-head screwdrivers on hand for various fasteners.
Painter's Tape: Perfect for holding the window securely in the "up" position while you work.
Protective Gloves: It’s easy to get cuts and scrapes from sharp metal edges inside the door frame, so glove up.
It also really helps to have your workspace set up before you start. A clean, organized area makes you more efficient and safer, which is a core principle of optimizing your automotive workshop.
OEM vs. Aftermarket Regulators
With your tools laid out, it's time to decide on the new regulator. This is the classic crossroads every DIYer faces: do you go with an Original Equipment Manufacturer (OEM) part or save some money with an aftermarket one? Both will work, but there are key differences to consider.
An OEM regulator is identical to the one installed at the factory. You're paying for a guaranteed perfect fit and the exact quality you're used to, but that peace of mind comes with a higher price tag. Aftermarket regulators, made by other companies, are almost always the more budget-friendly option. The catch is that you might run into slight fitment issues or notice differences in the materials used. For a better understanding of how these parts factor into the overall expense, check out our breakdown of the power window motor repair cost.
To help you choose, here's a quick side-by-side look at what you can expect from each.
OEM Vs Aftermarket Window Regulator Comparison
Feature | OEM Regulator | Aftermarket Regulator |
|---|---|---|
Fitment | Guaranteed perfect fit for your specific vehicle. | Generally a good fit, but may require minor adjustments. |
Quality | Meets the original manufacturer's strict standards. | Quality can vary widely between brands; some are excellent. |
Cost | Significantly more expensive. | Much more affordable, often at a fraction of the OEM price. |
Warranty | Typically comes with a manufacturer-backed warranty. | Warranty varies by brand, sometimes offering limited or lifetime. |
Availability | Usually must be ordered from a dealership. | Widely available at auto parts stores and online. |
Ultimately, the choice is yours. For a daily driver you plan to keep for a long time, the extra cost for an OEM part might be worth it. If you're on a tighter budget or working on an older vehicle, a quality aftermarket part is a perfectly sensible option.
Pro Tip: Before you click "buy" on any part, use your car's Vehicle Identification Number (VIN) to confirm it's the right one. This one small step ensures you get a regulator that matches your exact year, model, and trim, saving you from a massive headache when you're deep into the repair.
Taking Out the Old Window Regulator: A Step-by-Step Guide
Alright, you've got your tools laid out and the new regulator is waiting. Now for the fun part. Let's get that old, broken assembly out of the door. The key here is patience—rushing is how you snap 20-year-old plastic clips and turn a straightforward job into a headache.
Before you touch anything else, pop the hood and disconnect the negative terminal on your car's battery. This is non-negotiable. It cuts all power to the door, so you won't get a nasty surprise from the window motor while your hands are deep inside the panel. Safety first, always.
Getting the Door Panel Off
Your door panel is attached with a mix of screws and hidden clips. Time for a little treasure hunt.
Check inside the interior door handle recess.
Look in the pull cup where you grab the door to close it.
Some cars have them along the very bottom edge of the panel.
Once you’re sure all the screws are out, grab your plastic trim tool. I always start at a bottom corner, gently working the tool between the panel and the metal door frame. You’ll feel some resistance, then pop—that’s the first clip letting go. Just work your way around the edge of the door, popping clips as you go.
Don't just rip the panel off once the clips are loose! It's still connected by wires and cables. You need to carefully unplug the harnesses for the window switch, speakers, and door lights, and unhook the door handle cable before you can set the panel aside.
Behind the panel, you'll find a sheet of plastic or foam—that’s the vapor barrier. It's held on with some seriously sticky black goo. You'll need to peel it back carefully to get to the regulator. Try not to tear it, as you'll want to stick it back on later to keep moisture and road noise out.
Don't Skip This: Securing the Window Glass
This is the most critical step of the entire removal process. You must secure the window glass in the up position before you unbolt anything. If you don't, that heavy pane of glass will come crashing down inside the door and could easily shatter. Trust me, I’ve seen it happen. Our guide on how to replace car window glass shows just how messy that can get.
The tried-and-true method is painter's tape. If the window still moves, you may need to temporarily reconnect the battery and switch to roll it all the way up. Once it's up, run a couple of long strips of strong tape over the top of the door frame, sticking it securely to both the outside and inside of the glass. This creates a simple but effective sling to hold it in place.
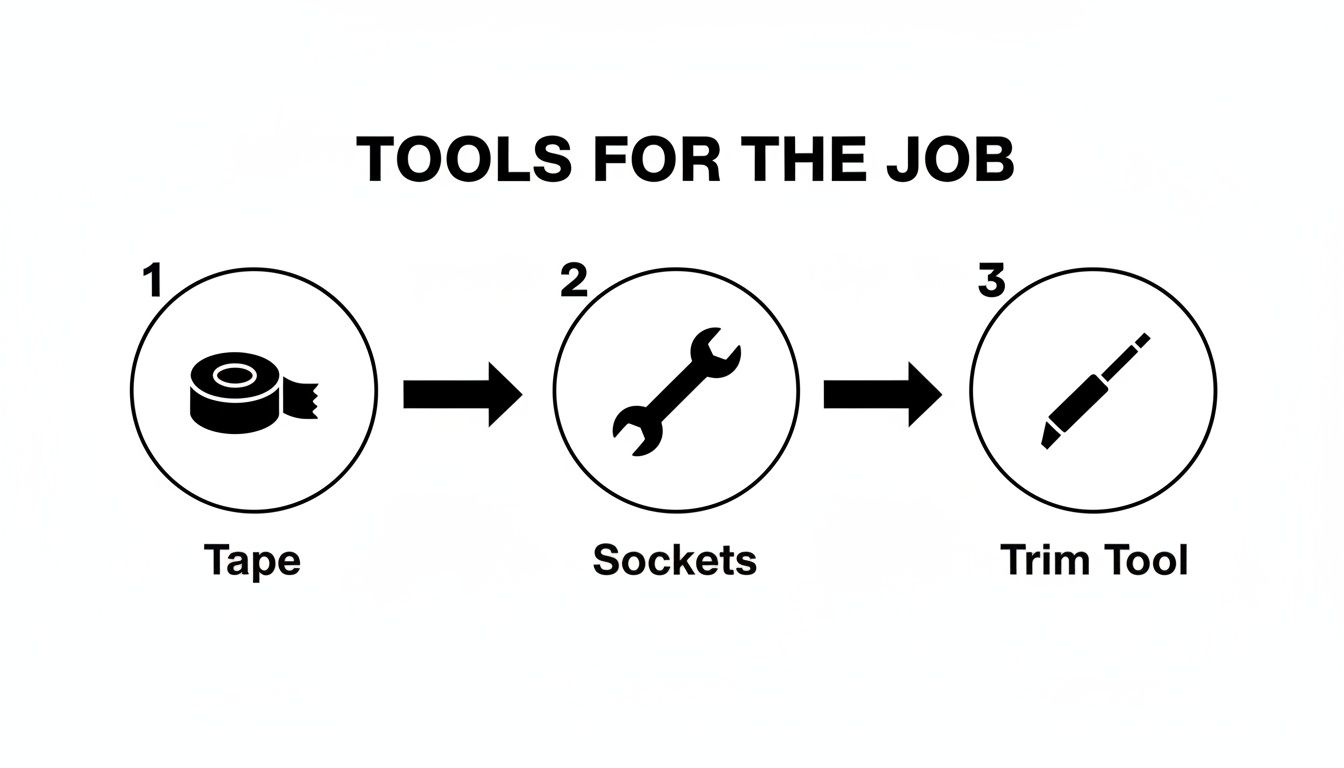
As you can see, the tools for this job are pretty basic. That tape, however, is the unsung hero that prevents a much bigger problem.
Wiggling the Old Assembly Out
With the glass taped up, you can finally focus on the regulator itself.
First, find the electrical connector going to the window motor and unplug it. There's a little release tab you'll have to press.
Next, find the bolts that clamp the regulator to the bottom of the window glass. You'll usually access these through holes in the door's inner structure. With the glass safely taped, you can loosen and remove these bolts.
Finally, locate the main mounting bolts holding the entire regulator to the door—there are usually four to six of them. Once those are out, the old assembly will be completely free. It’ll take some tilting and turning, but you should be able to snake the whole thing out of one of the larger access holes.
And just like that, the hard part is over. Now you're ready to slide the new one in.
Installing The New Regulator Like A Pro
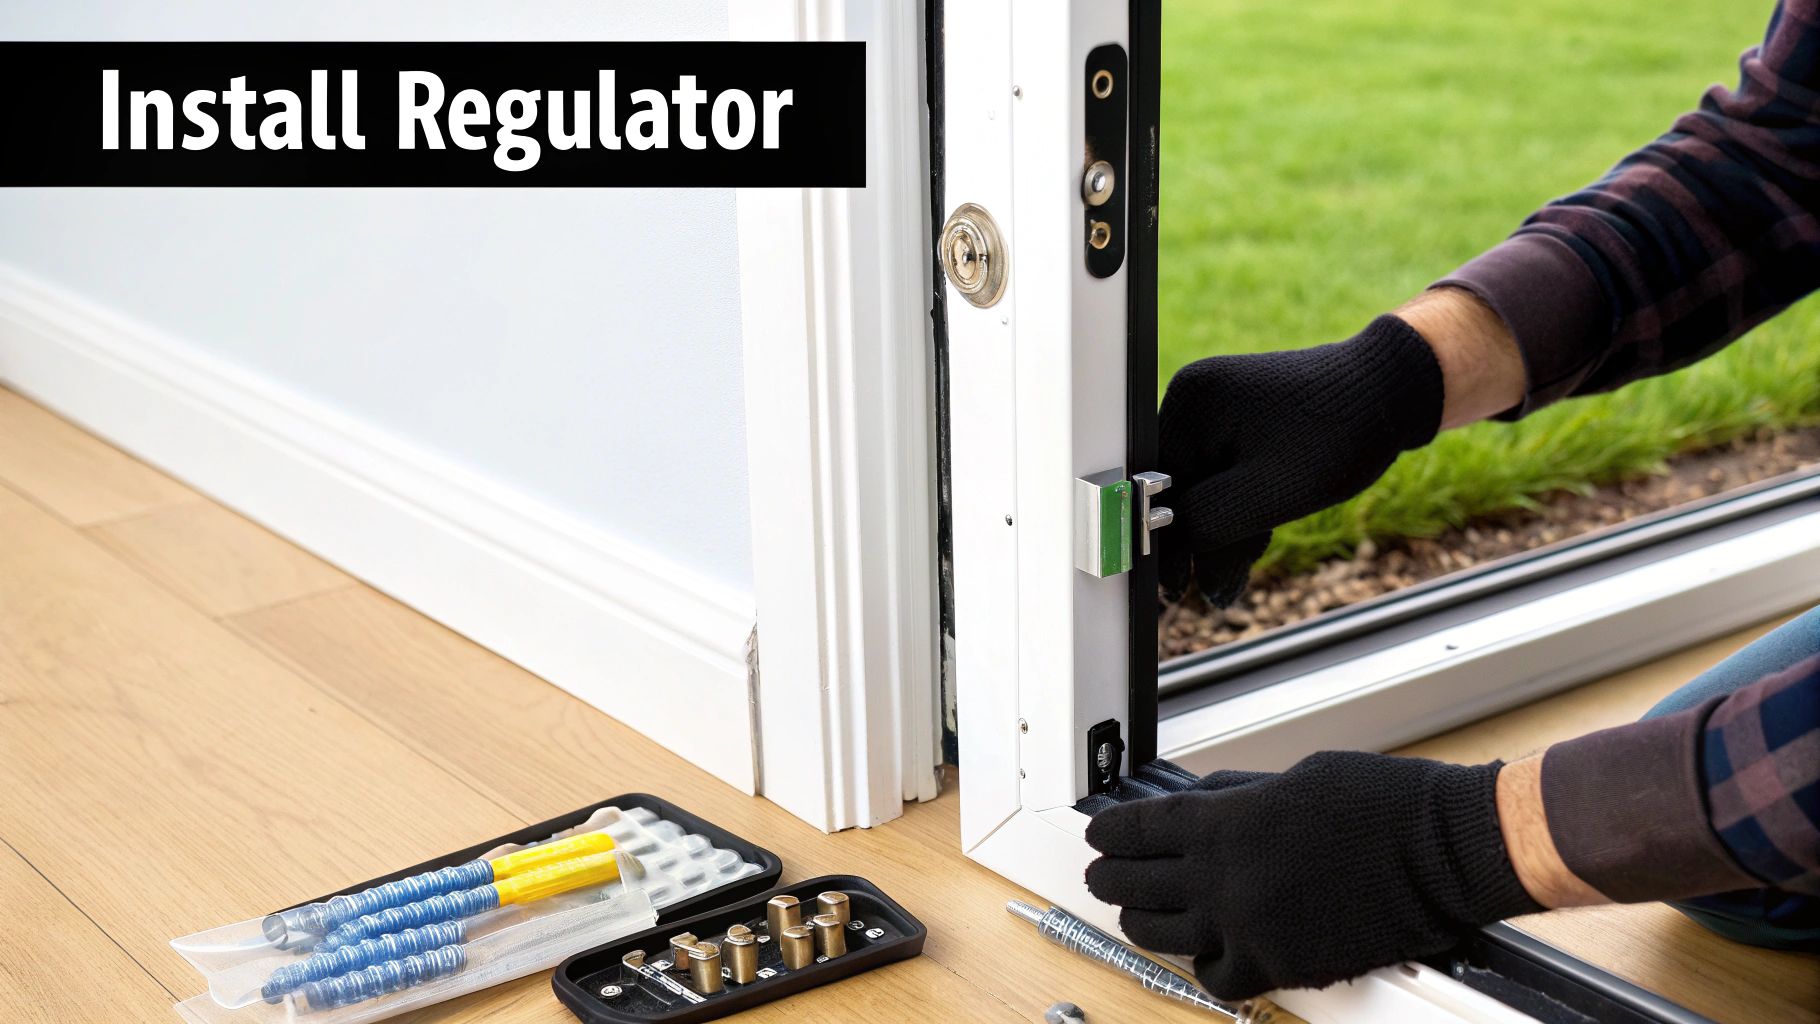
Alright, with the old, busted regulator out of the way, you're on the home stretch. This is where you start to see the light at the end of the tunnel. Putting the new regulator in is basically the reverse of taking the old one out, but I've got a few tricks up my sleeve that will save you a ton of headaches.
The first hurdle is just snaking the new assembly into the tight confines of the door. Think of it like a game of Operation. You'll have to tilt and turn it just right, but it will eventually slip through one of the larger access holes. Just be careful not to snag the cables or tracks on any sharp metal edges inside the door frame.
Aligning and Mounting the New Assembly
Once the regulator is inside the door, your first job is to get it roughly into position. Now, here's the most important tip I can give you: start all the mounting bolts by hand. Don't even look at your ratchet yet. By getting each bolt threaded just a few turns, you give yourself the wiggle room needed to line everything up perfectly.
If you tighten one bolt down all the way first, I can almost guarantee the other holes won't line up. It's a classic rookie mistake that leads to a lot of frustration. Keep everything loose, make your tiny adjustments, and only when every bolt is seated properly should you start tightening them down.
Real-World Scenario: Picture this: you've got three bolts in, but that fourth one is stubbornly refusing to line up. Don't force it. This is a sign the whole assembly is just slightly twisted or needs to shift a hair. Back off the other bolts a little, give the regulator a gentle push or pull, and you'll feel that last bolt slide right into place.
Reconnecting the Window Glass
With the regulator body secured, it's time to bring the glass back into the equation. Go ahead and carefully peel off the painter's tape and slowly lower the window so it rests on the new regulator's clamps.
This part requires a steady hand. You need to get the holes in the glass perfectly aligned with the mounting tabs on the regulator.
Line Up The Holes: Get your head in there and look through the access ports to make sure the alignment is spot-on.
Insert The Bolts: Re-install the bolts or clips that hold the glass in place. And yes, start them by hand first.
Tighten Evenly: Snug these down, but do not overtighten. Remember, you're tightening against glass. Too much muscle will crack it, turning this simple job into a much bigger, more expensive one.
Once the glass is secure, find the new motor's wiring harness and plug it back into the door's connector. You're listening for a solid click to know it's fully seated.
The All-Important Function Test
This is the moment of truth, and it's a step you absolutely cannot skip. Before you even think about grabbing the door panel, reconnect the negative terminal on your battery.
Power restored? Good. Now grab your window switch and put the new regulator through its paces. Run the window all the way down and all the way back up a few times. Listen for any weird grinding or scraping noises, and watch to see if it moves smoothly without binding. This test confirms your power window regulator replacement was a success before you button everything up.
It's amazing how complex these systems have become. What used to be a simple motor and track is now a whole subsystem with integrated electronics and anti-pinch safety features. This trend, while great for convenience, does make the parts more complex and costly. If you're curious about where the tech is headed, you can read the full research on automotive window regulator trends to learn more.
If everything works like a charm, disconnect the battery one last time and get ready for the final reassembly.
Putting It All Back Together (And Avoiding Common Headaches)
Alright, the new regulator is in, and the window is moving like it should. You're in the home stretch, but don't get sloppy now. Taking your time here is the difference between a job well done and a job you have to do twice.
First things first, let's deal with that plastic vapor barrier you carefully peeled back. The black, sticky goo holding it on is usually tacky enough to reuse. Just line it up and press it firmly back into place. It might seem insignificant, but this little sheet is your main defense against moisture and road noise creeping into the cabin.
Now, grab the interior door panel. Lift it up and hook it over the top of the door frame. Before you start snapping it in, remember to reconnect all those little electrical plugs for your switches and speakers, and don't forget to re-hook the cable for the interior door handle. Once everything is connected, give the panel a few firm but careful smacks with the heel of your hand to pop the clips back into their holes. Then, put the final screws back in.
Sidestepping Common DIY Pitfalls
I've seen it a hundred times: someone gets 95% of the way through a power window regulator replacement and then makes a simple mistake that ruins their afternoon. The absolute biggest one? Over-tightening the bolts. You're often threading steel bolts into plastic or thin sheet metal. A little too much muscle will strip the threads or crack a mounting point, and that's a much bigger problem to solve. Just get everything snug—that’s all you need.
Another classic issue is the window binding or getting crooked in its tracks. Before you even think about putting that door panel back on, run the window up and down a few times. Make sure it's seated perfectly straight in the regulator clamps and glides smoothly in the side channels.
Pro Tip: Do one final test run of the window before you snap the door panel on. It takes ten seconds and can save you the headache of pulling it all apart again because a connector was loose.
The Final Step Most People Forget
Many modern cars need you to "re-initialize" the window after you've had the battery disconnected or replaced the regulator. This is what restores features like one-touch auto-up/down and the anti-pinch safety function. It sounds technical, but it’s incredibly simple.
The process is usually something like this:
Hold the switch to roll the window all the way down.
Then, hold the switch to roll it all the way up, but keep holding it for an extra 3-5 seconds after it closes.
Check your owner's manual for the exact procedure for your make and model. Getting this done means the repair is truly 100% complete.
It's jobs like these that are driving a huge aftermarket for parts. As cars get older, more and more people are choosing to fix them themselves. In fact, research shows the aftermarket for these components is booming, largely thanks to DIYers keeping their vehicles running longer. You can learn more about the automotive power window market and see just how big this trend is getting.
Answering Your Questions About Window Regulator Replacement
Even with the best guide, it’s completely normal to have some lingering questions before you start pulling your door apart. If you've never done this before, the job can seem a little daunting, but we'll clear up the common questions we get from first-timers.
Probably the biggest question is, "How long is this actually going to take?" If this is your first rodeo with a door panel, be smart and block out 2 to 4 hours. That gives you a nice cushion to work at a steady pace and not feel rushed. A seasoned pro can probably get it done in 90 minutes or less, but every car is different. Some door panels are just a real pain to get off.
Parts, Professionals, and When to Make the Call
Another thing people ask is whether they should replace just the motor or the whole regulator assembly. Honestly, save yourself the headache and just replace the entire unit. On some really old cars, you could separate them, but modern regulators are designed and sold as a single piece. Doing it this way ensures everything fits and works together perfectly, giving you a fix that will actually last.
So, when should you throw in the towel and call a pro? If you're getting nervous about unplugging electrical connectors or maneuvering a big, heavy piece of glass, it's okay to call for backup. There's no shame in it, and a professional will get it done right and fast.
If the job turns out to be more complicated than you thought—say, the window is shattered or you suspect an electrical issue that goes beyond the motor—your best bet is to find professional power window repair near you. A pro can diagnose the real problem and keep you from accidentally making things worse.
Ultimately, you have to know your limits. This is a very doable DIY project for most folks with a bit of patience. That said, a professional repair usually runs between $250 and $500, depending on the car and what shops charge in your area. You just have to weigh the money you'll save against your time and sanity to decide what's right for you.
At Auto Renu Auto Glass LLC, we specialize in mobile service for any auto glass problem, from simple fixes to complete replacements. If you decide to hand this job off to an expert, we bring dealership-quality work right to your driveway. Visit us at https://www.autorenu911.com to get a quote and book a mobile appointment that fits your schedule.