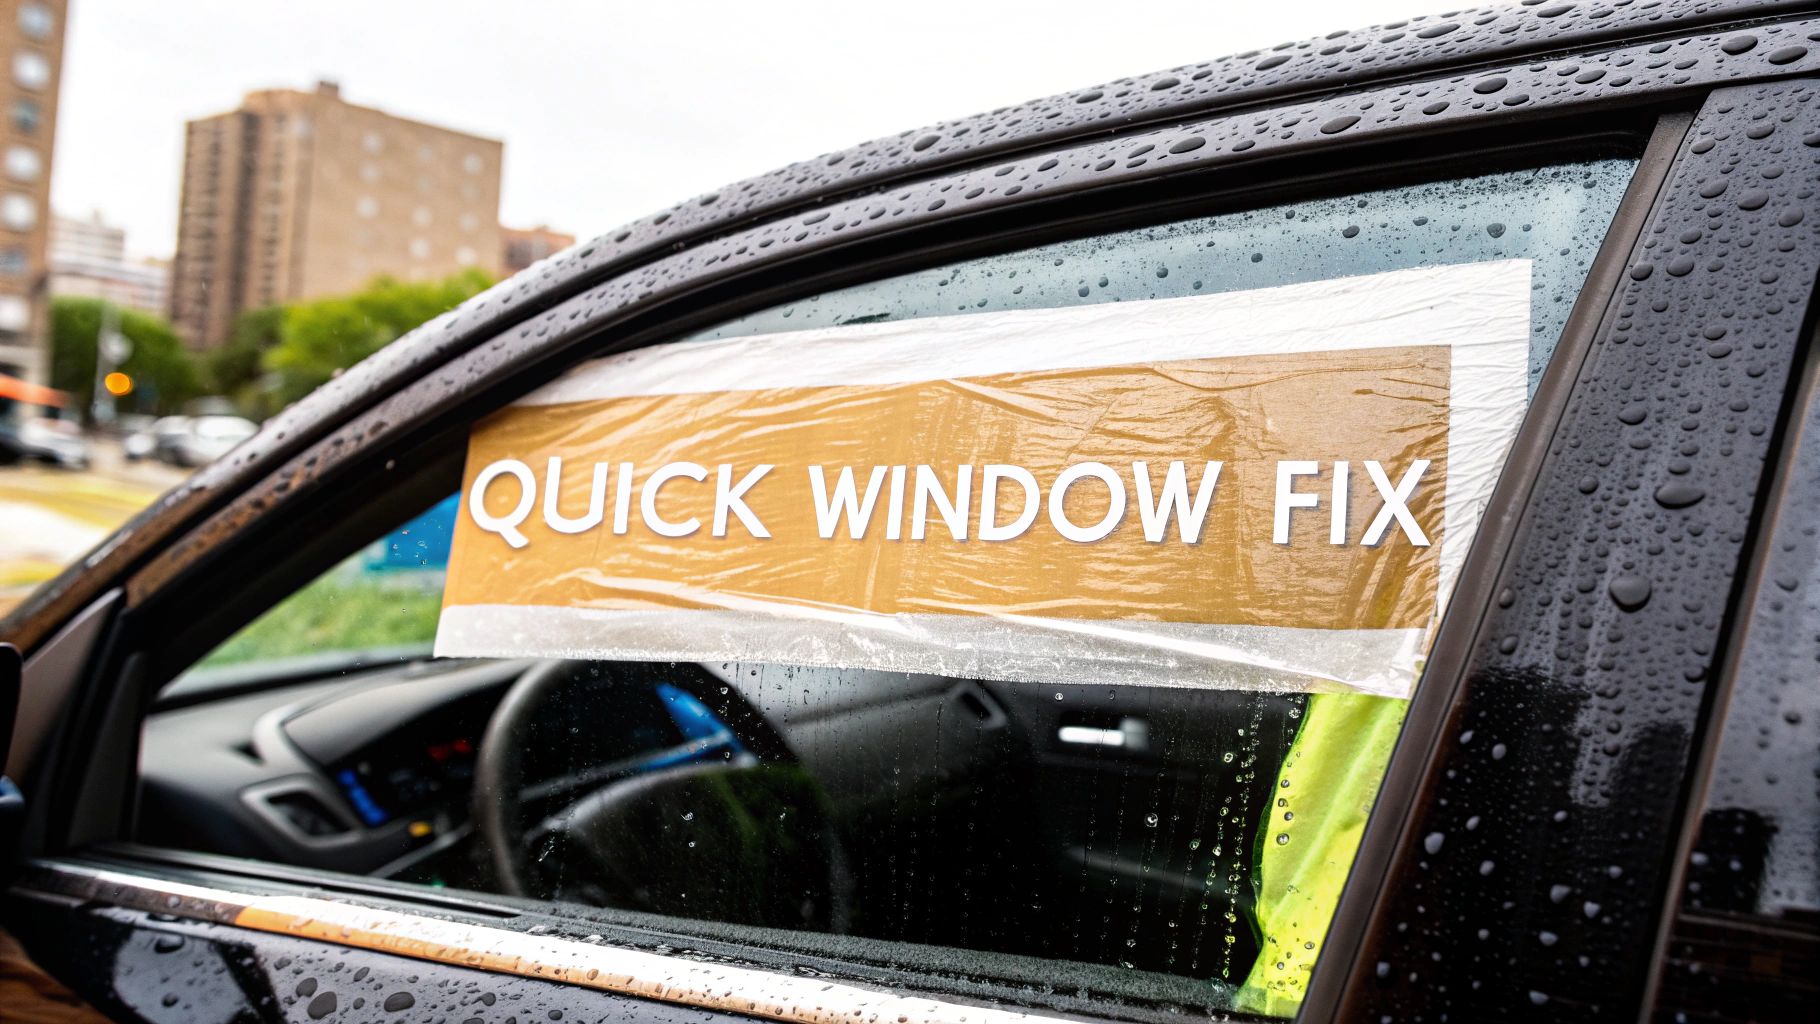
temp fix for broken car window: quick, reliable patch guide
Looking for a temp fix for broken car window? Learn a clear, DIY patch process to seal moisture and keep you moving—fast, simple steps included.
Nov 25, 2025
generated
temp fix for broken car window, diy car window repair, broken car glass, emergency auto repair, vehicle safety
Walking out to find your car with a smashed window is a gut-wrenching feeling. Before you even think about patching it up, what you do in the first 15 minutes is crucial for your safety and for making the temporary fix as effective as possible.
What to Do in the First 15 Minutes
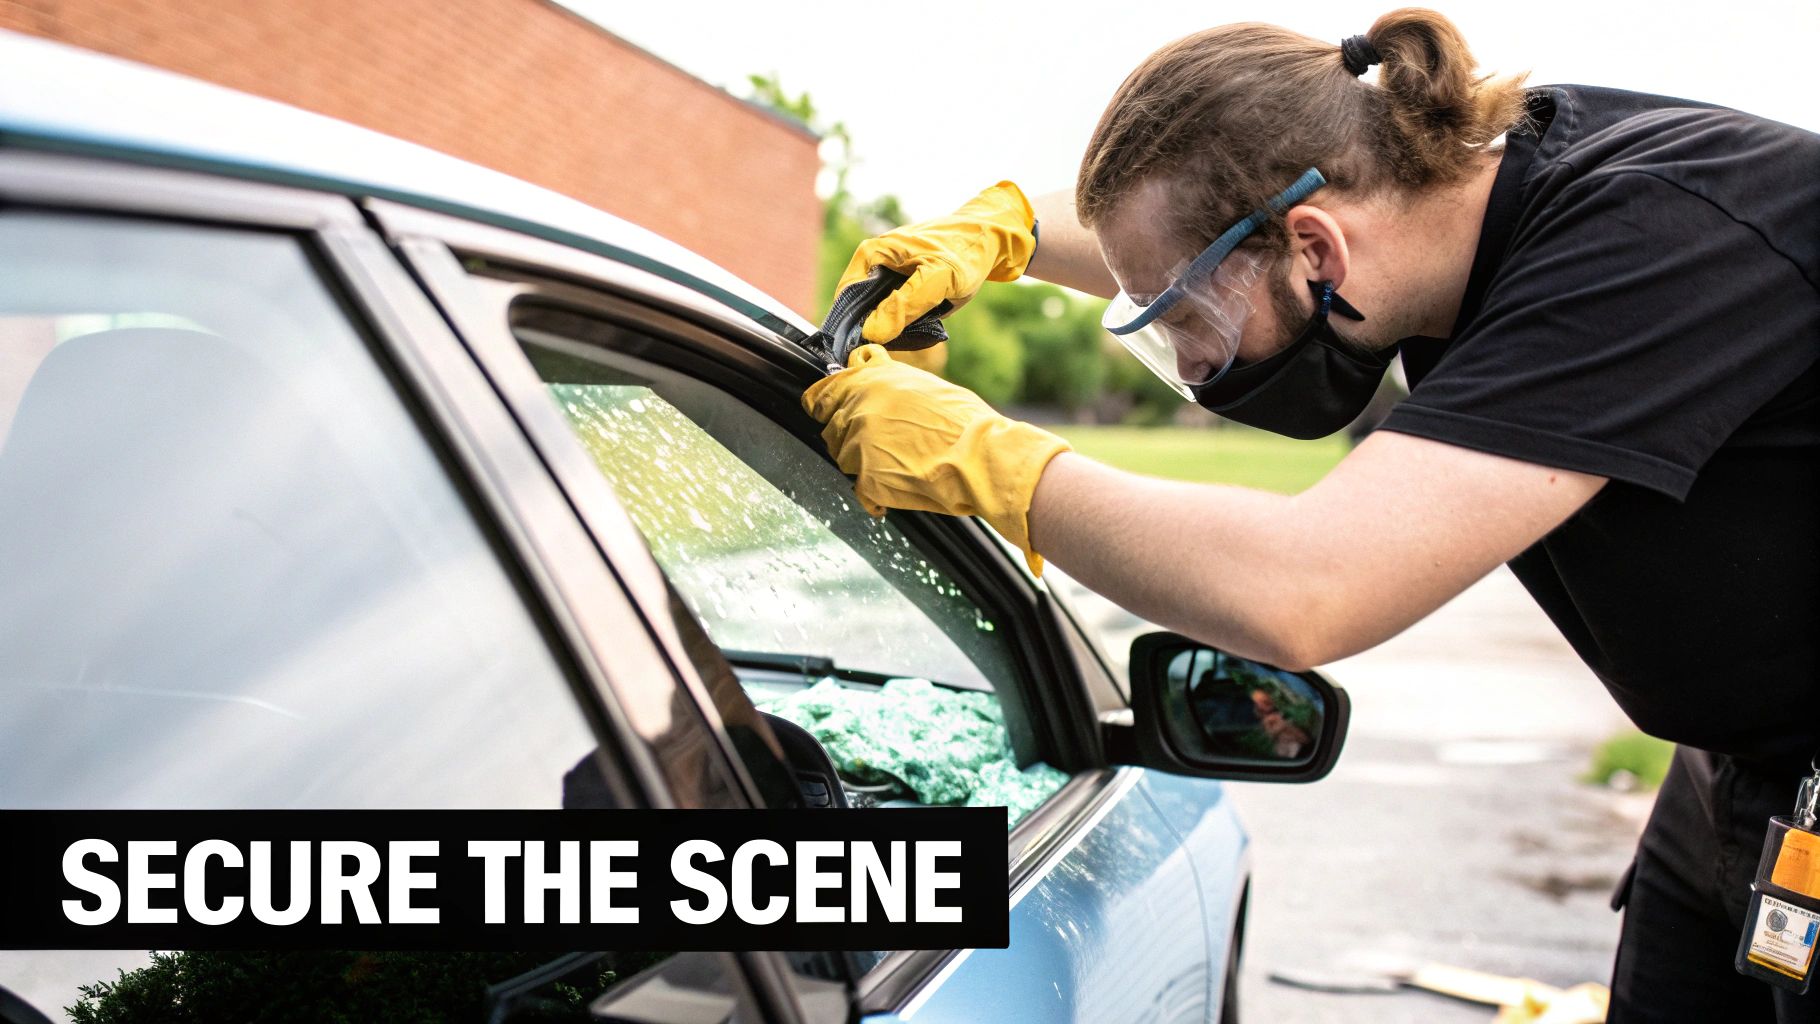
That moment of discovery feels like a real violation. But before you jump into repair mode, take a deep breath. A calm, methodical approach right now will prevent injuries and set you up for a much better temporary fix.
Safely Assess and Clean Up the Mess
First things first: safety. Grab a pair of thick gloves—work or garden gloves are perfect for this. You need to protect your hands from sharp edges.
Start by carefully picking up the larger chunks of glass from the seats, floor, and the ground around your car. For the thousands of tiny, glitter-like shards, a shop vac is your best friend. If you don't have one, a dustpan and brush will do, but be thorough. Get into all the crevices of the seat and door panel.
Expert Tip: Don't rush the cleanup. Those tiny glass splinters can work their way deep into your car's upholstery and carpet, becoming a real pain to remove later. A meticulous clean now saves you a lot of trouble.
Document the Damage and Plan Your Next Steps
With the immediate danger cleared, pull out your phone and take pictures. Get wide shots of the car and close-ups of the broken window and any other damage. These photos are invaluable if you decide to file an insurance claim.
Once that’s done, it's a good time to think about prevention. Brushing up on general car security tips can help you avoid this situation in the future.
A DIY patch is a smart move because a professional window replacement can cost anywhere from $200 to $600. A temporary seal keeps the rain out and secures your vehicle until you can get it to a shop. If the job looks too big or you simply don't have the time, it's never a bad idea to get in touch with a professional. You can always contact a mobile auto glass specialist who can often come right to you.
Picking the Right Materials for the Job
Your temporary window fix is only as good as the materials you use. Just grabbing any old plastic bag and a roll of tape is a recipe for a noisy, leaky disaster that will probably give up the ghost as soon as you hit the highway or see a drop of rain.
Think about it this way: a flimsy kitchen trash bag is going to shred and flap like crazy once you get up to speed. A much better choice is a heavy-duty, 6-mil contractor-grade plastic bag. This stuff is made to resist punctures and tears, giving you a far more reliable barrier against the elements.
The Best Tape for a Temporary Fix
Choosing the right tape is just as crucial as the plastic sheeting. Most people immediately reach for duct tape, and while it's strong, its aggressive adhesive can be a real problem. After a few days baking in the sun, it can easily pull your car’s clear coat and paint right off with it.
Clear Packing Tape: Believe it or not, this is one of your best bets. It creates a strong, watertight seal and is much kinder to your car's finish than duct tape.
Painter's Tape: This is your secret weapon for paint protection. Lay down a border of painter's tape on the car's frame first, then stick your stronger packing tape or duct tape directly onto it.
This two-tape trick is a game-changer. It gives you the powerful hold you need to keep the cover secure without risking your paint job. It’s a simple extra step that can save you from a much bigger, more expensive problem down the road.
At the end of the day, you're trying to create a seal that will hold up against wind and rain until you can get to a pro, all without causing new damage. For my money, the combination of a thick contractor bag and clear packing tape is the winning formula.
Applying a Secure and Weatherproof Patch
Alright, you've gathered your supplies and cleared out the glass. Now it’s time to put up a patch that will actually last. This isn't just about covering a hole; it's about creating a seal that can stand up to wind and rain, keeping your car secure until you can get a proper replacement.
Before you touch any plastic, do one last sweep for glass. Seriously. Run your gloved fingers carefully around the entire window frame and check inside the weather stripping. Even a tiny shard left behind can rip your new patch from the inside out, forcing you to start all over again.
Measuring and Cutting Your Patch
Now, let's get your plastic sheeting ready. Here’s a common mistake I see all the time: cutting the plastic to the exact size of the window opening. Don't do it. You need a generous overlap—at least three to four inches of extra material on every side. That extra plastic is what gives the tape enough surface area to grab onto the car’s frame and create a truly solid, watertight bond.
Lay your plastic on a flat surface and make your cuts as straight as you can. A clean edge is much less likely to tear or catch the wind when you're driving.
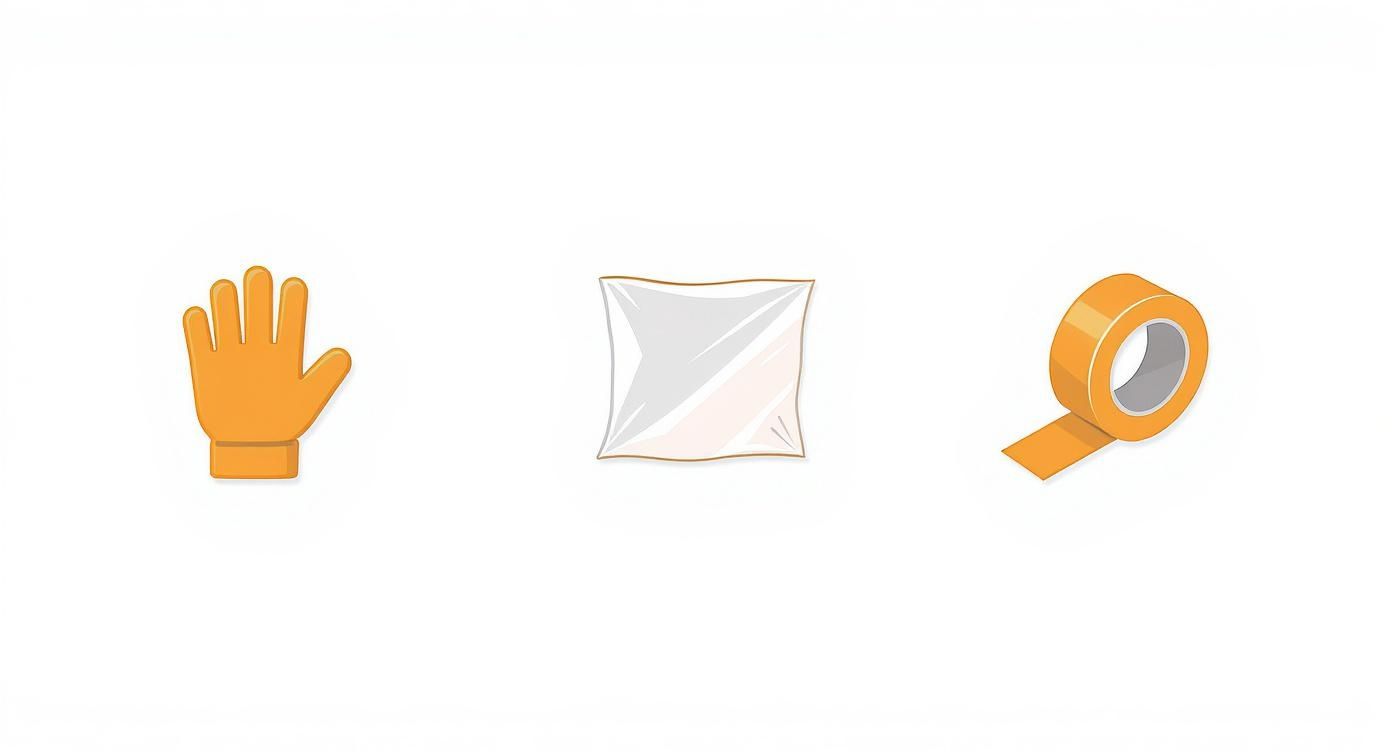
As you can see, a reliable patch comes down to just three things: good protection for you, a durable sheet, and tape that's up to the job.
The Pro Taping Technique
This is a little trick that makes a world of difference. It prevents that frustrating, wrinkled mess you get when wrestling with sticky tape and flimsy plastic. Instead of trying to tape the plastic onto the car, you’re going to apply tape to the car first.
Tear off strips of your tape long enough to cover each side of the window frame. Now, stick them directly onto the metal frame sticky-side-out, creating a tacky border all the way around the opening. Think of it as creating a pre-made adhesive surface waiting for your plastic.
By putting the tape on the frame first, you can position the plastic sheet perfectly and smooth it out without it getting stuck to itself. You have way more control, and the result is a much cleaner, tighter seal.
Once your plastic is pressed firmly onto that sticky-side-out tape, it’s time to lock it in place. Apply a second layer of tape over the edges of the plastic, sealing it to the first layer of tape underneath.
A key tip here: start from the top and work your way down. Taping the top edge first, then overlapping the side pieces, and finishing with the bottom creates a shingle-like effect that helps shed water naturally. This double-layer method is the secret to a patch that won’t flap around on the highway or leak during a downpour.
Making Your Temporary Fix Last Longer
Getting a patch on is one thing; making it survive a surprise downpour or a windy highway drive is another challenge entirely. The real test for any temporary fix is how well it stands up to the elements over time. It all comes down to reinforcing your work and thinking ahead about weather and security.
The number one enemy of your patch is water. A great trick I’ve used countless times is to apply the tape like you're shingling a roof. Start with a horizontal strip of tape along the very top edge of your patch. Next, run tape down the sides, making sure it overlaps that top piece. Finally, run another horizontal strip along the bottom that tucks under the side pieces. This simple layering technique encourages water to flow down and away, preventing it from seeping into the seams.
This isn't some niche problem, either. With over 1.4 billion cars on the road worldwide, glass damage is incredibly common. The vehicle glass repair market is even expected to reach USD 7.9 billion by 2032. In the U.S. and Europe, up to 20% of all vehicles will need some kind of glass repair each year, which shows just how vital a good temporary fix can be. You can find more data on the growth of the auto glass market at htfmarketinsights.com.
Boosting Security and Durability
Let's be honest—a plastic bag and some tape won't stop a determined thief. The goal here is deterrence. An easy win is to use a dark-colored or opaque trash bag instead of a clear one. If a potential thief can't see what's inside, they're far less likely to bother.
Your goal isn't to make your car impenetrable—it's to make it less convenient for an opportunistic thief. If they can't see what's inside, they're more likely to move on to an easier target.
A few simple habits can also make a huge difference in keeping your car and its contents safe until you can get a proper repair.
Park Smart: Always try to park in well-lit, busy areas. A car with a patched window sitting in a dark, isolated corner is a much more tempting target.
Remove Valuables: This is non-negotiable. Don't leave anything visible inside—not a laptop bag, not a phone charger, not even loose change.
Check Your Tape: Give the tape edges a quick press-down every time you get in the car. Wind, heat, and moisture can weaken the adhesive, so a quick check ensures the seal stays tight.
Knowing When to Call a Professional
While a solid DIY patch can definitely get you out of a jam, it's crucial to understand its limits. A temp fix for broken car window is exactly what it sounds like—a temporary measure. It's meant to get you home, keep the rain out, and secure your car for a short time, not to permanently restore the safety and structural integrity of a proper window.
So, when does that temporary fix officially run its course? It’s time to call in a pro when your patch starts creating new problems. Driving with a blurry or crinkled plastic cover, especially on your side, is a huge safety risk and can easily earn you a ticket. If your patch is flapping in the wind, making a high-pitched whistle on the highway, or letting water seep in, its job is done.
When Your Temporary Fix Is No Longer Enough
Think of your plastic and tape job like a first-aid bandage. It stops the immediate problem, but it’s not a long-term cure.
Visibility is Compromised: If that patch is anywhere in your line of sight—driver's side, rear window—and you can't see traffic or check blind spots perfectly, it’s a hazard. Time for a new window.
Weather Is a Factor: Let's be honest, a temporary seal just won't hold up to a downpour or drastic temperature swings. You don't want to discover a puddle on your passenger seat after a storm.
Security Concerns: A window covered in plastic is basically a "please break in" sign for thieves. If you have to park your car anywhere you can't see it, a real window is non-negotiable.
The decision to call a professional isn't just about convenience; it's a critical safety measure. A professionally installed window is a key component of your vehicle's structural support system, especially in a rollover accident.
Demystifying Professional Repair and Insurance
The good news is that getting auto glass replaced is easier and more common than you might think. With over 1.4 billion vehicles on the road worldwide, it’s no surprise the global automotive glass market was valued at a whopping USD 29.74 billion in 2023. You can learn more about the automotive glass market's projected growth on prnewswire.com.
This massive demand means getting professional help is incredibly convenient. Most auto glass companies now offer mobile service, meaning they’ll come right to your home or workplace to do the job.
Before you book an appointment, take a minute to look at your auto insurance policy. Comprehensive coverage often includes glass damage, sometimes with a very low deductible—or none at all. A quick phone call to your insurance agent can clear up any questions and get the claim started, making a safe, permanent fix a lot more affordable than you might realize.
For more details on the process, check out our guide on professional windshield repair services.
Got Questions About Your Temporary Window Fix?
So, you’ve managed to patch up your broken car window. That’s a great first step, but it’s completely normal to have some questions about what comes next. Knowing the limits of your quick fix is the key to keeping yourself safe and your car protected.
How Long Will This Patch Actually Last?
This is probably the number one question people have. Realistically, even a well-done temporary cover is only good for a few days, maybe a week at most if you're lucky. Think of it as a short-term band-aid, not a permanent solution.
Your makeshift patch just isn't built to handle highway speeds, changing weather, or provide real security. You should be booking a professional replacement almost immediately.
Will the Tape Ruin My Car's Paint?
It absolutely can. Slapping heavy-duty duct tape directly onto your car's finish is a recipe for disaster, especially when the sun bakes that adhesive into your clear coat. It can peel off the paint and leave behind a sticky, stubborn residue.
That’s why I always recommend laying down painter’s tape first or using a high-quality automotive tape. It’s a simple step that can save you a lot of headaches later.
Can I Take My Car Through a Car Wash?
Please don't. An automatic car wash is your temporary patch's worst enemy. The high-pressure water jets and spinning brushes will rip that cover off in seconds, leaving you with a water-logged interior.
If you must wash your car, stick to a careful hand wash and stay far away from the patched-up area.
A temporary fix is a bridge to a professional repair, not a destination. Prioritizing a permanent solution ensures your vehicle's safety, security, and structural integrity are fully restored.
And don't forget, many newer cars have advanced safety systems built into their glass. After a replacement, it's often necessary to perform an ADAS windshield calibration to make sure features like lane-keep assist and emergency braking work correctly.
At Auto Renu Auto Glass LLC, we specialize in fast, reliable mobile auto glass replacement. If your temporary fix has run its course, let our experts come to you for a safe, professional, and permanent solution. Visit us at https://www.autorenu911.com to get a quote and schedule your mobile service today.