
DIY Windshield Wiper Scratch Removal Guide
Tired of wiper lines blurring your view? Our DIY windshield wiper scratch removal guide offers expert methods to restore glass clarity and avoid costly repairs.
Oct 24, 2025
generated
windshield wiper scratch removal, glass scratch repair, DIY auto care, windshield maintenance, car glass polishing

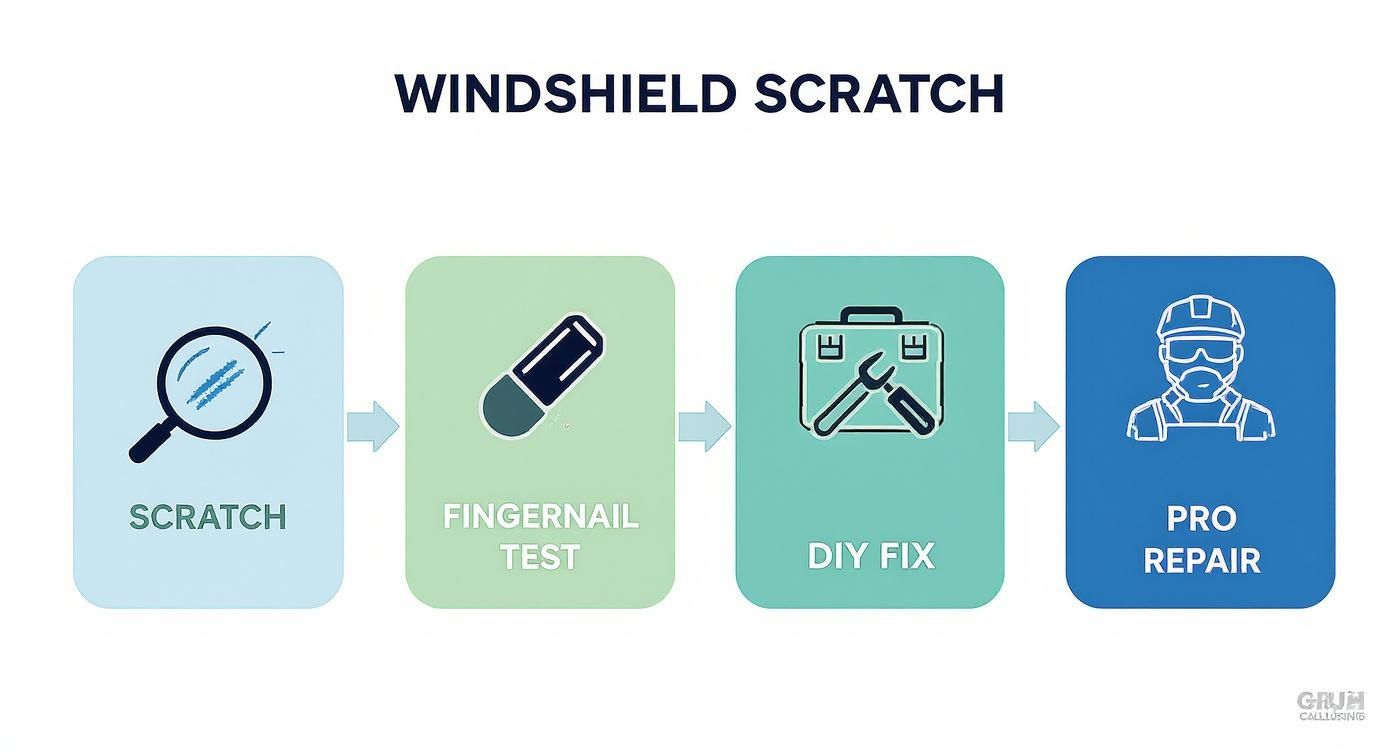
Before you even think about grabbing a polishing compound, you need to get a clear picture of the damage. A faint scuff mark and a deep gouge are two completely different animals, and treating them the same way is a recipe for disaster. Getting it wrong can actually make the problem worse, not better.
The easiest and most reliable way to figure out what you're dealing with is the good old-fashioned fingernail test. It's simple: if your fingernail gets caught in the scratch, it’s probably too deep for you to fix at home.
How To Assess Wiper Scratches On Your Windshield
Knowing how bad a scratch really is sets the stage for everything that comes next. If you go too aggressive on a light scratch, you risk distorting the glass. On the other hand, using a light polish on a deep groove is just a waste of your time and effort. A few moments of honest assessment now will save you a major headache later.
So, how do these scratches happen in the first place? Usually, the culprit is a worn-out or damaged wiper blade. The rubber on your blades takes a beating from sun, rain, and road grime. Over time, it gets hard and brittle, dragging tiny bits of dirt and debris across your windshield with every swipe. If the blade itself breaks, the exposed plastic or metal arm can carve some truly nasty lines into your glass, leading to a much bigger repair bill.
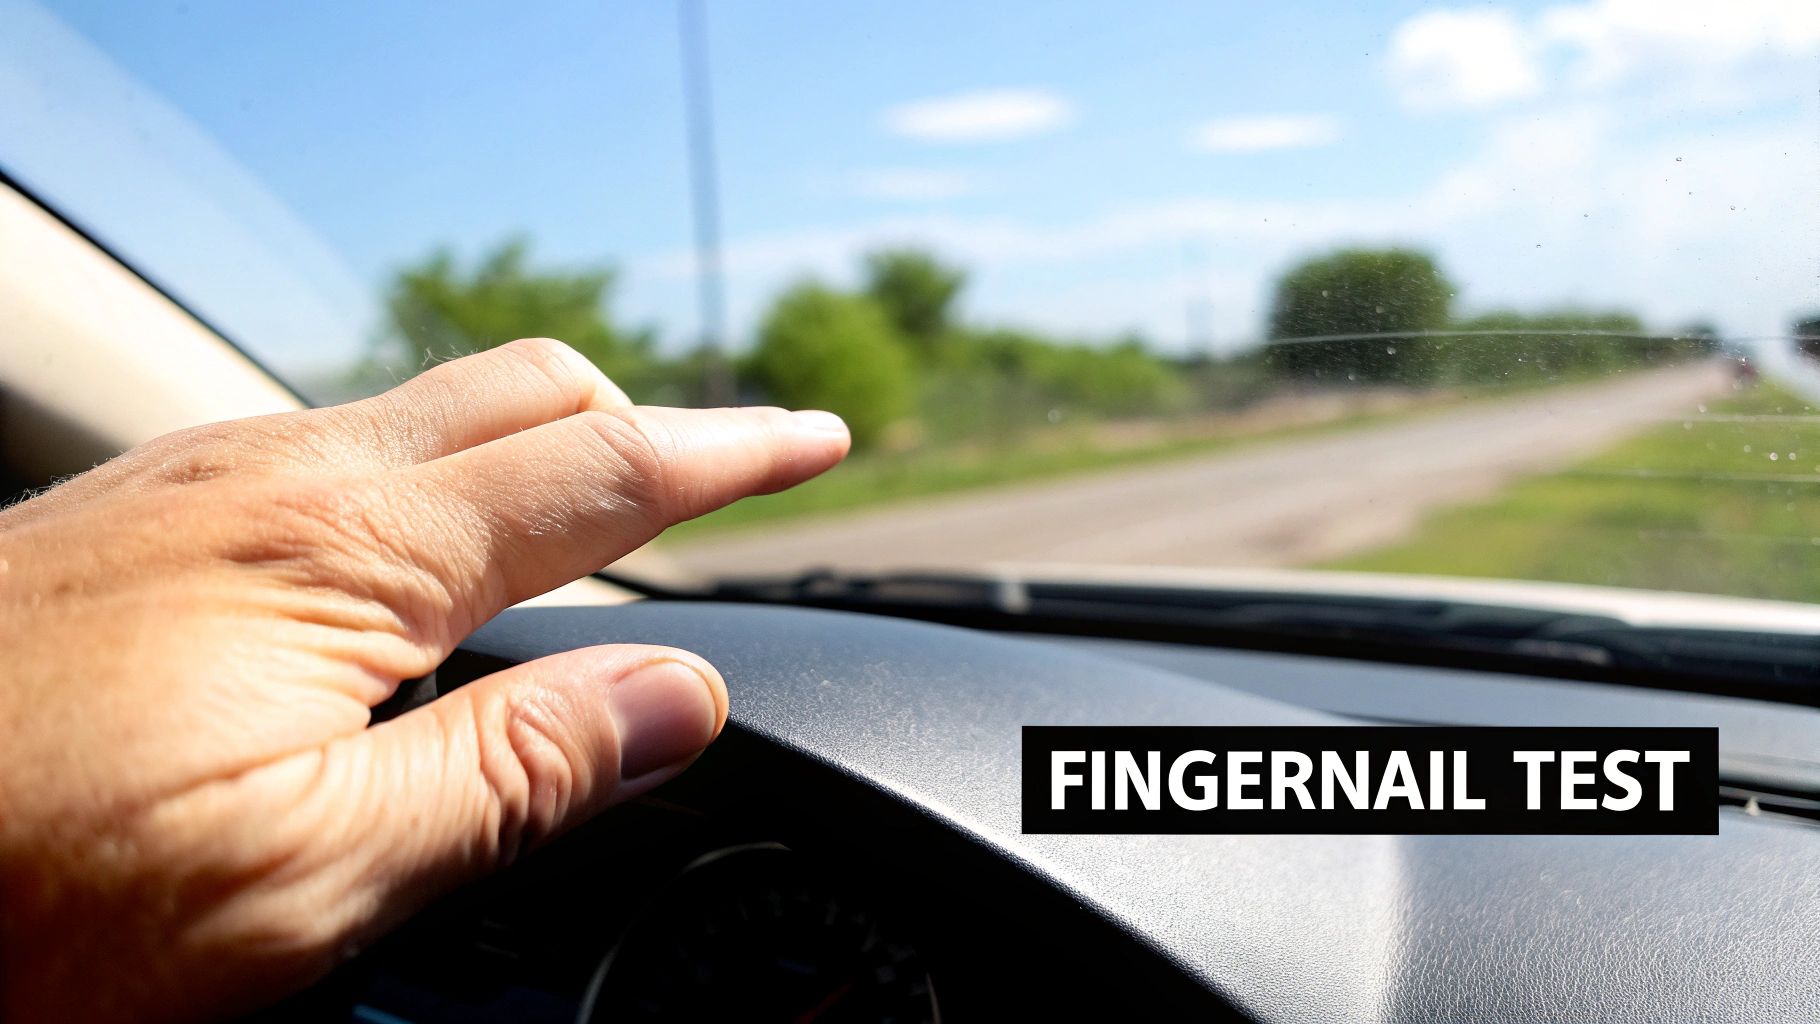
The Fingernail Test: Your Best Diagnostic Tool
This is the go-to method for gauging scratch depth without any special equipment. It's surprisingly accurate and something I've relied on for years.
Prep the Surface: Give the area a good cleaning with a quality glass cleaner and a microfiber cloth. You need to remove any surface grit that might throw off your results.
Run Your Fingernail Across the Scratch: Gently slide the tip of your fingernail across the scratch, not along it.
Feel for a Snag: Pay close attention to the sensation. Does your nail glide right over it without any resistance? That’s a good sign—it's likely a shallow, surface-level scratch. But if your nail catches, snags, or dips into the groove, you're dealing with a deep scratch.
To help you decide what to do next, I've put together a quick reference table.
Scratch Severity and Recommended Actions
Use this quick guide to identify the type of scratch on your windshield and determine the most effective course of action.
Scratch Severity | How to Identify It | Recommended Solution |
|---|---|---|
Light/Surface Scratch | Your fingernail glides over it smoothly. You may have to look at the glass from an angle to even see it. | A DIY fix using a cerium oxide-based glass polishing compound is often effective. |
Medium Scratch | Your fingernail catches slightly but doesn't get stuck. The scratch is easily visible. | This is borderline. A DIY kit might work, but professional glass polishing is a safer bet to avoid distorting the glass. |
Deep Scratch/Gouge | Your fingernail gets firmly caught in the groove. The scratch is obvious and deep to the touch. | Do not attempt a DIY repair. This requires professional attention and may mean you need a full windshield replacement. |
Ultimately, a deep scratch compromises the structural integrity of your windshield, and trying to grind it down yourself is a bad idea.
As you can see, that simple fingernail test is the fork in the road that determines where you go from here.
My Two Cents: If your fingernail catches, stop right there. A polishing compound from the auto parts store isn't going to cut it. Trying to buff out a deep scratch on your own can create a weak spot in the glass or a "lens effect" that warps your view of the road, which is incredibly dangerous. For anything deep, your safest and most effective option is to call in a professional.
Assembling Your Glass Scratch Repair Toolkit
Alright, you've figured out how bad the scratch is. Now comes the part where you gather your supplies. Getting your toolkit right from the start is more than just a prep step; it's the difference between a successful repair and making things worse. Trust me, you don't want to be halfway through a polish and realize you're missing something crucial.
The DIY car care scene has exploded, and with it, the market for these kinds of products. The global car scratch remover market was on track to hit $2.5 billion by 2025, largely because more people are tackling these jobs themselves. This boom means better, more effective products are available to us. If you're curious, you can find more market growth insights from recent industry reports.
Core Polishing Agents
What you use to polish depends entirely on the scratch's depth. If you're dealing with very light haze or faint scuffs, your go-to is cerium oxide. This is the professional standard. It’s a super fine powder you mix with water to create a slurry, and it gently grinds down the glass to a smooth, level finish.
For those slightly deeper scratches—the ones you can see easily but can’t feel with your fingernail—a dedicated glass repair kit is your best bet. These usually come with the cerium oxide powder plus the specific polishing pads you'll need for the job.
Pro Tip: Whatever you do, don't grab a generic scratch remover or a compound meant for paint. They're not designed for glass. At best, they'll make a smeared mess; at worst, they'll leave a web of fine new scratches on your windshield.
Essential Support Gear
The polishing compound gets all the glory, but the supporting tools are just as important for a clean, safe repair. Don't even think about starting without these:
Masking Tape: You'll want to carefully tape off the paint and trim around the glass. The polishing compound can easily stain or scuff these surfaces if it gets slung around.
Microfiber Towels: Have a few clean ones ready. You'll need them for the initial cleaning and for wiping away polish to check your progress as you go.
Spray Bottle with Water: This is non-negotiable. The friction from polishing creates heat, and too much heat can actually crack your windshield. A constant mist of water keeps things cool and lubricated.
Safety Glasses and Gloves: It might seem like overkill, but you're working with fine glass dust and chemical compounds. Protect your eyes and skin.
A Practical Guide to Polishing Minor Scratches
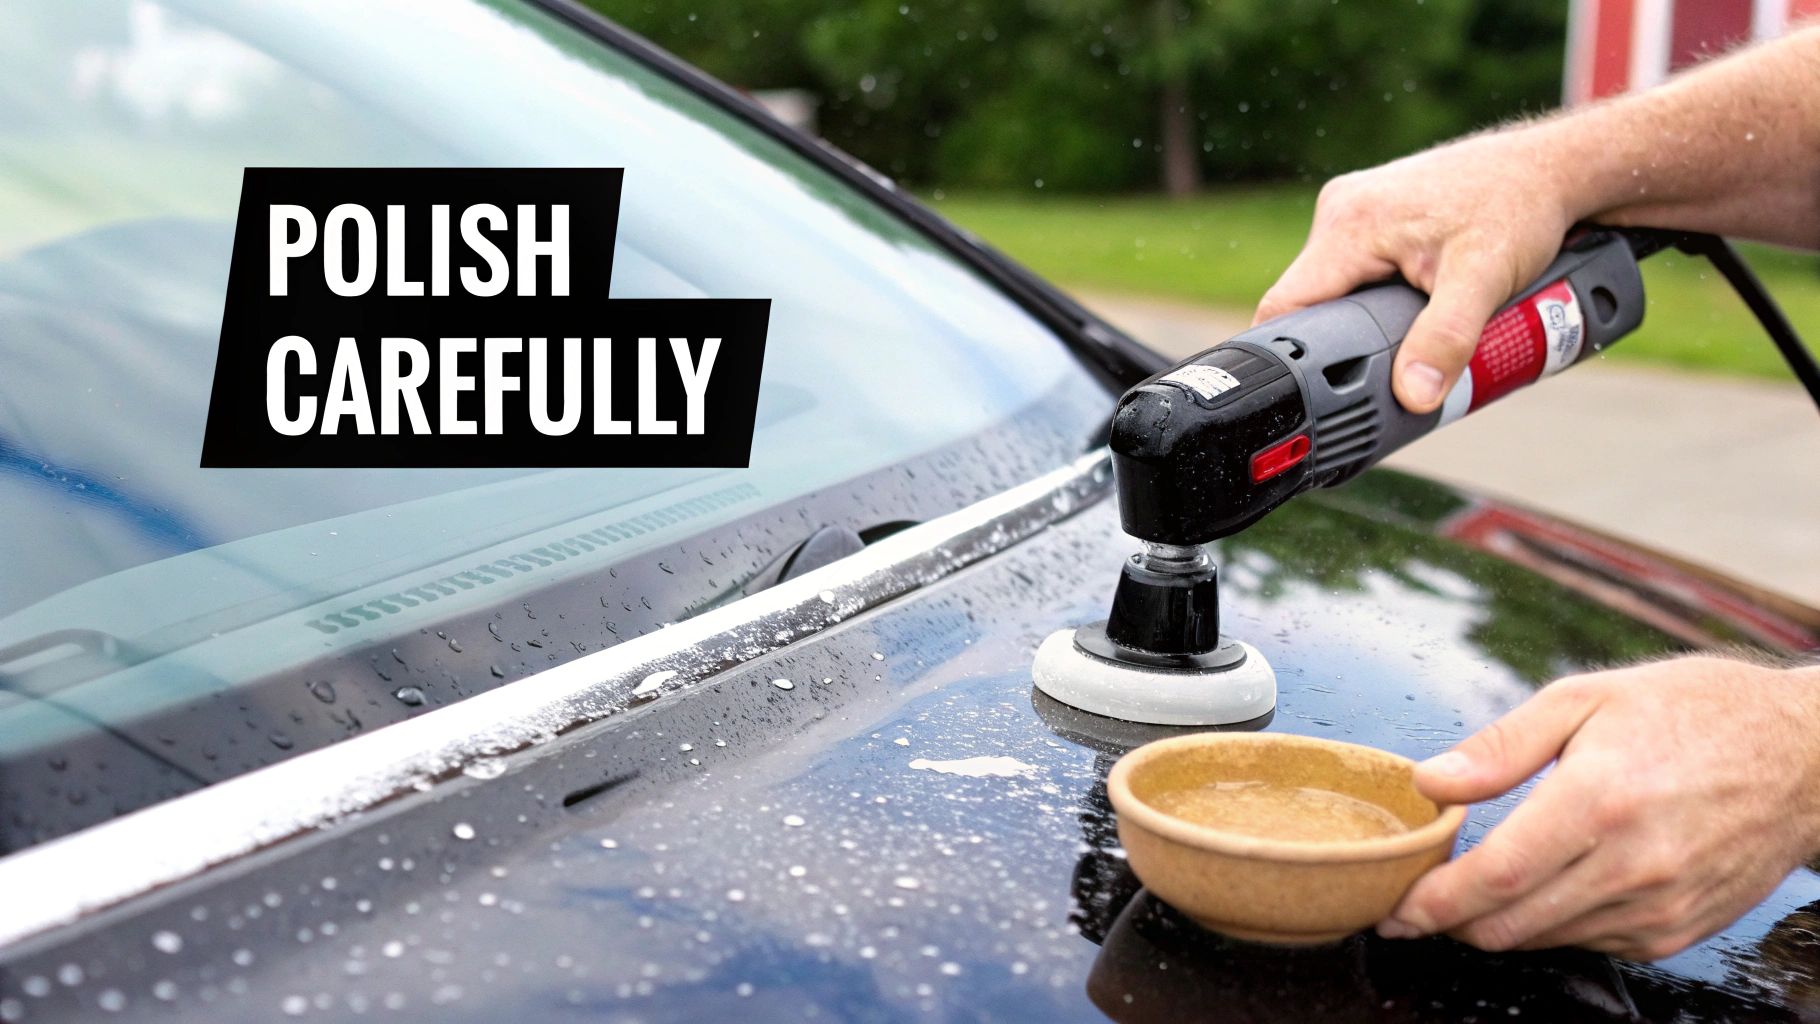
Alright, you’ve got your supplies, so let's get to work on those light-to-moderate scratches. The go-to DIY method for windshield wiper scratch removal is a cerium oxide compound, and for good reason. Think of this fine powder as a super-gentle abrasive that ever-so-slightly grinds the glass down to the depth of the scratch, making it disappear.
The key here is finesse, not force. If you get aggressive and push too hard or move too fast, you risk creating a distorted "lens" effect in the glass. Worse, the friction can generate enough heat to crack it. Patience is definitely your best friend for this job.
Preparing the Glass and Compound
First things first, clean the windshield again. I know you did it during the inspection, but any speck of dust or bit of grime that found its way back can create new scratches while you polish. A good glass cleaner and a fresh microfiber towel are all you need.
Next, you'll mix your cerium oxide slurry. In a small container, add a little water to the powder and stir until it has the consistency of thin paste—think craft glue. You want it just thick enough to stick to your polishing pad without flinging everywhere, but still wet enough to spread easily.
Key Takeaway: Getting the slurry right is make-or-break. Too watery, and it won't have the cutting power you need. Too thick and dry, and it'll create too much heat and could even add new, finer scratches to the glass.
The Polishing Technique
Now for the main event. Whether you’re using a low-speed drill with a polishing pad or going old-school with a hand-held felt block, the technique is fundamentally the same.
Dab a small amount of the cerium oxide slurry directly onto the scratch.
With light to medium pressure, start buffing the area using slow, overlapping circular motions. It's crucial to keep the polishing pad flat against the glass at all times.
Keep your spray bottle handy and mist the area with water frequently. This part is non-negotiable—it cools the glass and provides lubrication, which is vital for preventing heat damage.
After a couple of minutes of polishing, stop what you're doing. Wipe the residue away with a clean microfiber cloth and check your progress.
You'll almost certainly need to do this a few times. Don't get discouraged; you're looking for gradual improvement, not an instant fix.
If a scratch is just too stubborn for polishing, it might be time to call in the pros. You can explore more intensive options in our guide to professional https://www.autorenu911.com/windshield-repair. The demand for effective DIY scratch solutions has boomed, helping the global scratch remover market reach an estimated value of $1.58 billion in 2024.
For a deeper dive into different glass repair methods beyond windshields, this comprehensive guide on removing scratches from windows is an excellent resource that can give you more context.
Common Mistakes to Avoid During Windshield Repair
When it comes to windshield wiper scratch removal, a successful repair is often about what you don't do. A few common blunders can quickly turn a minor fix into a costly, irreversible mistake that puts your safety on the line.
The single biggest error I see is applying way too much pressure. It's easy to think that leaning into the polisher will speed things up, but that's a fast track to creating a "lens effect." This is a slight dip or wave in the glass that permanently distorts your view of the road.
Using the Wrong Stuff in the Wrong Setting
Another classic misstep is simply grabbing the wrong product. You should never, ever use a polishing compound designed for car paint on your windshield. Those compounds are made for soft clear coats and will just create a hazy mess or a spiderweb of new, fine scratches on the much harder surface of the glass.
Pro Tip: Stay out of direct sunlight and never work on a hot windshield. The heat makes your polishing compound dry out almost instantly. Instead of lubricating the surface, it becomes an abrasive that just grinds into the glass, making things worse.
Where you do the work matters just as much as the tools you pick.
Skipping the Prep Work: If you don't clean the glass thoroughly first, you're just grinding existing dirt and grit into the scratch you're trying to fix.
Forgetting to Mask Off: Polishing can get messy. Use painter's tape to protect the paint and rubber trim around your windshield from the slurry.
Ignoring Safety: Always wear safety glasses. The last thing you want is polishing compound or tiny glass particles in your eyes.
Finally, remember that a botched repair can impact more than just your view. If your car has Advanced Driver Assistance Systems (ADAS), any distortion in the windshield can throw off the cameras. You can get the full rundown on why that's so critical by reading up on ADAS windshield calibration.
Keeping Your Windshield Crystal Clear for the Long Haul
You've put in the work to get those scratches out, and the last thing you want is to do it all over again.## Keeping Your Windshield Crystal Clear for the Long Haul
You've put in the work to get those scratches out, and the last thing you want is to do it all over again. Honestly, preventing new scratches is a whole lot easier than removing them. It’s all about shifting from a repair mindset to one of proactive care.
It's the small, simple habits that make the biggest difference, and it really starts with your wiper blades. Think about it: if they're covered in dirt and grit, you're essentially dragging sandpaper across your windshield with every swipe. A quick wipe-down with a clean cloth and a little washer fluid now and then can save you a world of hurt.
Keep a Close Eye on Your Wiper Blades
Knowing when your wipers have had enough is one of the most important things you can do. Old, worn-out rubber is a leading cause of new scratches, and it's so easy to avoid.
Here are a few dead giveaways that it's time for a new pair:
Streaky Wipes: If your blades leave lines or sheets of water behind, they aren't making solid contact anymore.
Annoying Chatter: That skipping or juddering sound across the glass means the rubber has hardened and lost its flex.
Visible Wear: Take a look. Can you see any nicks, tears, or cracking along the rubber edge?
My Two Cents: I tell everyone to replace their wiper blades every 6 to 12 months. Don't wait until you're caught in a storm to realize they're shot. Make it a habit to check them every time you get your oil changed.
Add a Layer of Protection
A quality glass sealant or a hydrophobic coating is a fantastic investment. These products create a super slick, invisible barrier on your windshield that makes water bead up and fly right off.
The benefits are twofold. First, your visibility in the rain improves dramatically—you might not even need your wipers on the highway. Second, that slick surface means less friction, which reduces the wear and tear on both your blades and the glass itself.
For those who want the ultimate defense against chips and scratches, you might even look into professional windshield protection solutions. Taking these simple steps really will go a long way in keeping your windshield looking its best.
Common Questions About Fixing Wiper Scratches
Even when you know the steps, it's natural to have a few questions before you start grinding away at your windshield. Let's tackle some of the most common ones I hear from people trying this for the first time. Getting these answers straight can be the difference between a great result and a frustrating afternoon.
Can I Really Just Use Toothpaste?
This is probably the biggest myth out there, and the short answer is no. While it seems like a clever life hack, toothpaste is designed for soft tooth enamel, not tough automotive glass. It's an incredibly mild abrasive.
It might—and that's a big might—dull a hairline scuff that you can barely even see, but it won't do a thing for a scratch you can actually feel. For any real repair, you need a glass polishing compound that contains cerium oxide, which is the industry standard for a reason.
Toothpaste is a non-starter for real windshield scratches. It's simply not abrasive enough to level the glass surface, meaning you'll spend a lot of time for virtually no result on anything more than a microscopic scuff.
How Do I Know if a Scratch Is Too Deep to Fix?
The old-school fingernail test is still the best tool you have. Just slide your fingernail across the scratch, not along it. If your nail snags in the groove, even just a little bit, that scratch is too deep for a DIY fix.
Trying to polish out a deep gouge means removing a significant amount of the surrounding glass. This can create a weak spot or, worse, a "lens effect" that distorts your vision right in your line of sight. If your nail catches, it's time to call in a professional.
Will This Make My Windshield Look Wavy?
Waviness or distortion is a real risk, but it's also completely avoidable. This problem almost always comes from one of two mistakes: applying too much pressure in one spot or not keeping the polisher moving.
The trick to a perfectly flat, clear finish is to let the tool and the compound do the work. Use light pressure and keep the polishing pad in constant motion with overlapping passes. Take your time, stop often to wipe the slurry away and check your progress. Patience is what prevents distortion and makes the repair invisible.
If you've done the fingernail test and realized the scratch is more than you can handle, don't risk it. The professionals at Auto Renu Auto Glass LLC have the right tools and experience to handle deep scratches safely. You can get a free estimate over at their site: https://www.autorenu911.com.